Trebu-oh-chet thats actually kind of dangerous
GOAL: Create a medieval device capable of firing an object a reasonable and respectable distance without getting kicked out of the IRL
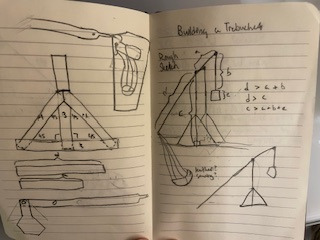
A trebuchet is essentially a more accurate catapult, relying on a force that is gravitational rather than tensile.

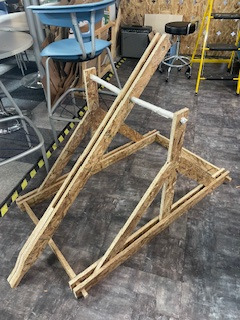
Main hinge at a noncentered location is used to provide a better leverage-to-torque balance. The ratio of 1:3 for the weight and projectile sides allows for high leverage without sacrificing too much torque. The weight side is also made shorter than the main joint height to ensure rotational clearance of the weights after reaching their minimum vertical level.
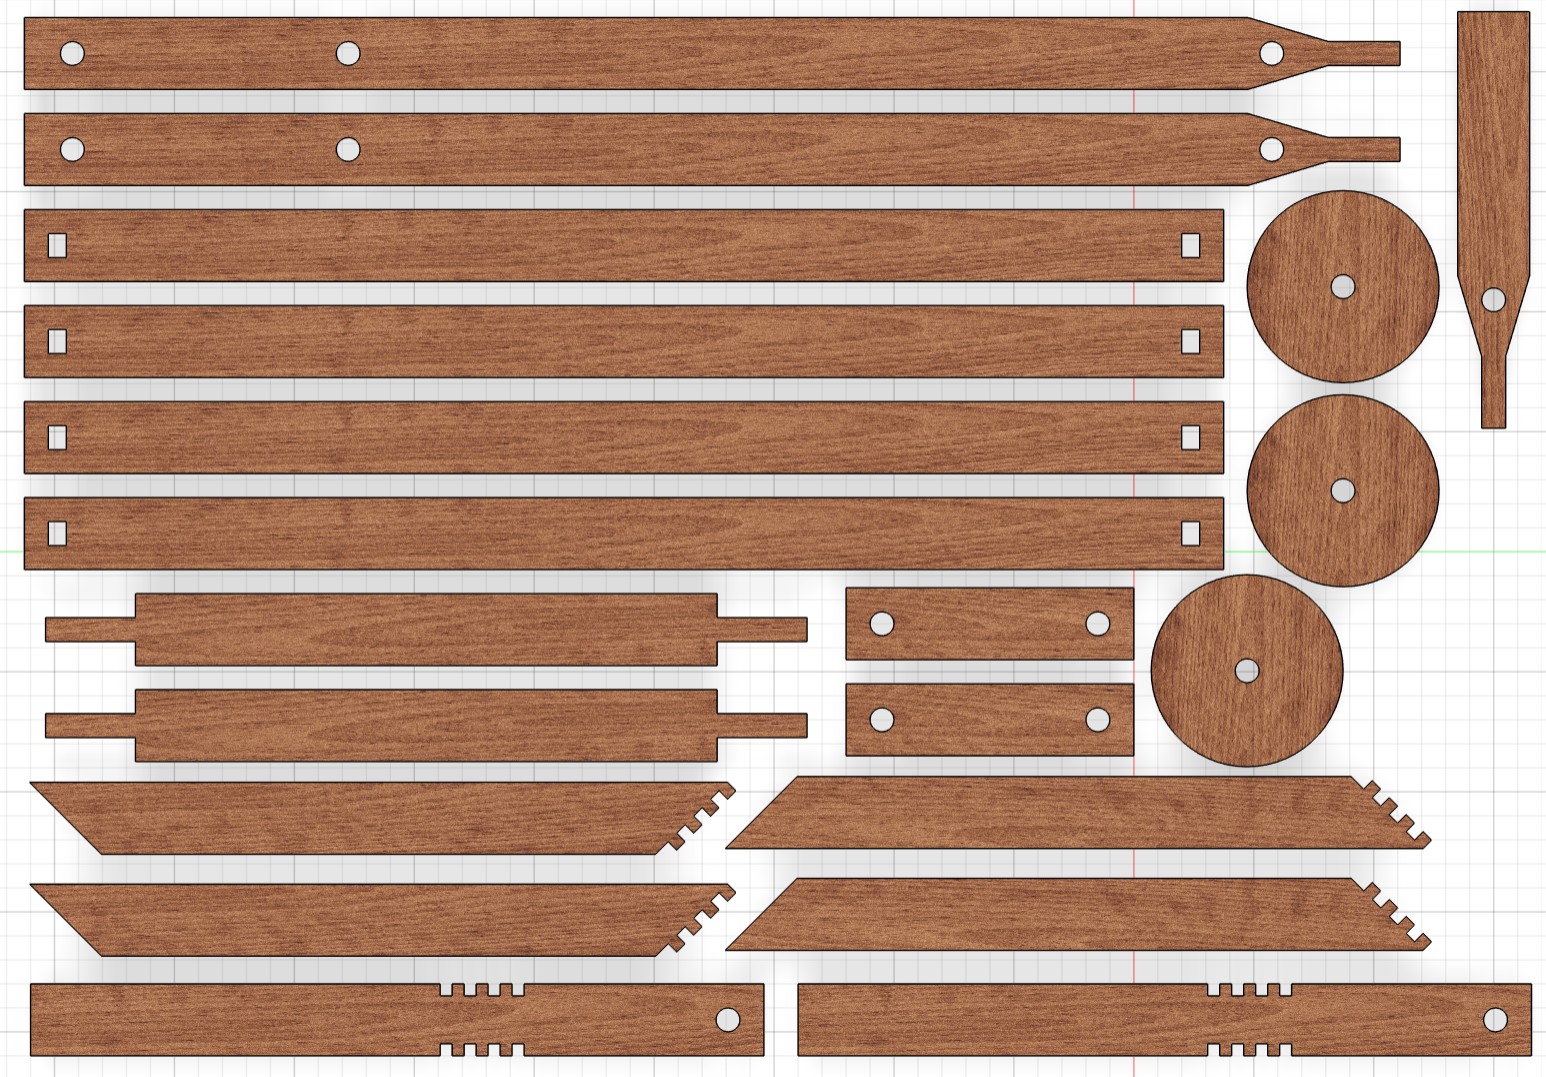
Most parts are designed around a 3 inch width, balancing stability with resource conservation.
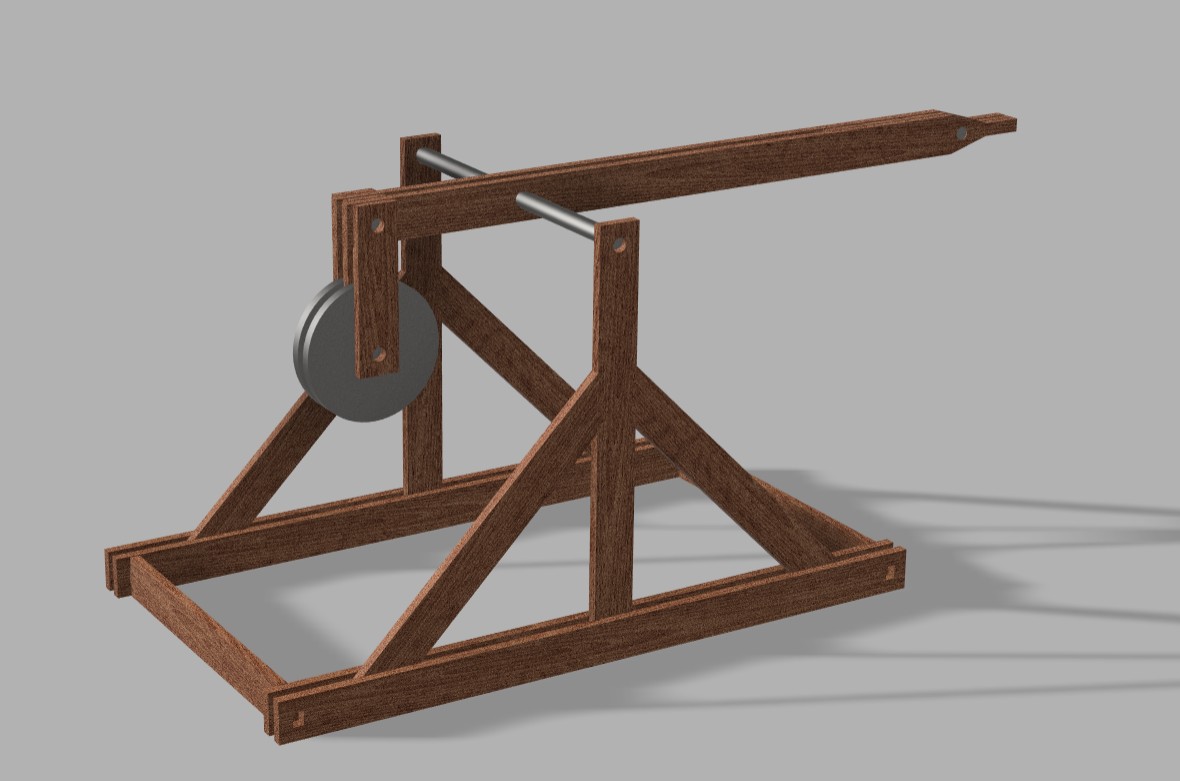
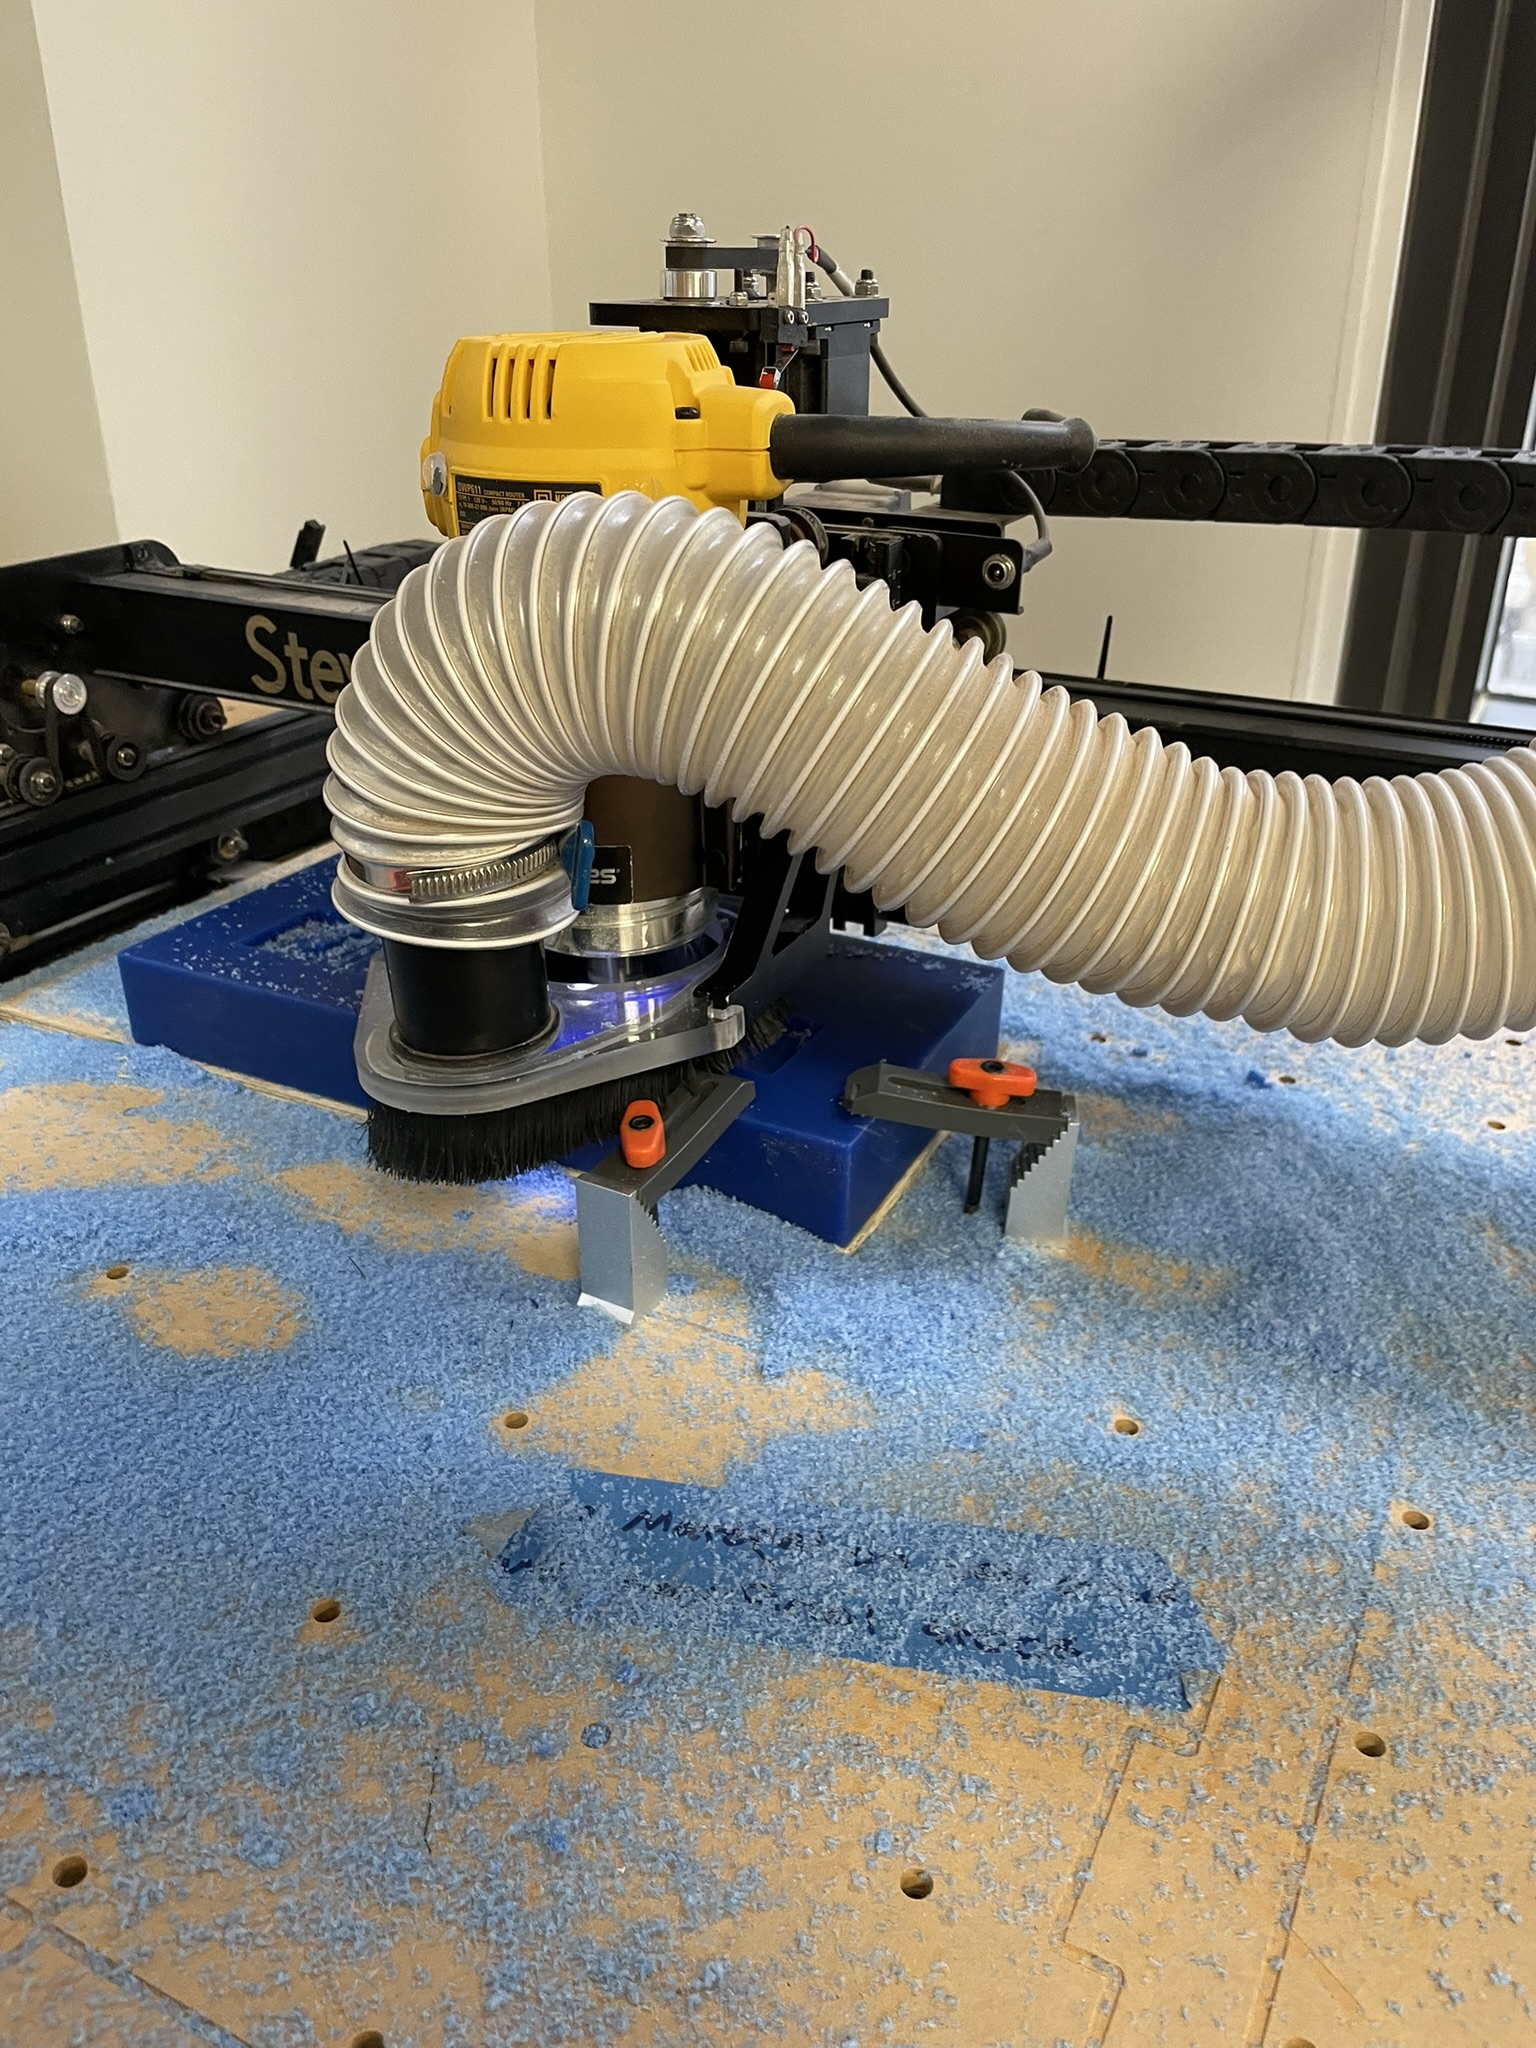
The first design is based around hanging weights with holes for poles to hang on. Hanging the weight decreases the rotational moment of inertia, allowing the arm to spin much faster and therefore launch the projectile further.
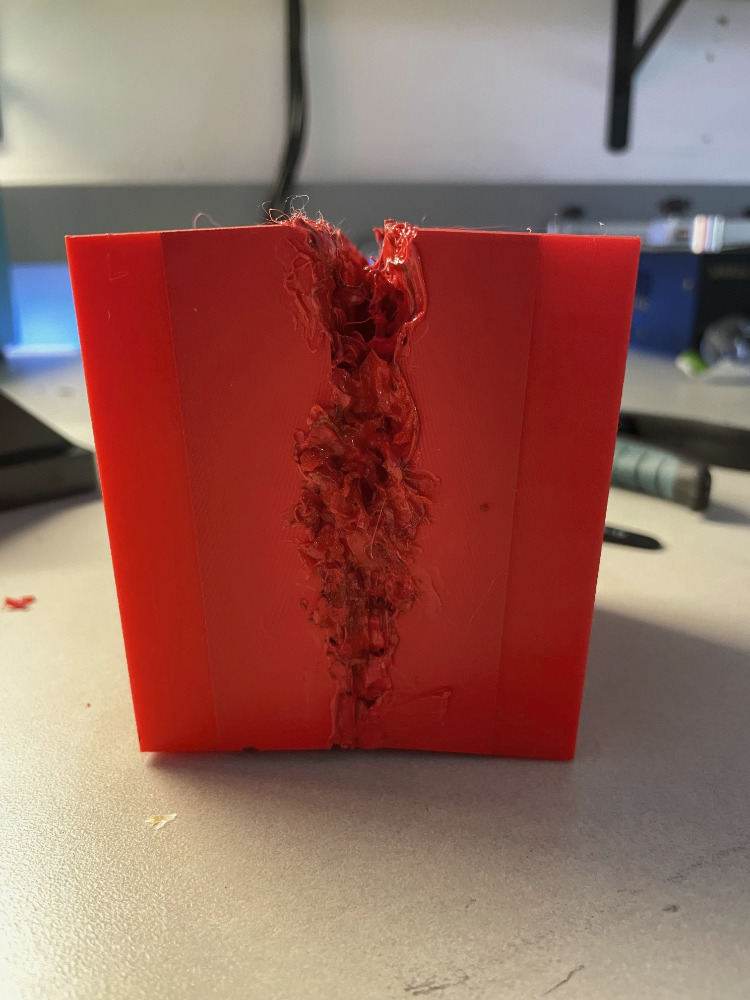
I couldn't find any PVC of the right size, so I resorted to cutting them up and wrapping them in duct tape to fit the size constraints of my holes.
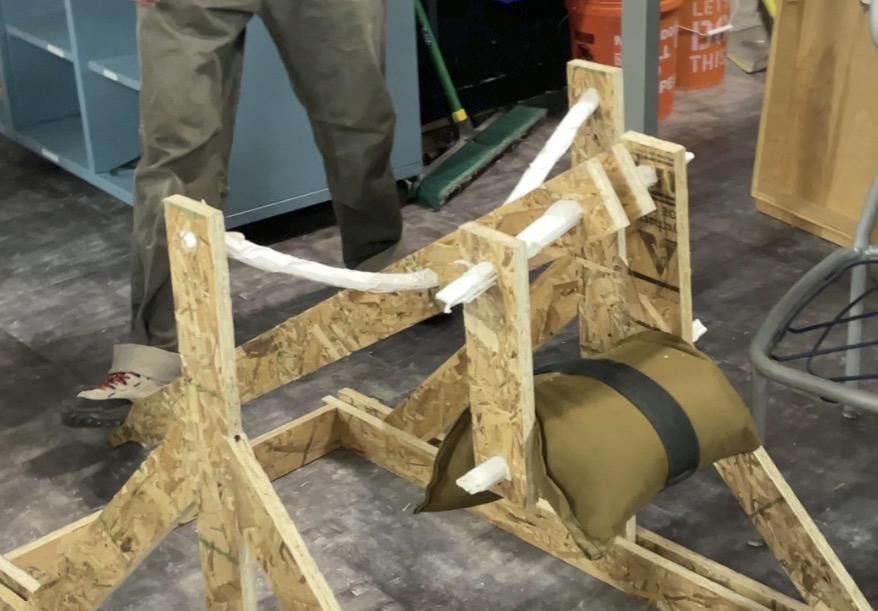
Maybe cutting PVC was a bad idea
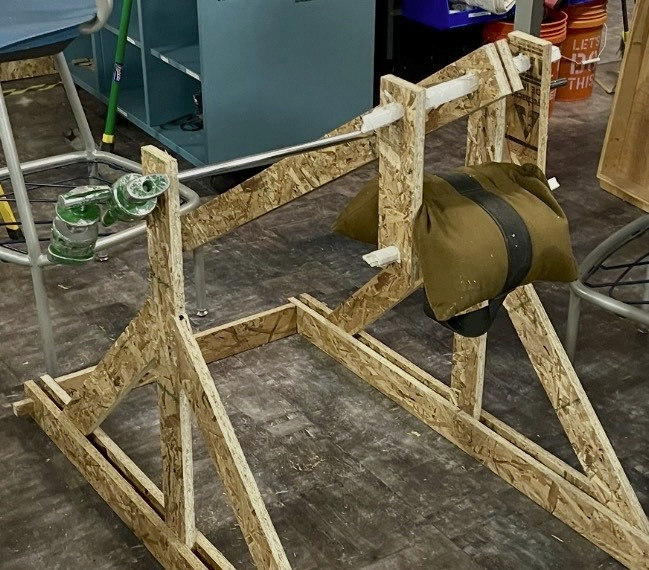
So I reinforced it with metal!
No subjects were traumatized in the making of this video
Metroid Larva
GOAL: Faithfully recreate a metroid larva from Metroid
I recently finished Super Metroid for the SNES (it's a great game). Avoiding spoilers, I think that metroids are adorable and misunderstood babies that need to be better represented and loved, even when they're sucking the life out of you.
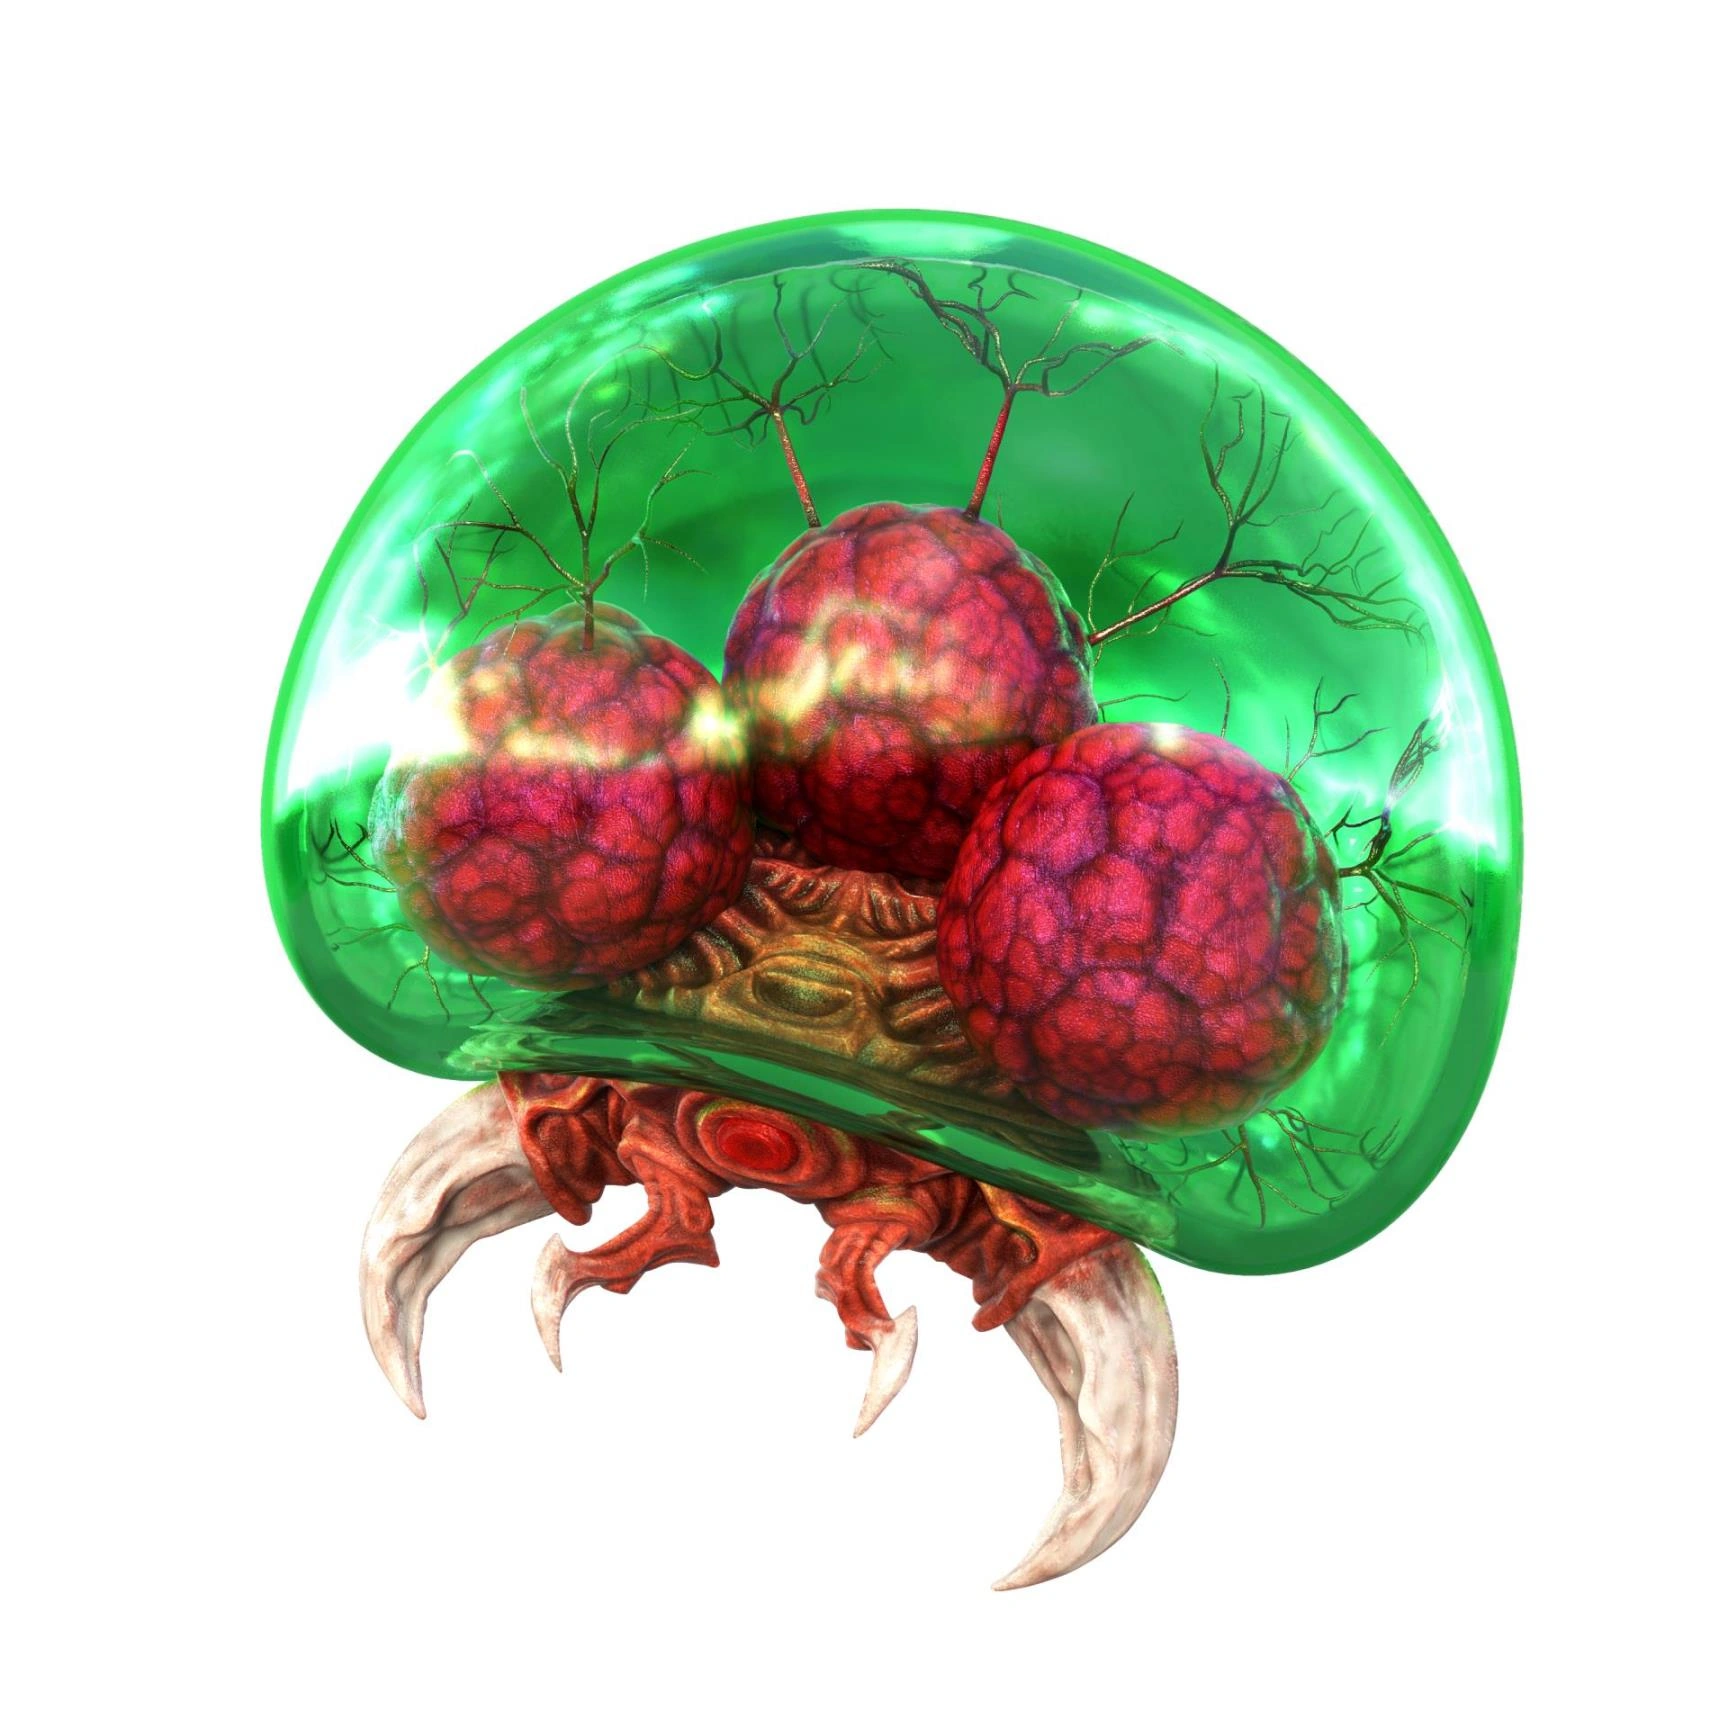
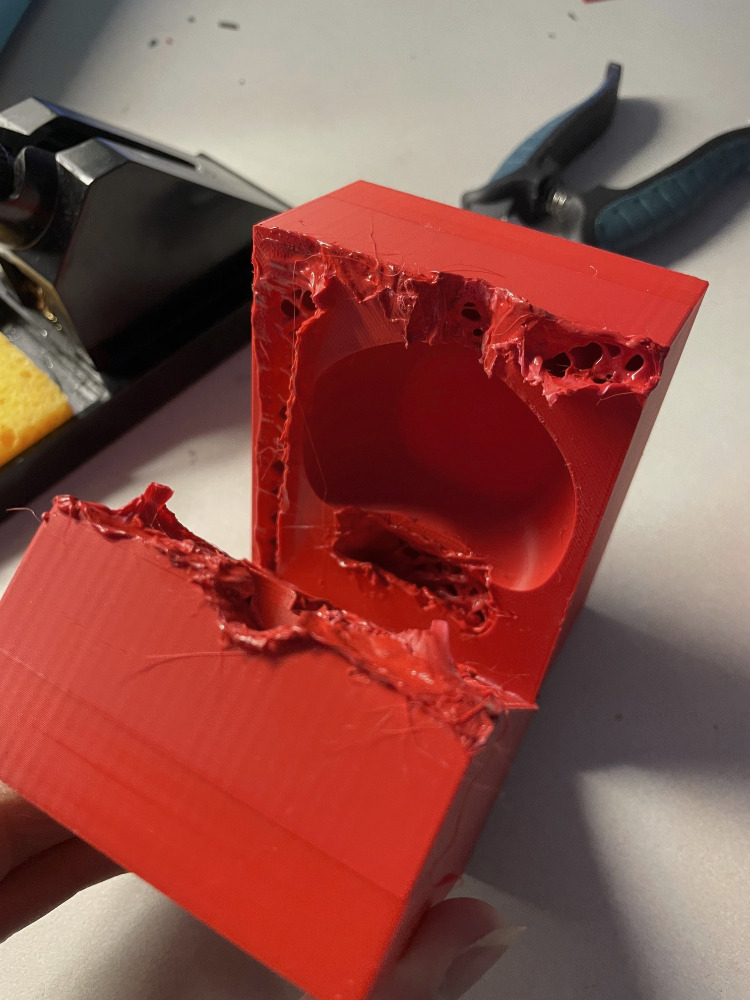
The jelly-like semi-transparent head is perfect for the "Sorta-Clear" silicone chemicals we use for the mold, so half of my product will be plastic and the other half will be silicone
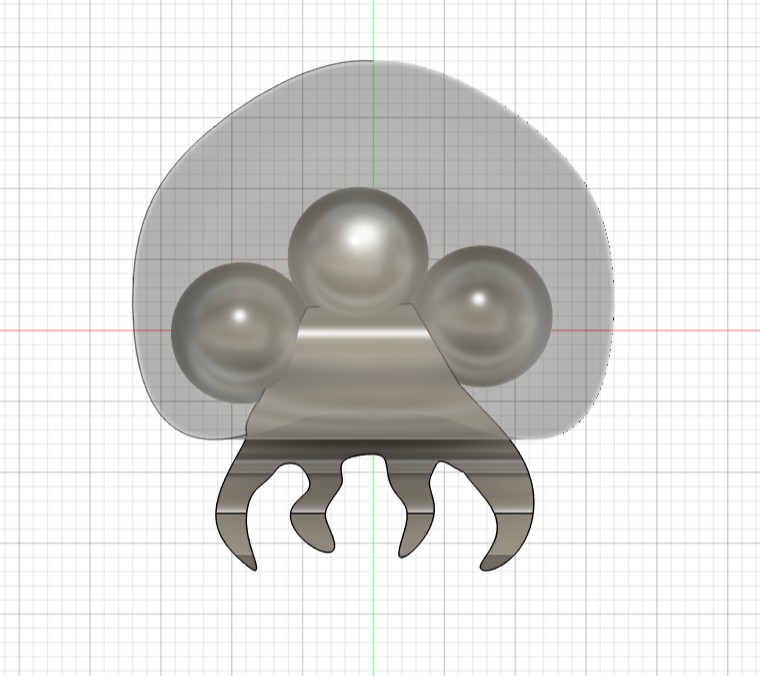
The next step was to dissect the metroid baby and create mold parts for its head and body. Since the head is made of sillicone, I used a negative CNC mold, while the body uses a positive CNC mold for the plastic.

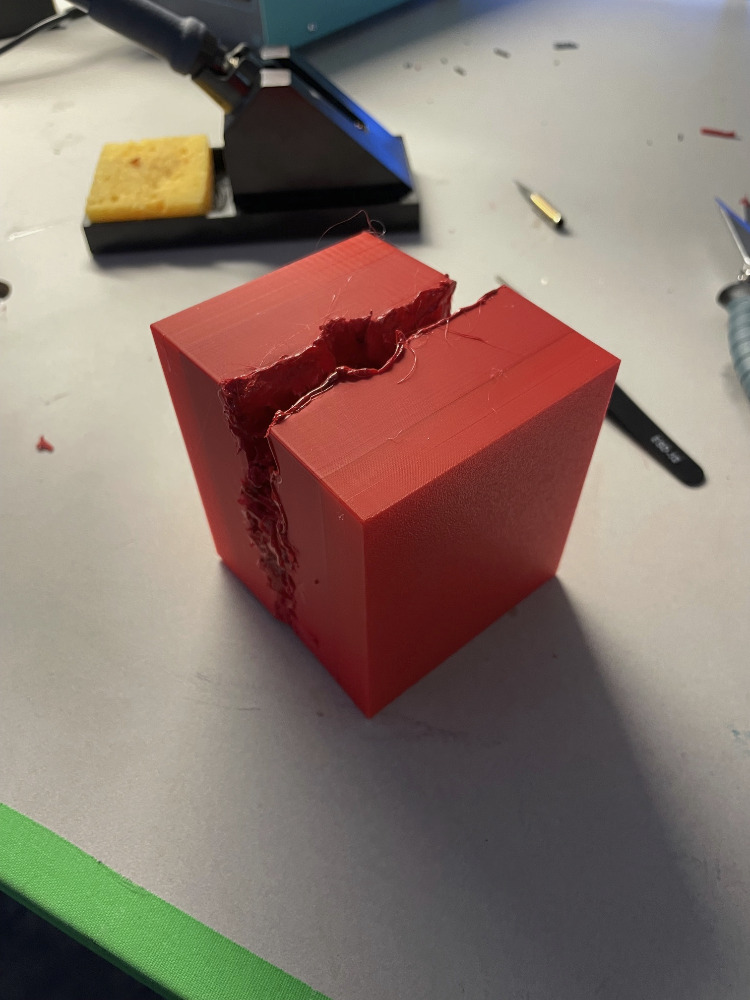
The model looked great, but there was one core issue. The teeth at the bottom were WAY too small and detailed to CNC accurately. Even better: changing the size of the body and head proportionally would cause additional problems for the head, where maximum depth supported by both the CNC wax and the milling bit would be exceeded and likely break the machine or the bit. If I had more time, I would definitely go back and remodel the body to be less wiggly, however in this situation I resorted to a different approach entirely.
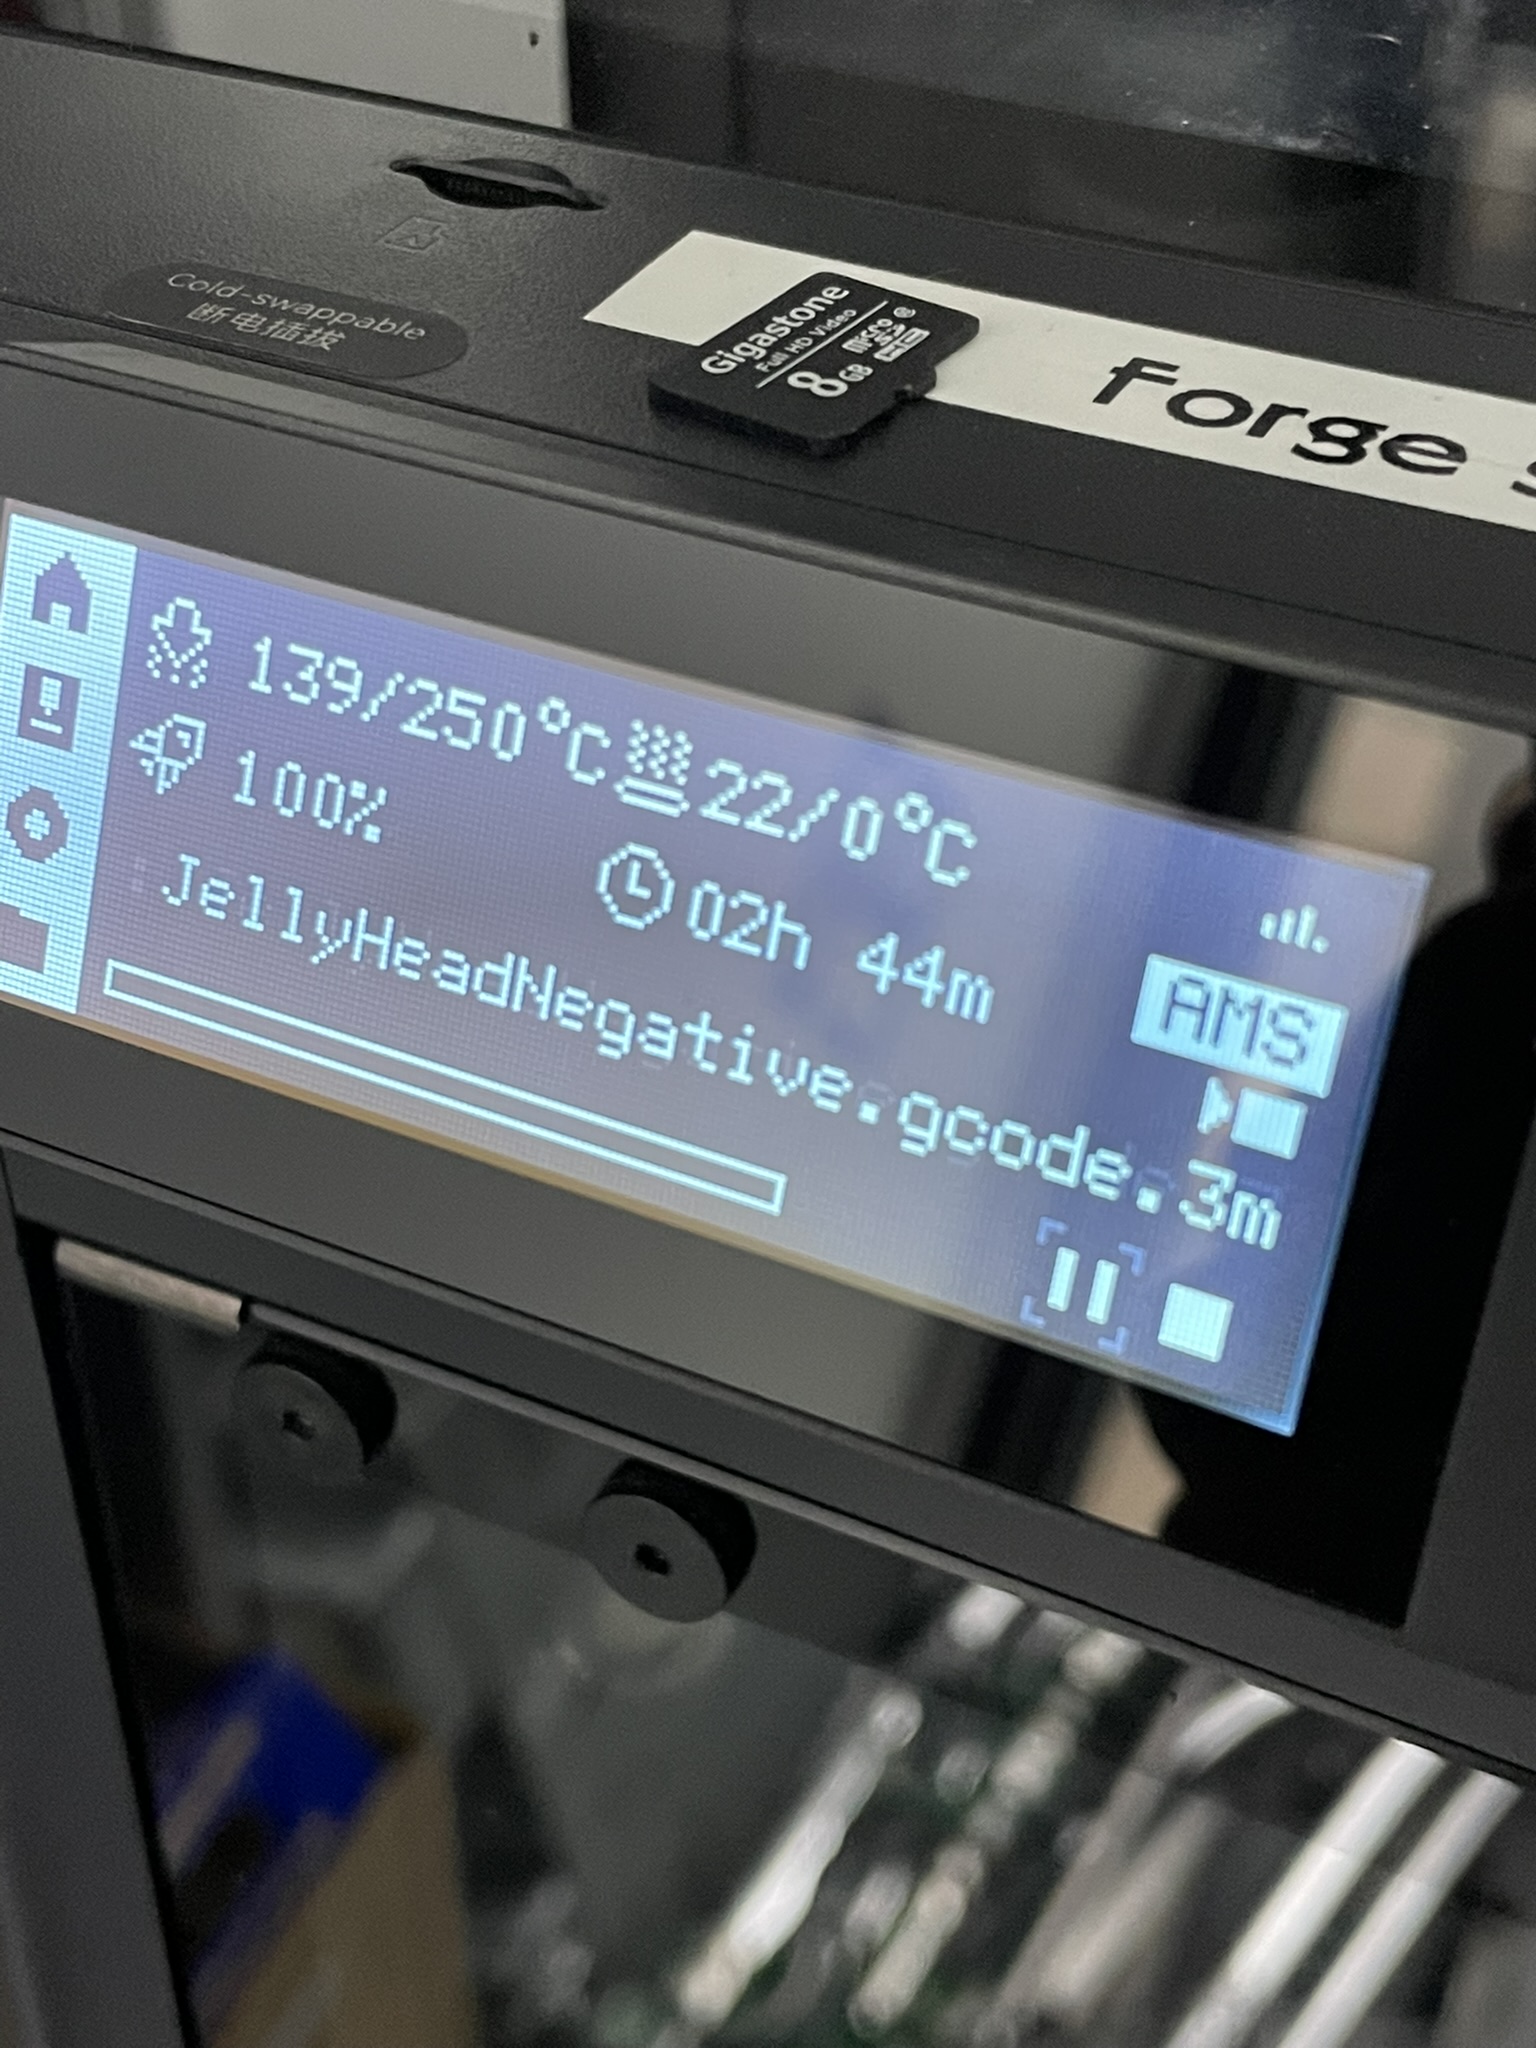
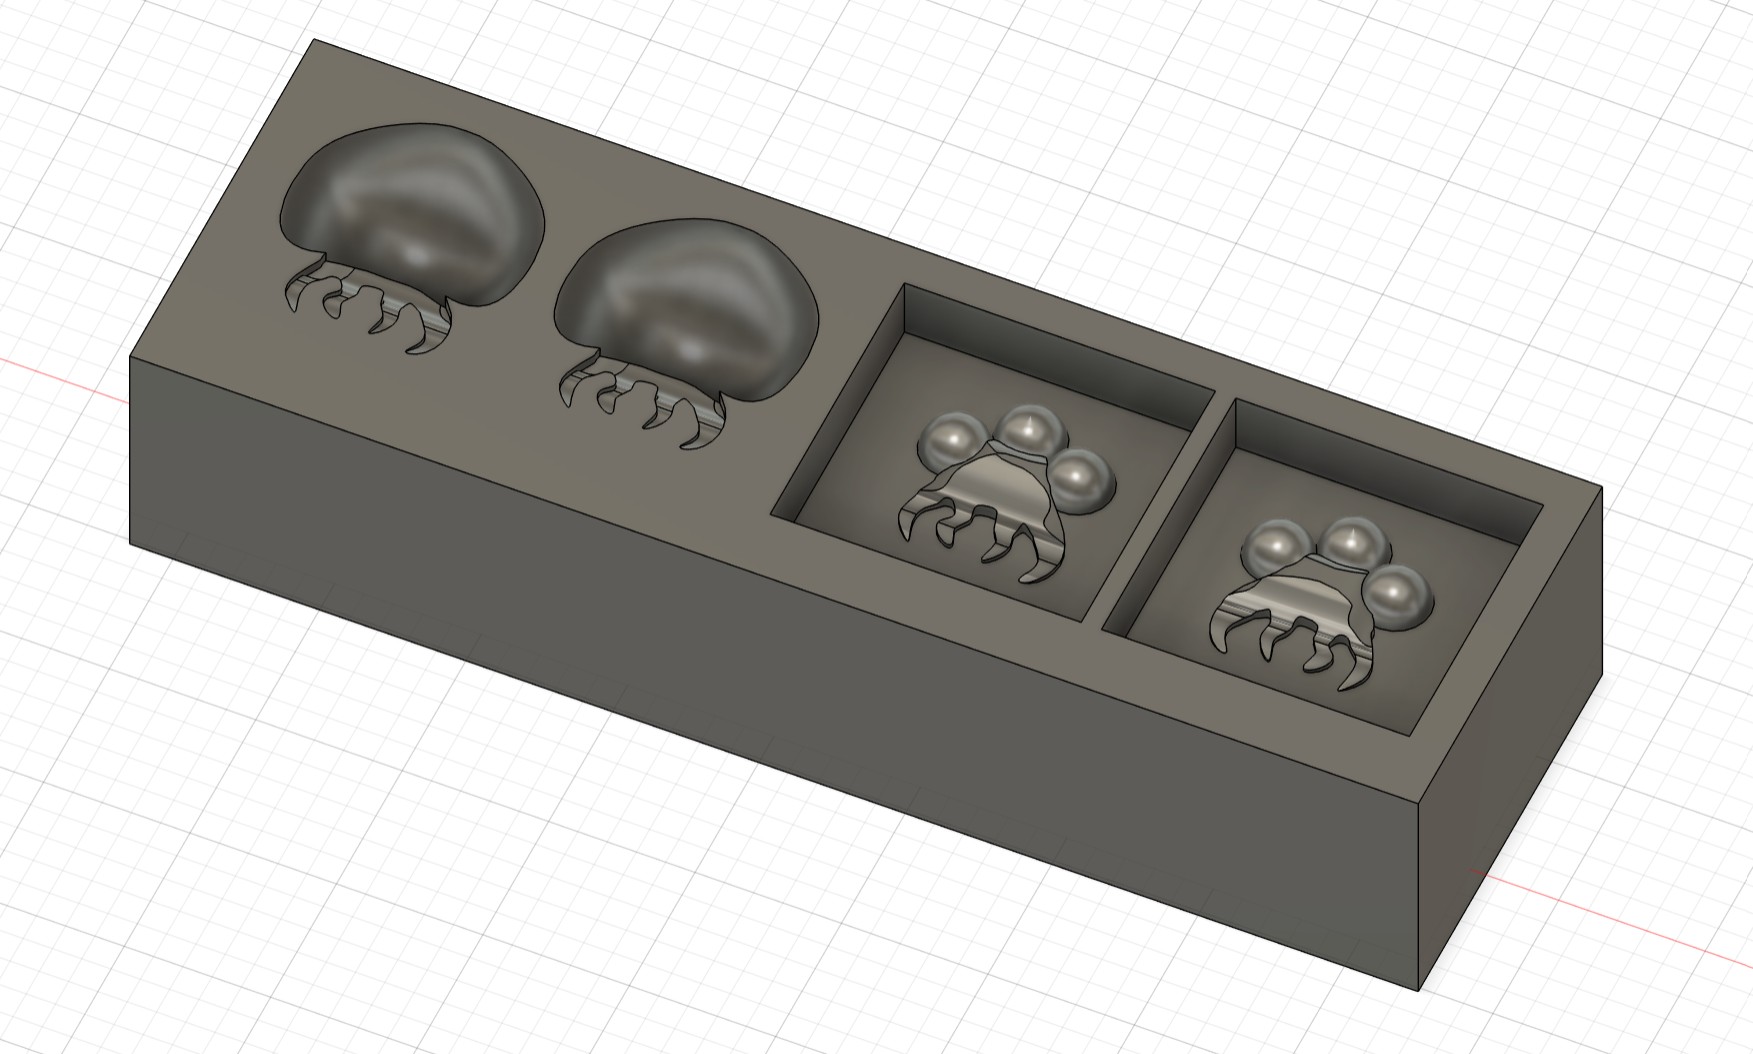
Sometimes the only way to finish one half of an assignment is to sacrifice the other half. As such I resorted to 3D printing the mold instead of CNCing out of wax, which should produce the similar results.
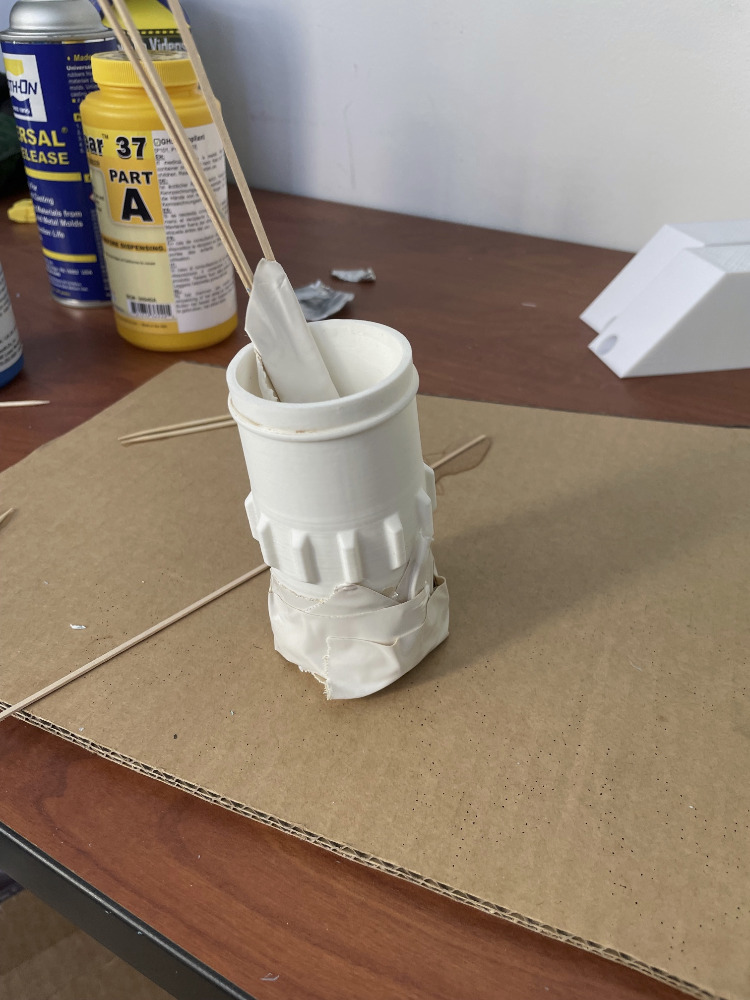
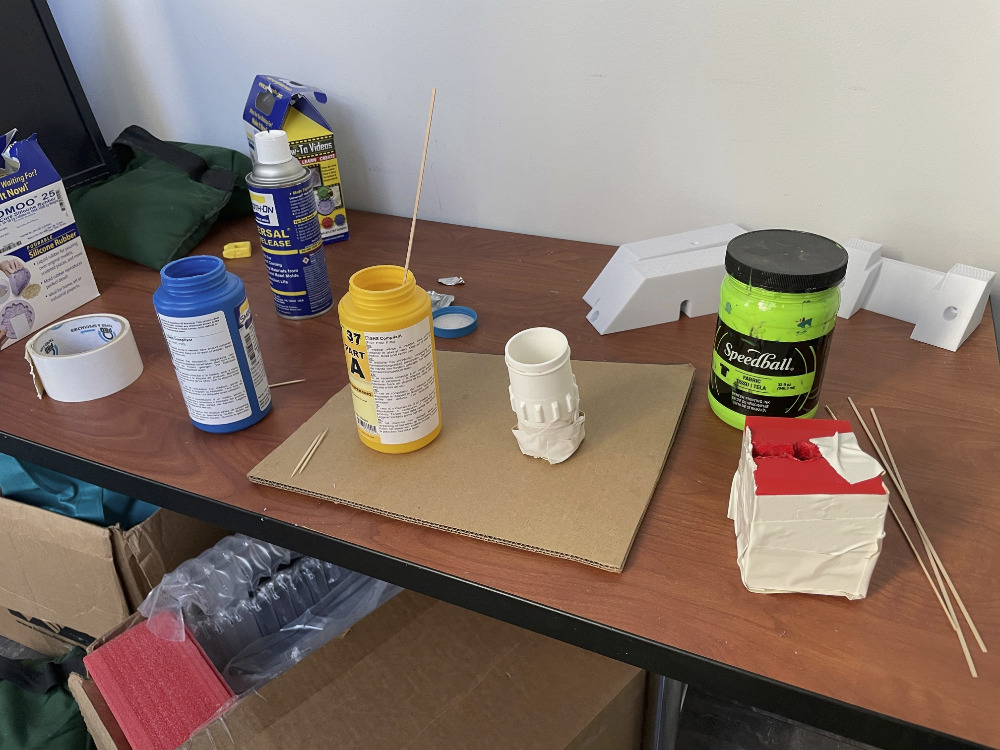
We ran out of cups, and I couldn't find the pigments, and I couldn't find popsicle sticks. Abusing PVC and duct tape saves me again.
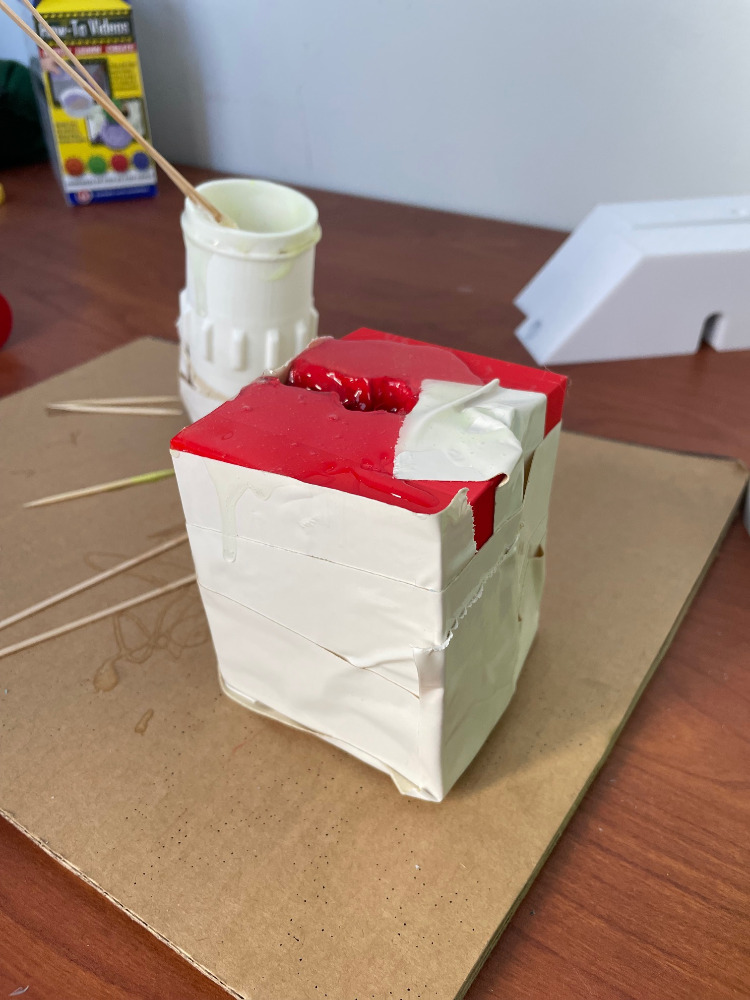
I pray the result looks somewhat like a metroid
I will update with resin later its still curing This was definitely the most cursed forge unit