I'm still not sure what I want to do with my website.
It's a little frustrating to still be looking at a white background.
I want to make something that spells me out.
I started staying in the IRL more often.
It felt like I had more time this week than previous forge weeks.
I'm confident I have enough time now; How do I make the best use of it?
3D printing - a quick guide
You need only two machines and two softwaresone of those machines has both softwares
The first software is fusion360; 3D-model your design.
To get to BambuStudio, you need a .3mf or .stl file from fusion360.
Export your model in fusion (file > export > .3mf), open it in BambuStudio.
In Bambu Studio, click "add" then select your file.
Here there's lots of features that control how your printer prints.
Click preview; You'll see how your printer will print.
When all this is done, you'll export gcode. There's a drop down in the top right corner, "export plate sliced file."
Some idea spaces have limits on the size of your projects.
This preview tab is where you see total time to print (XXh XXm) and its mass (g).
You are ready to export once there's nothing you've forgotten to include from your last attempt.
If it's your first attempt ever, then you can only forget to check the time and mass of your project
(e.g. you don't want to be waiting for 6 hours when it could have printed in 45 minutes).
About future attempts:
you might notice the size was too small (scale it up a bit).
After that, it might be the automatic tree supports are in unneeded places (use supports only for critical overhangs).
Next time, it might be nice to add a champfer (small, doesn't need to be large) to your outer edges.
Make a change each time and you're golden! :D
Concept to idea, slicing and your project's creation ...
This iteration just started! Good luck!
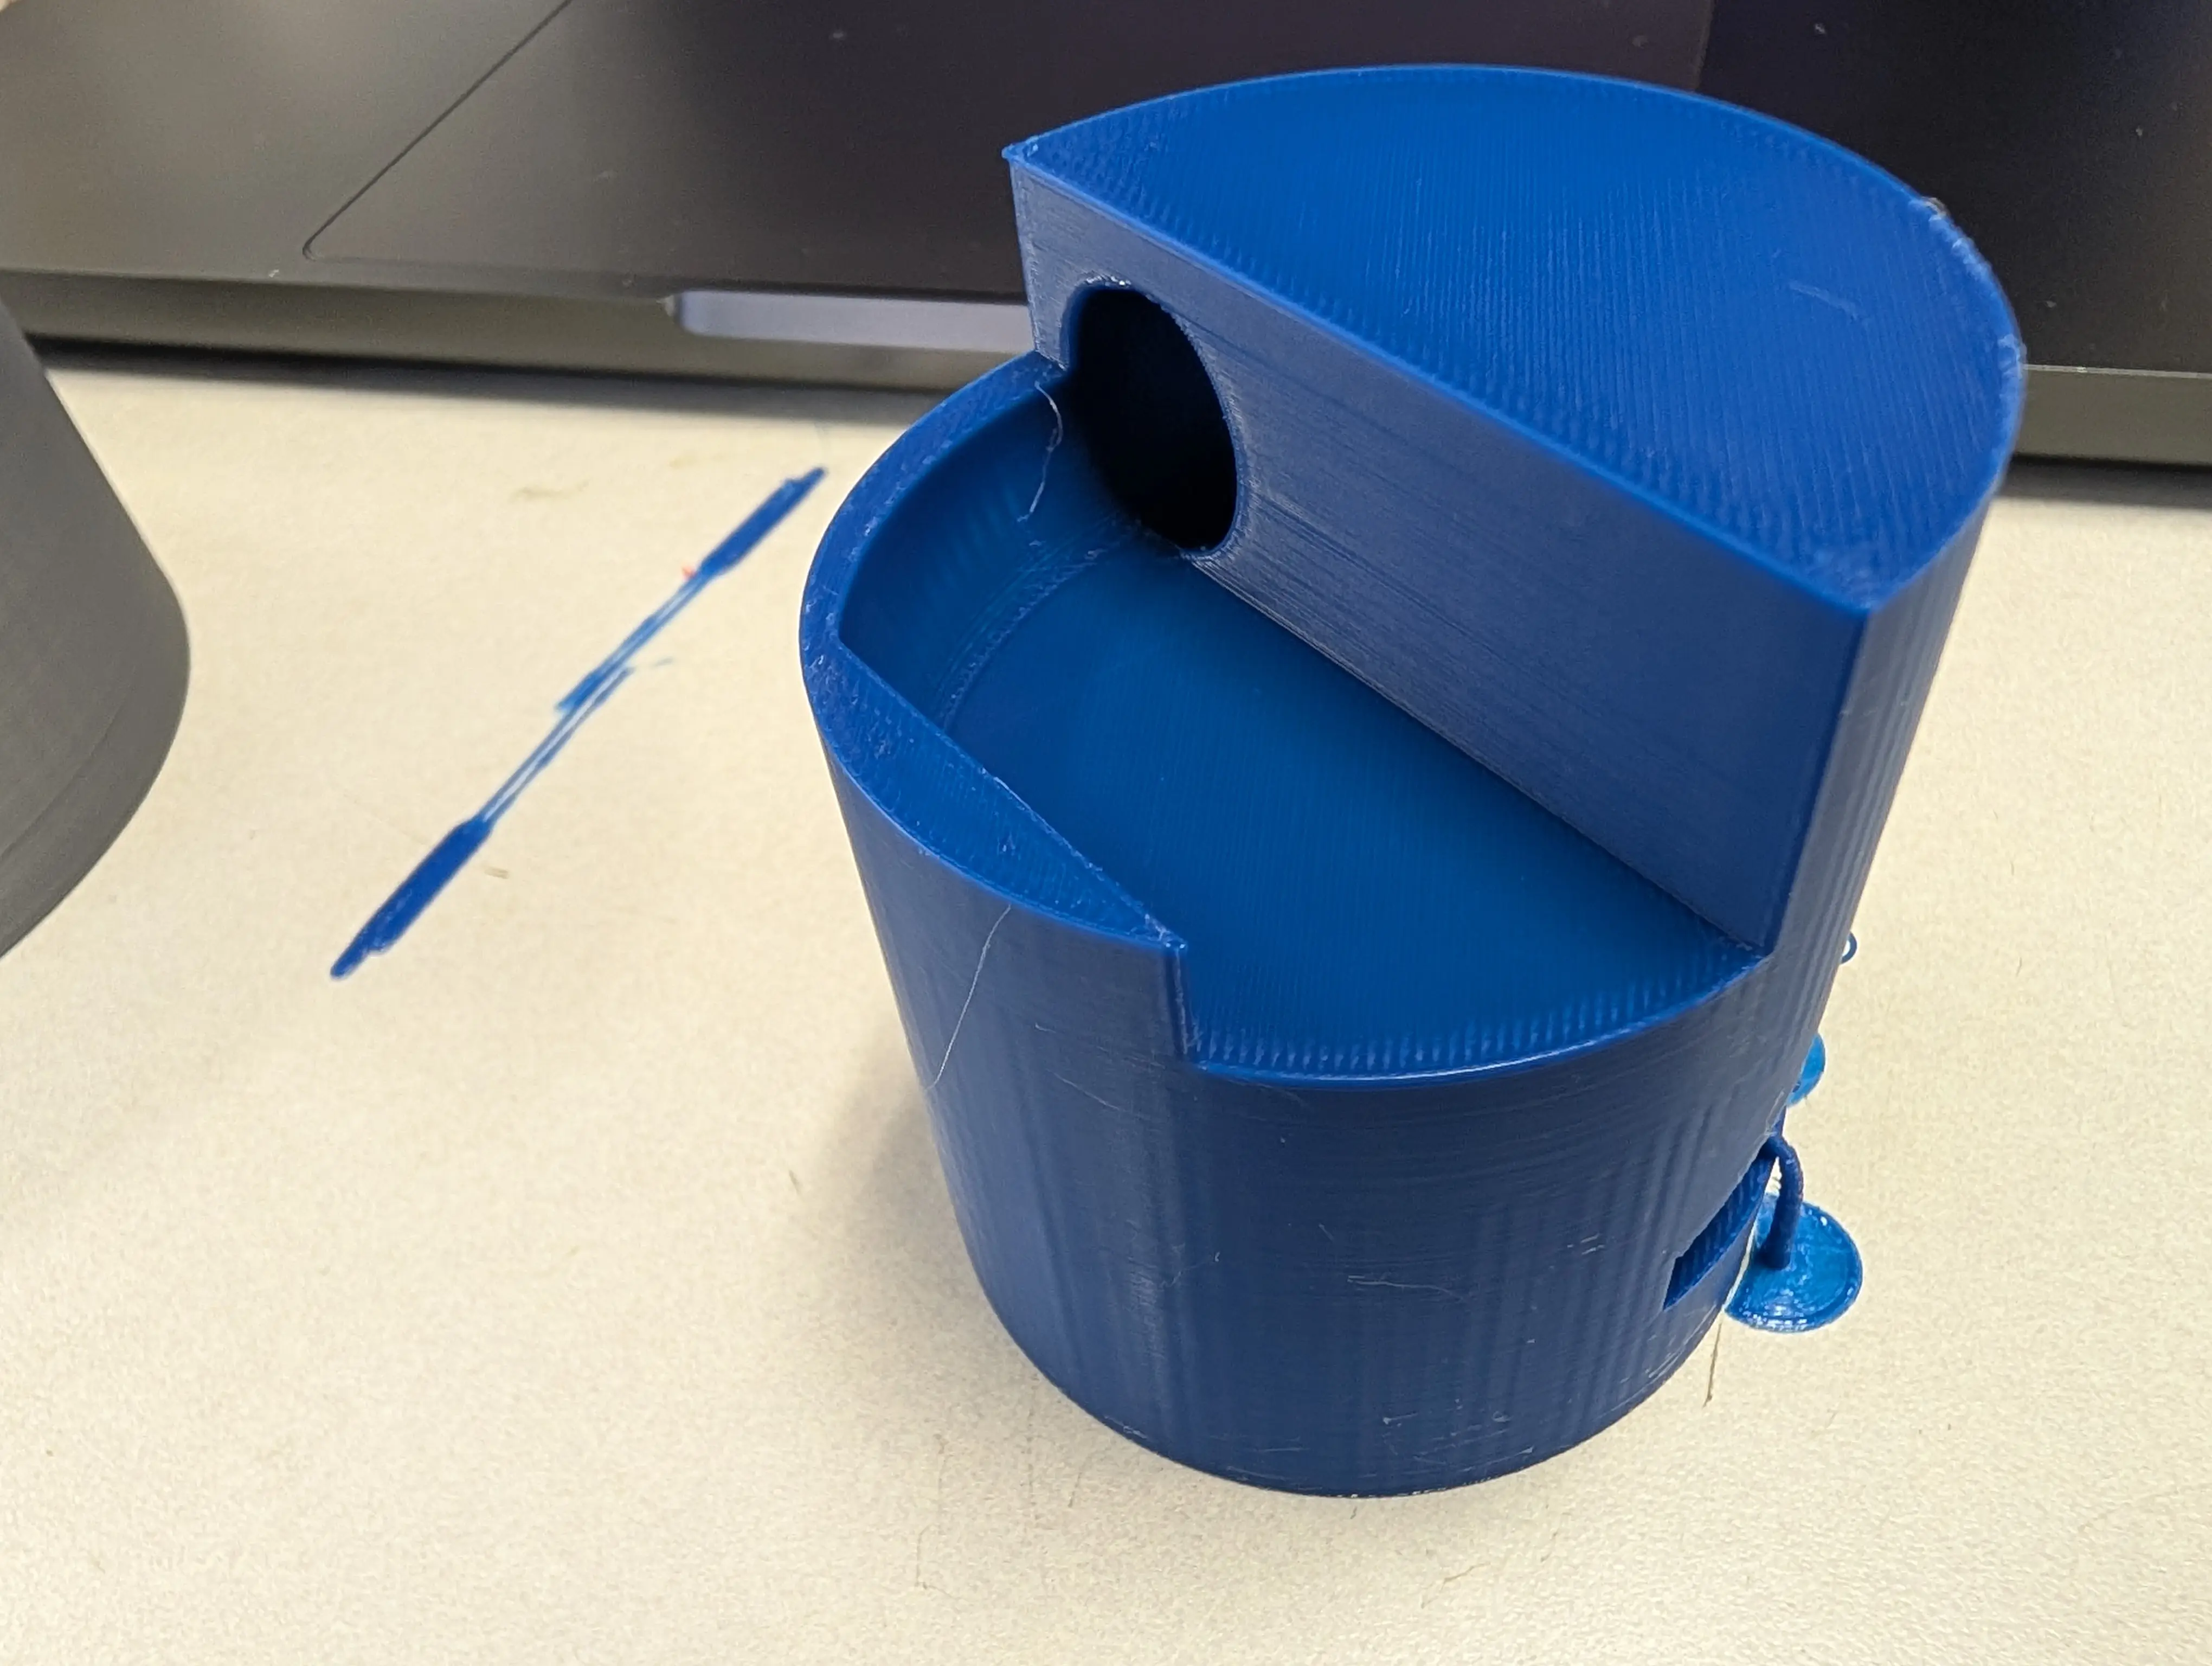
3D marble maze! (Well, a small part of it)
I made a helical chute for a marble to slide down.
This design can't easily be made by subtractive manufacturing processes.
- the hole at the bottom of the chute is blocked off at a sharp corner.
- the chute is too long for generic, flat edge instrument to reach into.
This project does so by having a spiral hole that is hidden deep within another object.

Coming up with an idea
Last school year I had created a marble maze as my final project for one of my courses.
I wanted to revisit that project.
Back then, I only knew the laser cutter and I was limited to cross sections of stock material to create the maze.
I wasn't experienced enough to use cross sections at the time. During the forge, I experimented with laser cutting cross sections.
Now, I wanted to try doing another thing I couldn't do before: 3D printing a maze with different elevations, connected by ramps and chutes.
I ran into some trouble though. The marbles I had were too big and the printers were too small.
I couldn't 3D print a complete maze without taking an exuberant amount of time.
Even accomodating normal size marbles meant that my prints would take up most of the printing space.
I decided for now that I'd try to at least experiment with height differences.
I played around with coils in fusion. Let's just say, I'm not easer to try them again. I might stick with lofts.
Eventually I got them working (as you saw above), but they're complicated and don't do what I want them to do.
Trying to use coils
For anyone trying to use coils: don't.
Well, to be fair, you can make them work.
I wanted a cut through my object in the shape of a helix with the top and bottom openings to be tangent to the plane they connect to.
This is the situation:
Fusion360 lets you move coils around as solid bodies, but coils can also cut through existing bodies.
Cuts cannot be interacted with, therefore you can't position them the same after creation like you can with solid coils.
Coils meant for cutting
- can't be shifted along the axis its height grows along.
- can't be rotated around the axis its height grows along.
You first have to create an offset plane, place the coil onto it, commit the cut, then shift the offset plane.
If you want to rotate the coil to cut, you can't rotate it. You have to create the body you want to cut first, then move it to overlap the coil.
Create the coil, cut. Then rotate the body back into the place you want it.
Your timeline will be filled with operations before and after the coil's creation.
Those actions are only there to help position the coil. Fusion360 doesn't let you position cuts directly.
It's tedious to understand at first, and it still doesn't do what I want.
To top it all off, if you want your coil to meet an elevation tangentially with its height parameter, it seems you can't.
It's as though the extending side of the coil will always be non-tangent to the elevation it meets.
You need to add more tolerance by increasing the diameter of your coil, or accomodate it by slanting the slope it meets with.
If you have advice for any of these things regarding coils, please reach out to me; I'd very much appreciate it.
For now, I'm gonna try lofts instead. : /

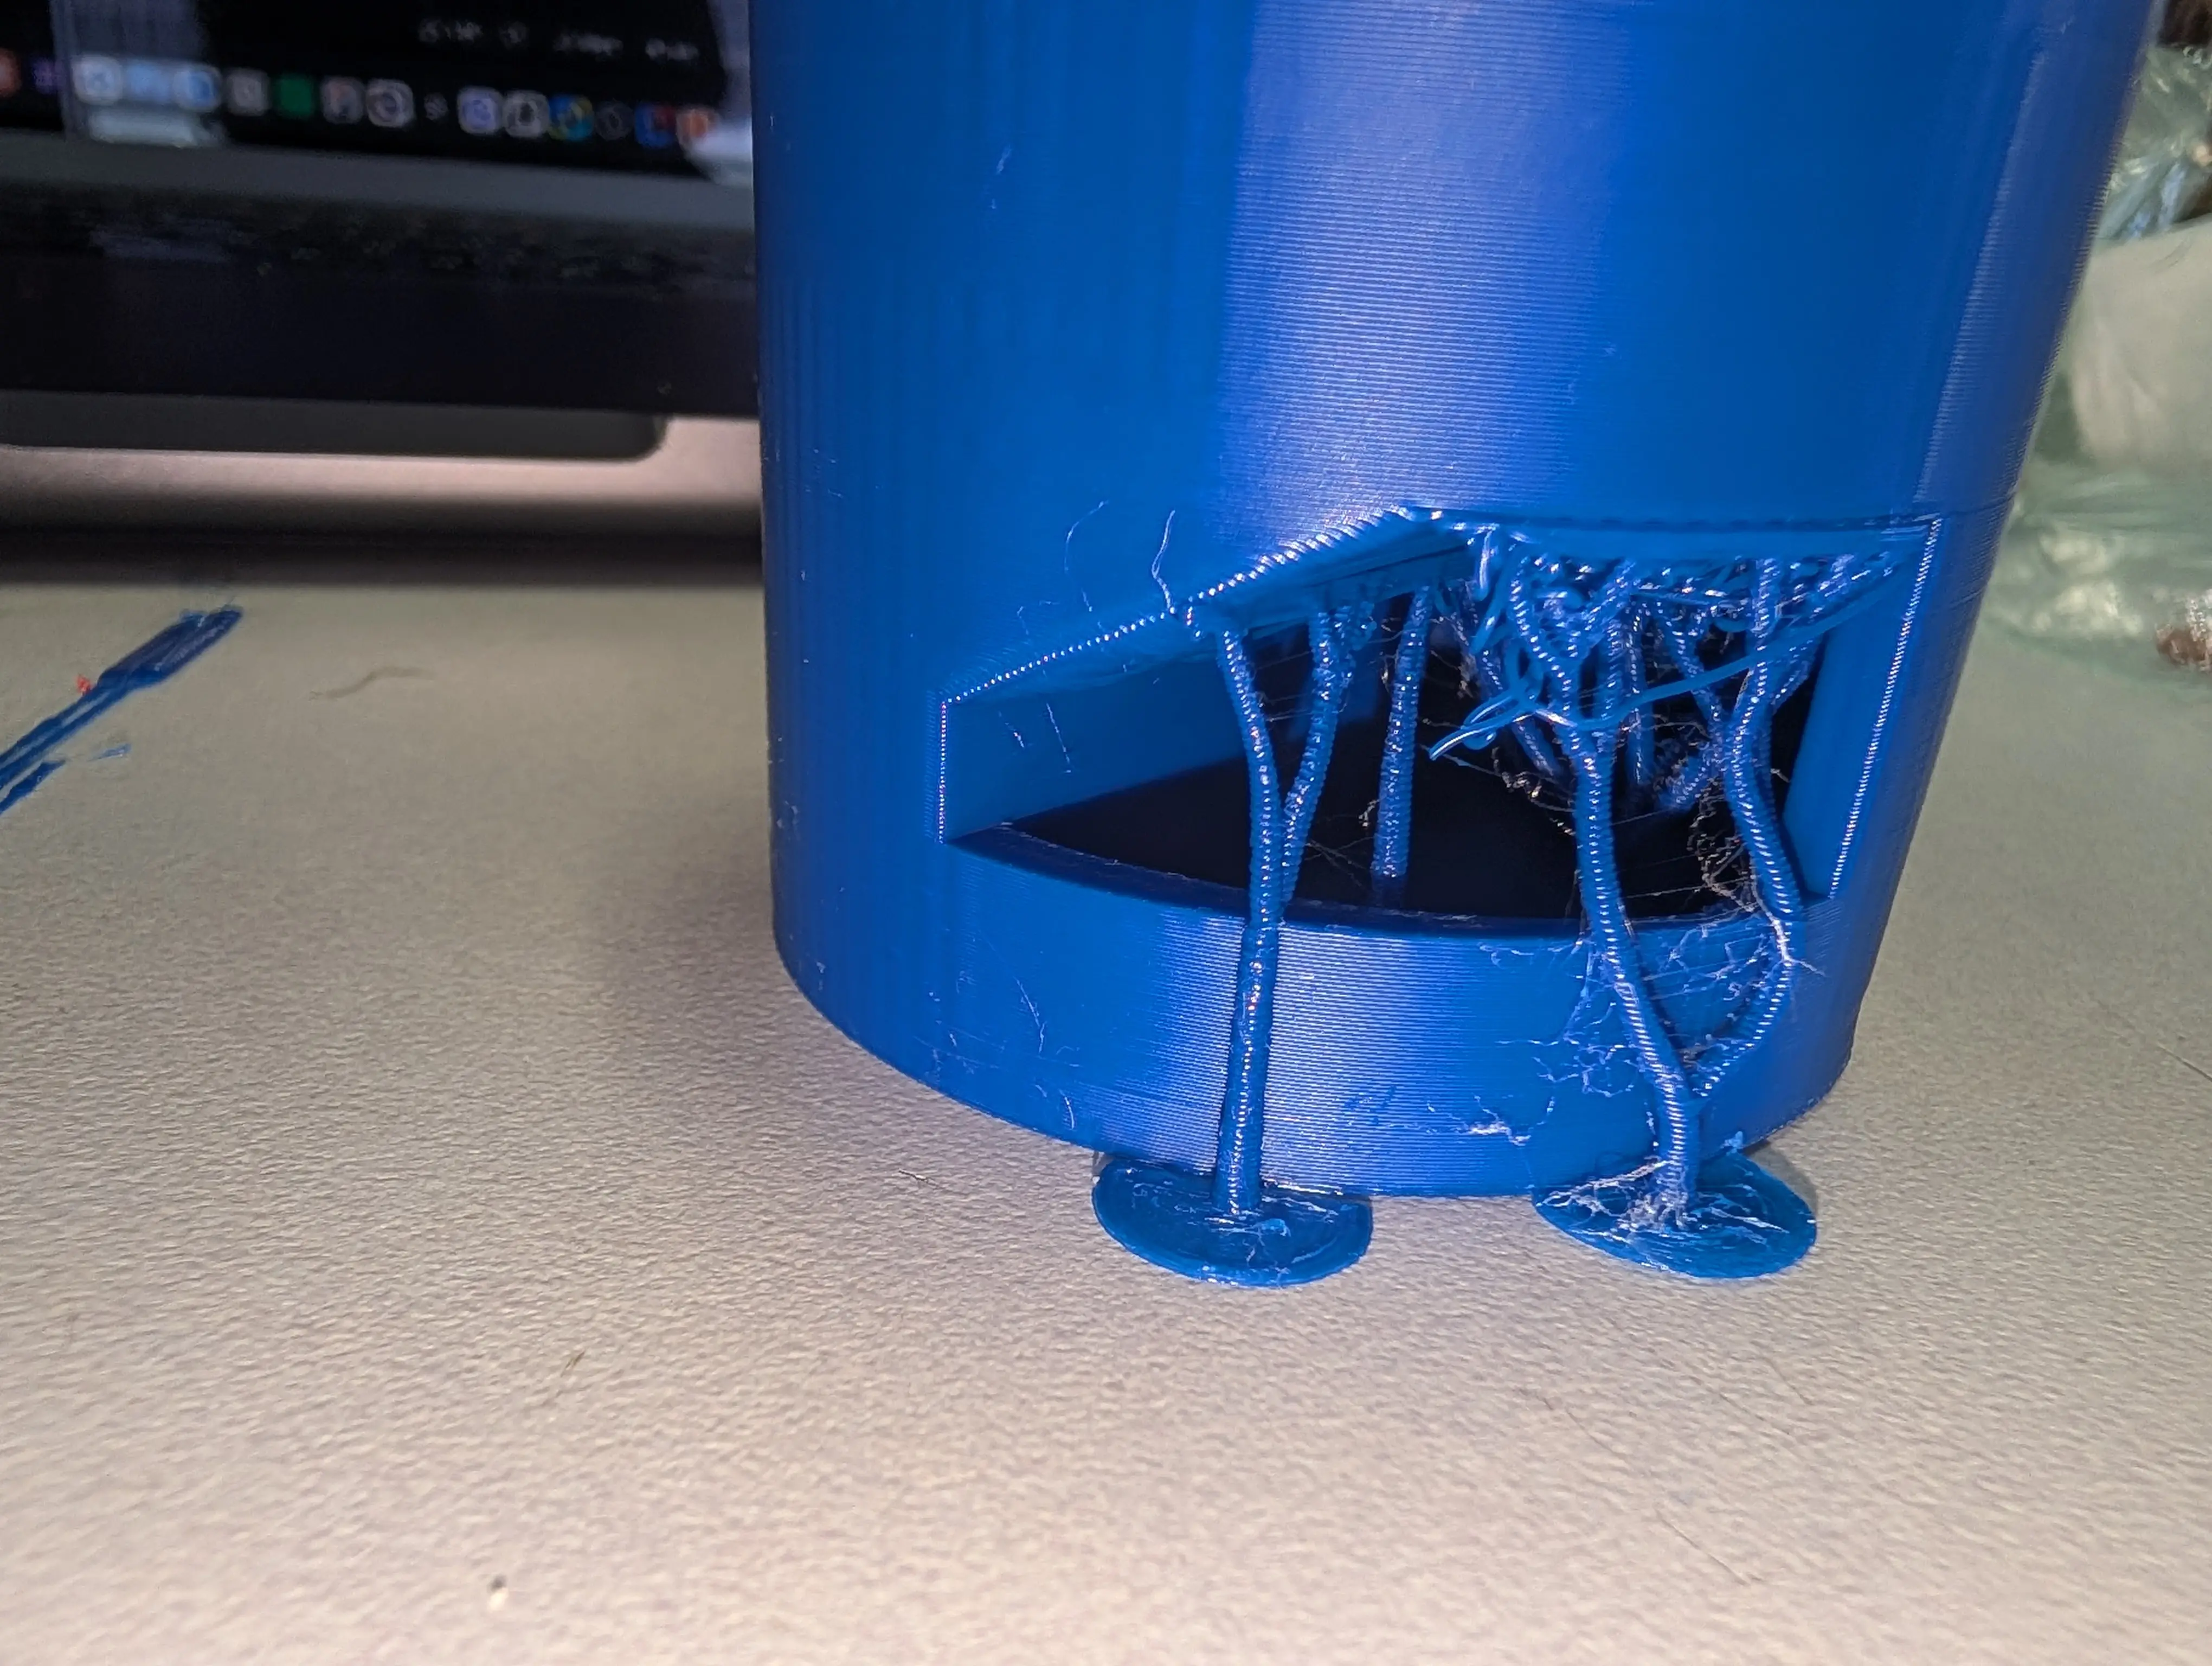
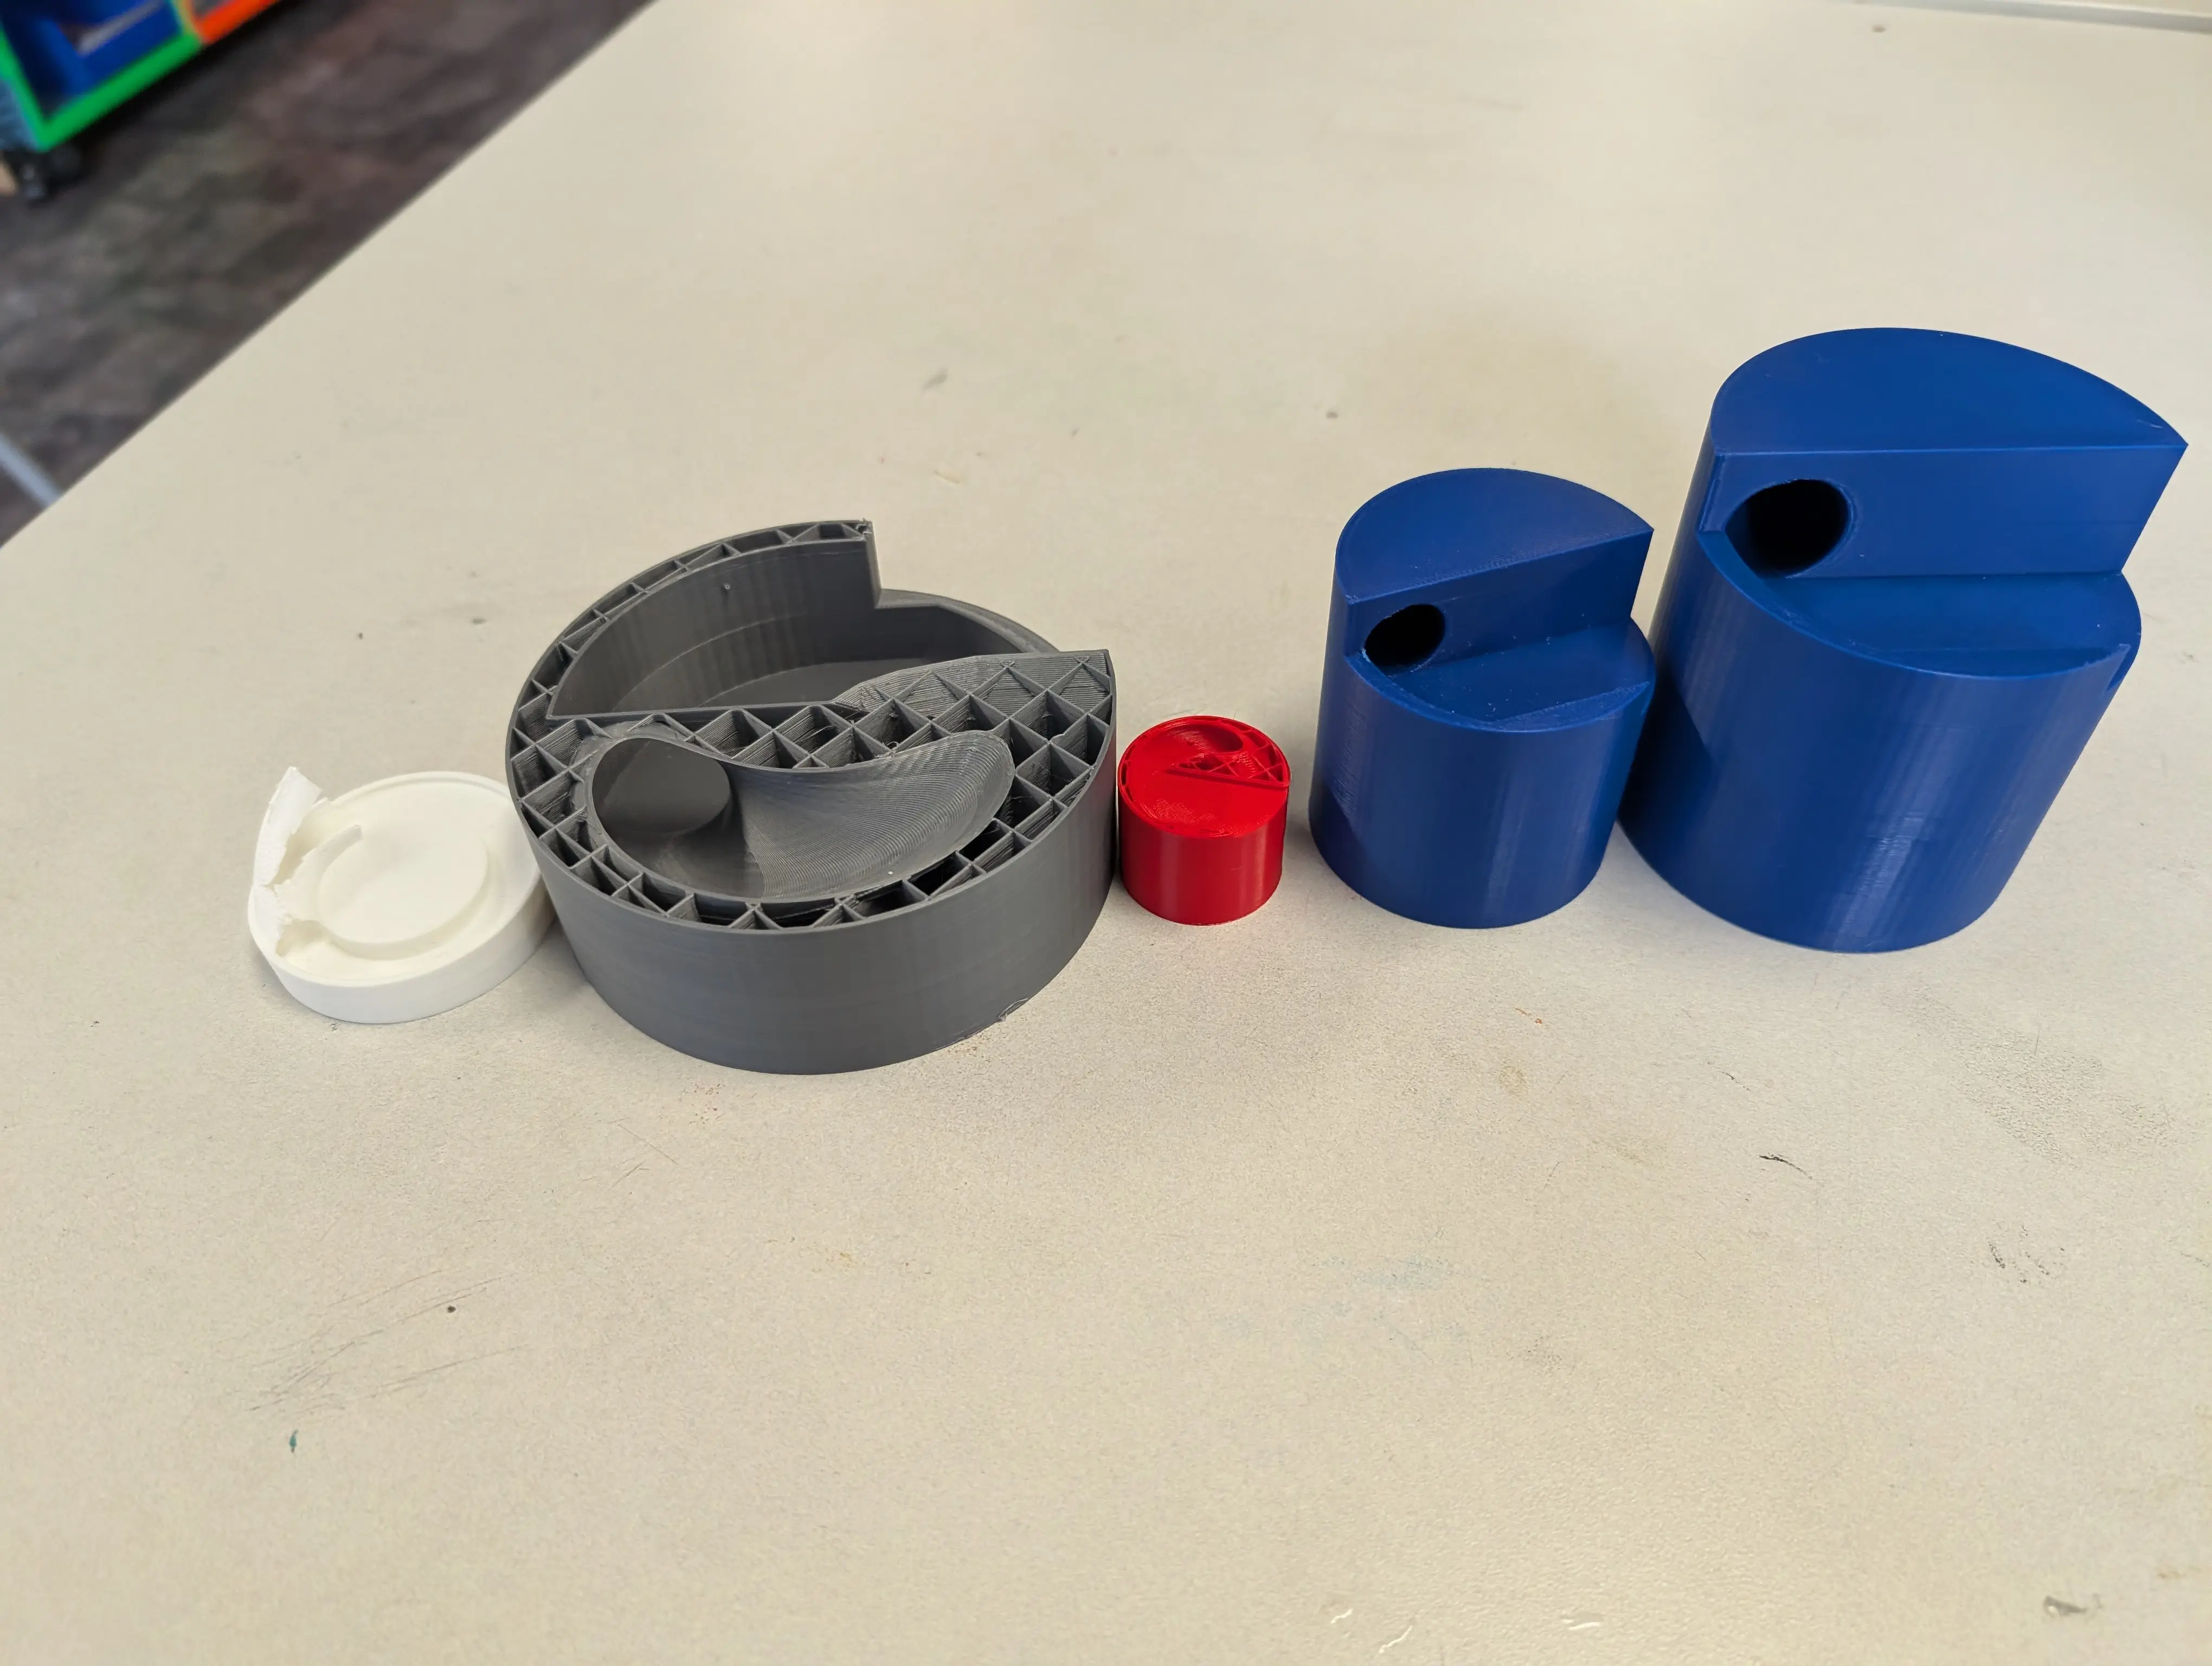
Printing (Failures and Success)
So... my successful print was actually my 5th print for this project.
(I had done a total of 7 prints this week. The two other ones were from a bonus project I'll talk about later).
I started with a small test. I wanted to try creating a small goal stand simliar to the ones in Super Monkey Ball 2 for the gamecube.
It worked! but, it easily broke off
The last print was too small, but I learned that I could use coils for ramps and tunnels!
Next I developed a cylinder shape. I wasn't satisfied with the exposed arch, I wanted to make it a tunnel.
I made it too big :|
I made it too small :|
I made it just righ-...
My marble got stuck again :/
Okay, this time I got it right.
The design didn't change between iterations, just my approaches to using BambuStudio and handling the 3D printers.
At the beginning of this page, I put my little guide to 3D printing.
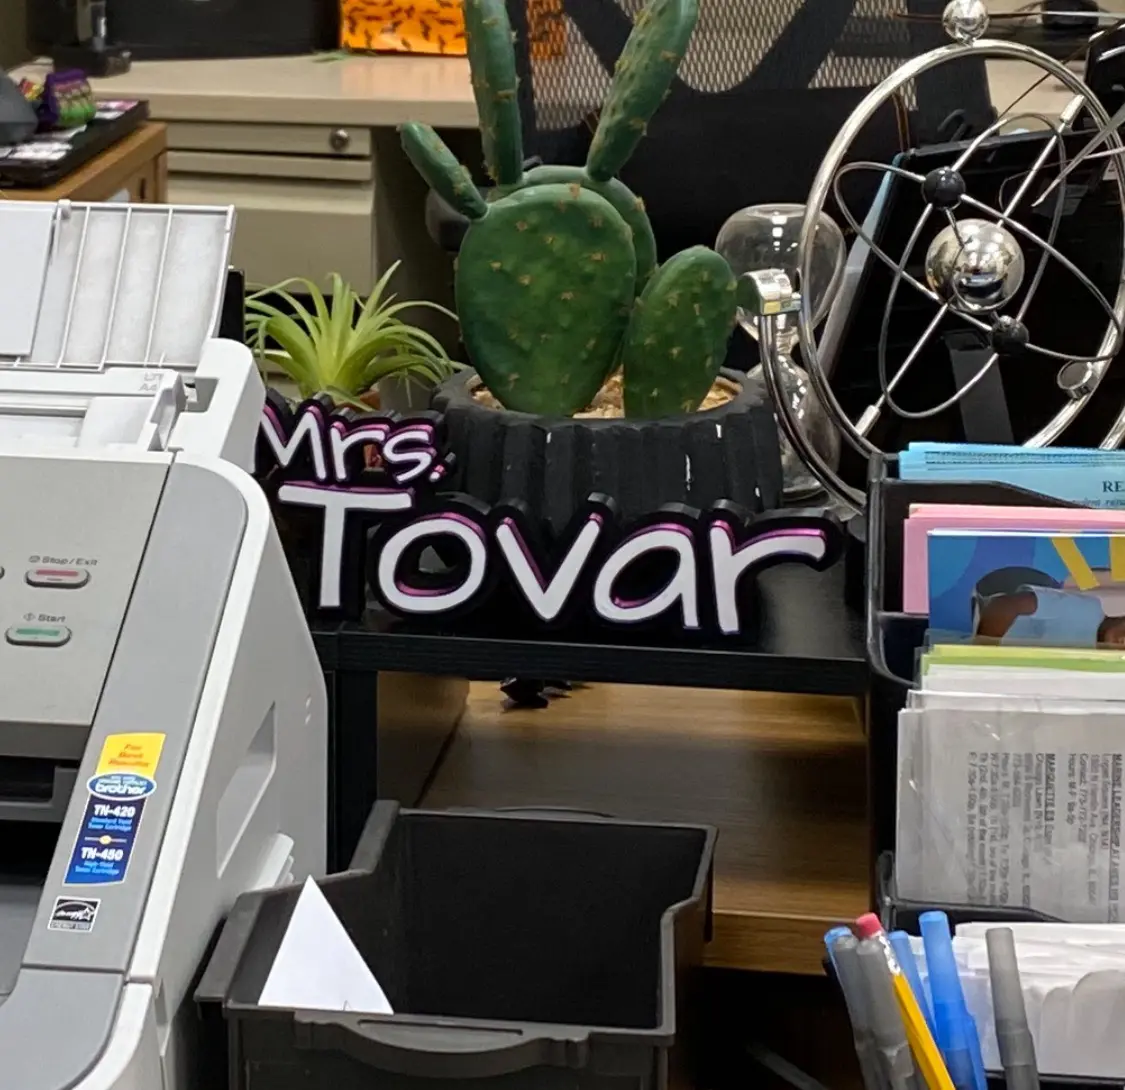
Bonus!
I spent a morning creating the design and that night gave her a test print.
Then, the next morning I printed it out to size.
I did this all before starting my marble project.
It was my first time 3D printing with multiple colors, but I think it turned out quite well c: