Week 4: PCBs and Soldering
Yet another crazy week.
My idea was to make something simple. So I went with a cute bunny design.
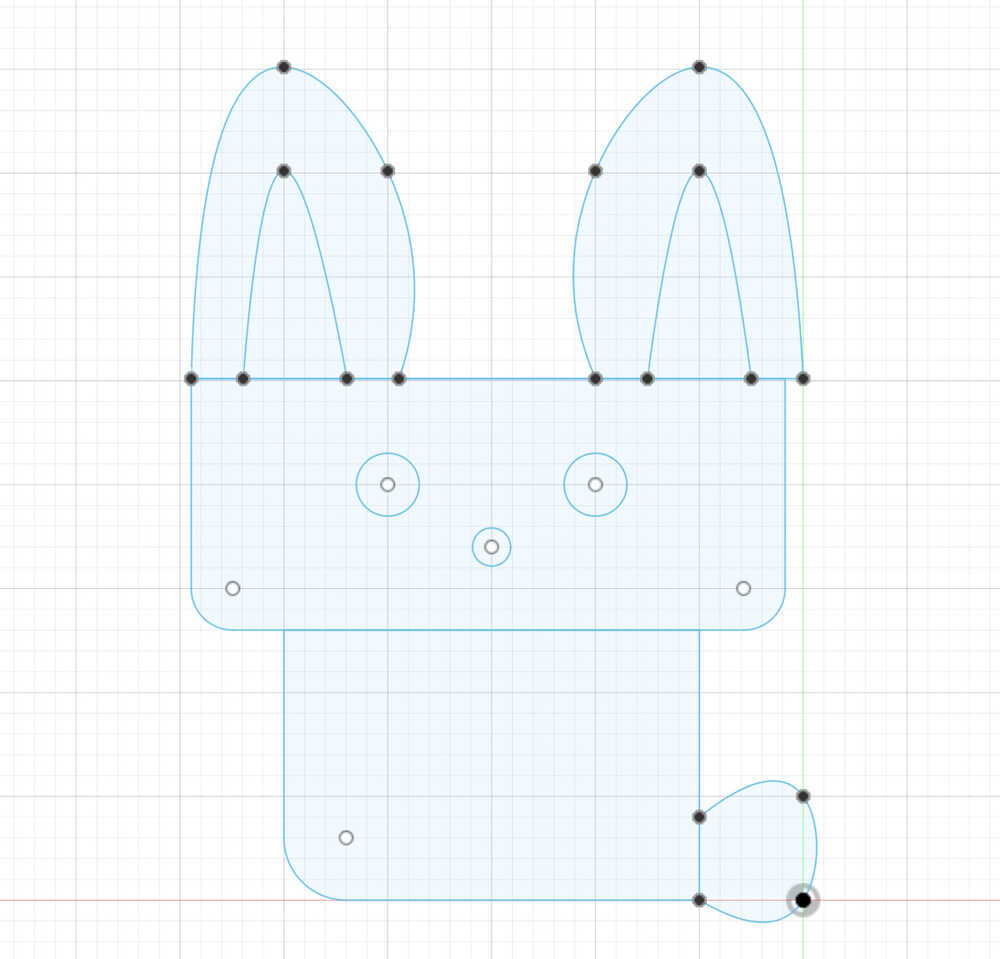
However, I made circles for the eyes and KiCAD didn't like that.
- Basically, it wanted to cut out the eyes. So I said "I don't want to deal with that" and scrapped the eyes from the design.
After I finished my design, I spent a lot of time trying to find the microcontroller for the part.
- Turns out I didn't need to do that.
- All I had to do was find connectors that would make a line of holes
Then I started making the pcb in KiCAD. It went pretty well.
I sent my entire PCB design to OshPark and heres a picture of that design.

After that I started preparing my PCB design for the Carvera.
I heard that we only had 1206 peices and not 0603 so I had to restart my ENTIRE PCB design because I designed everything around 0603 peices.
Finally, I finished my design and sent it to the Carvera.
Everything was going well.
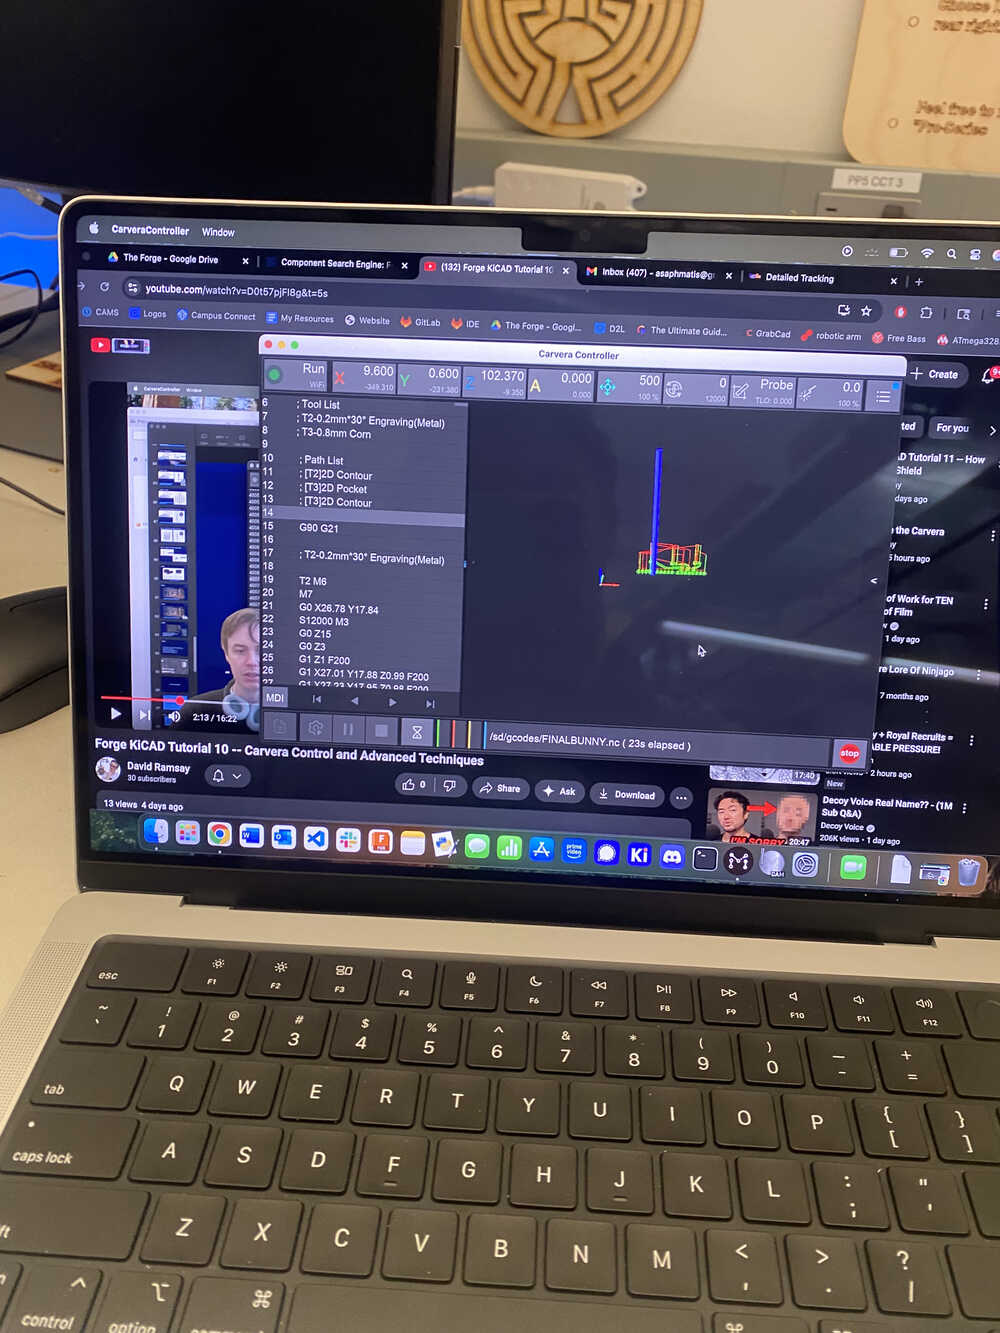
A video of the copper being cut by the Carvera
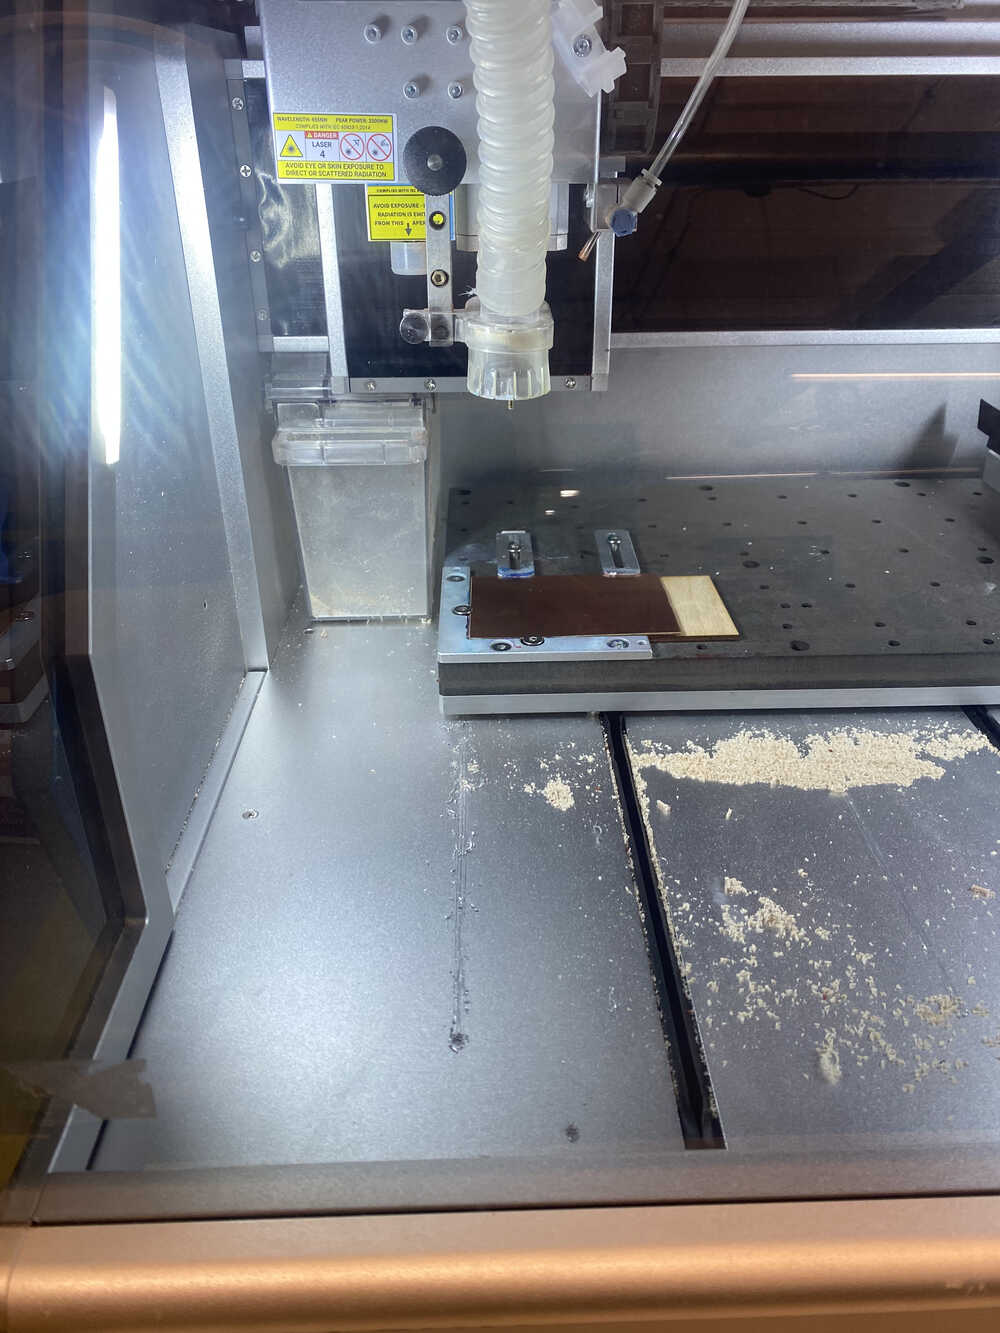
Until it wasn't...

The reason this happened is beacuse when the Carvera was self leveling, it touched ever so slightly the metal peice holding the copper.
I thought that since my image was smaller than what it showed me, it wouldn't need to go towards the metal peice holding the copper down.
This mistake broke the corn bit.
I called Nate to help and turns out we have a lot of back up corn bits so at least I didn't ruin everyone elses time with this project.
My second try at this I made the engraving a little more deeper to 0.6mm instead of the 0.05mm I used the first time.
- In hindsight, this was a bad decision because I increased the engraving to be 12 times greater.
Also, I complelty changed the design to be a simple rectangle.
Heres a timelapse of my second PCB board being made.
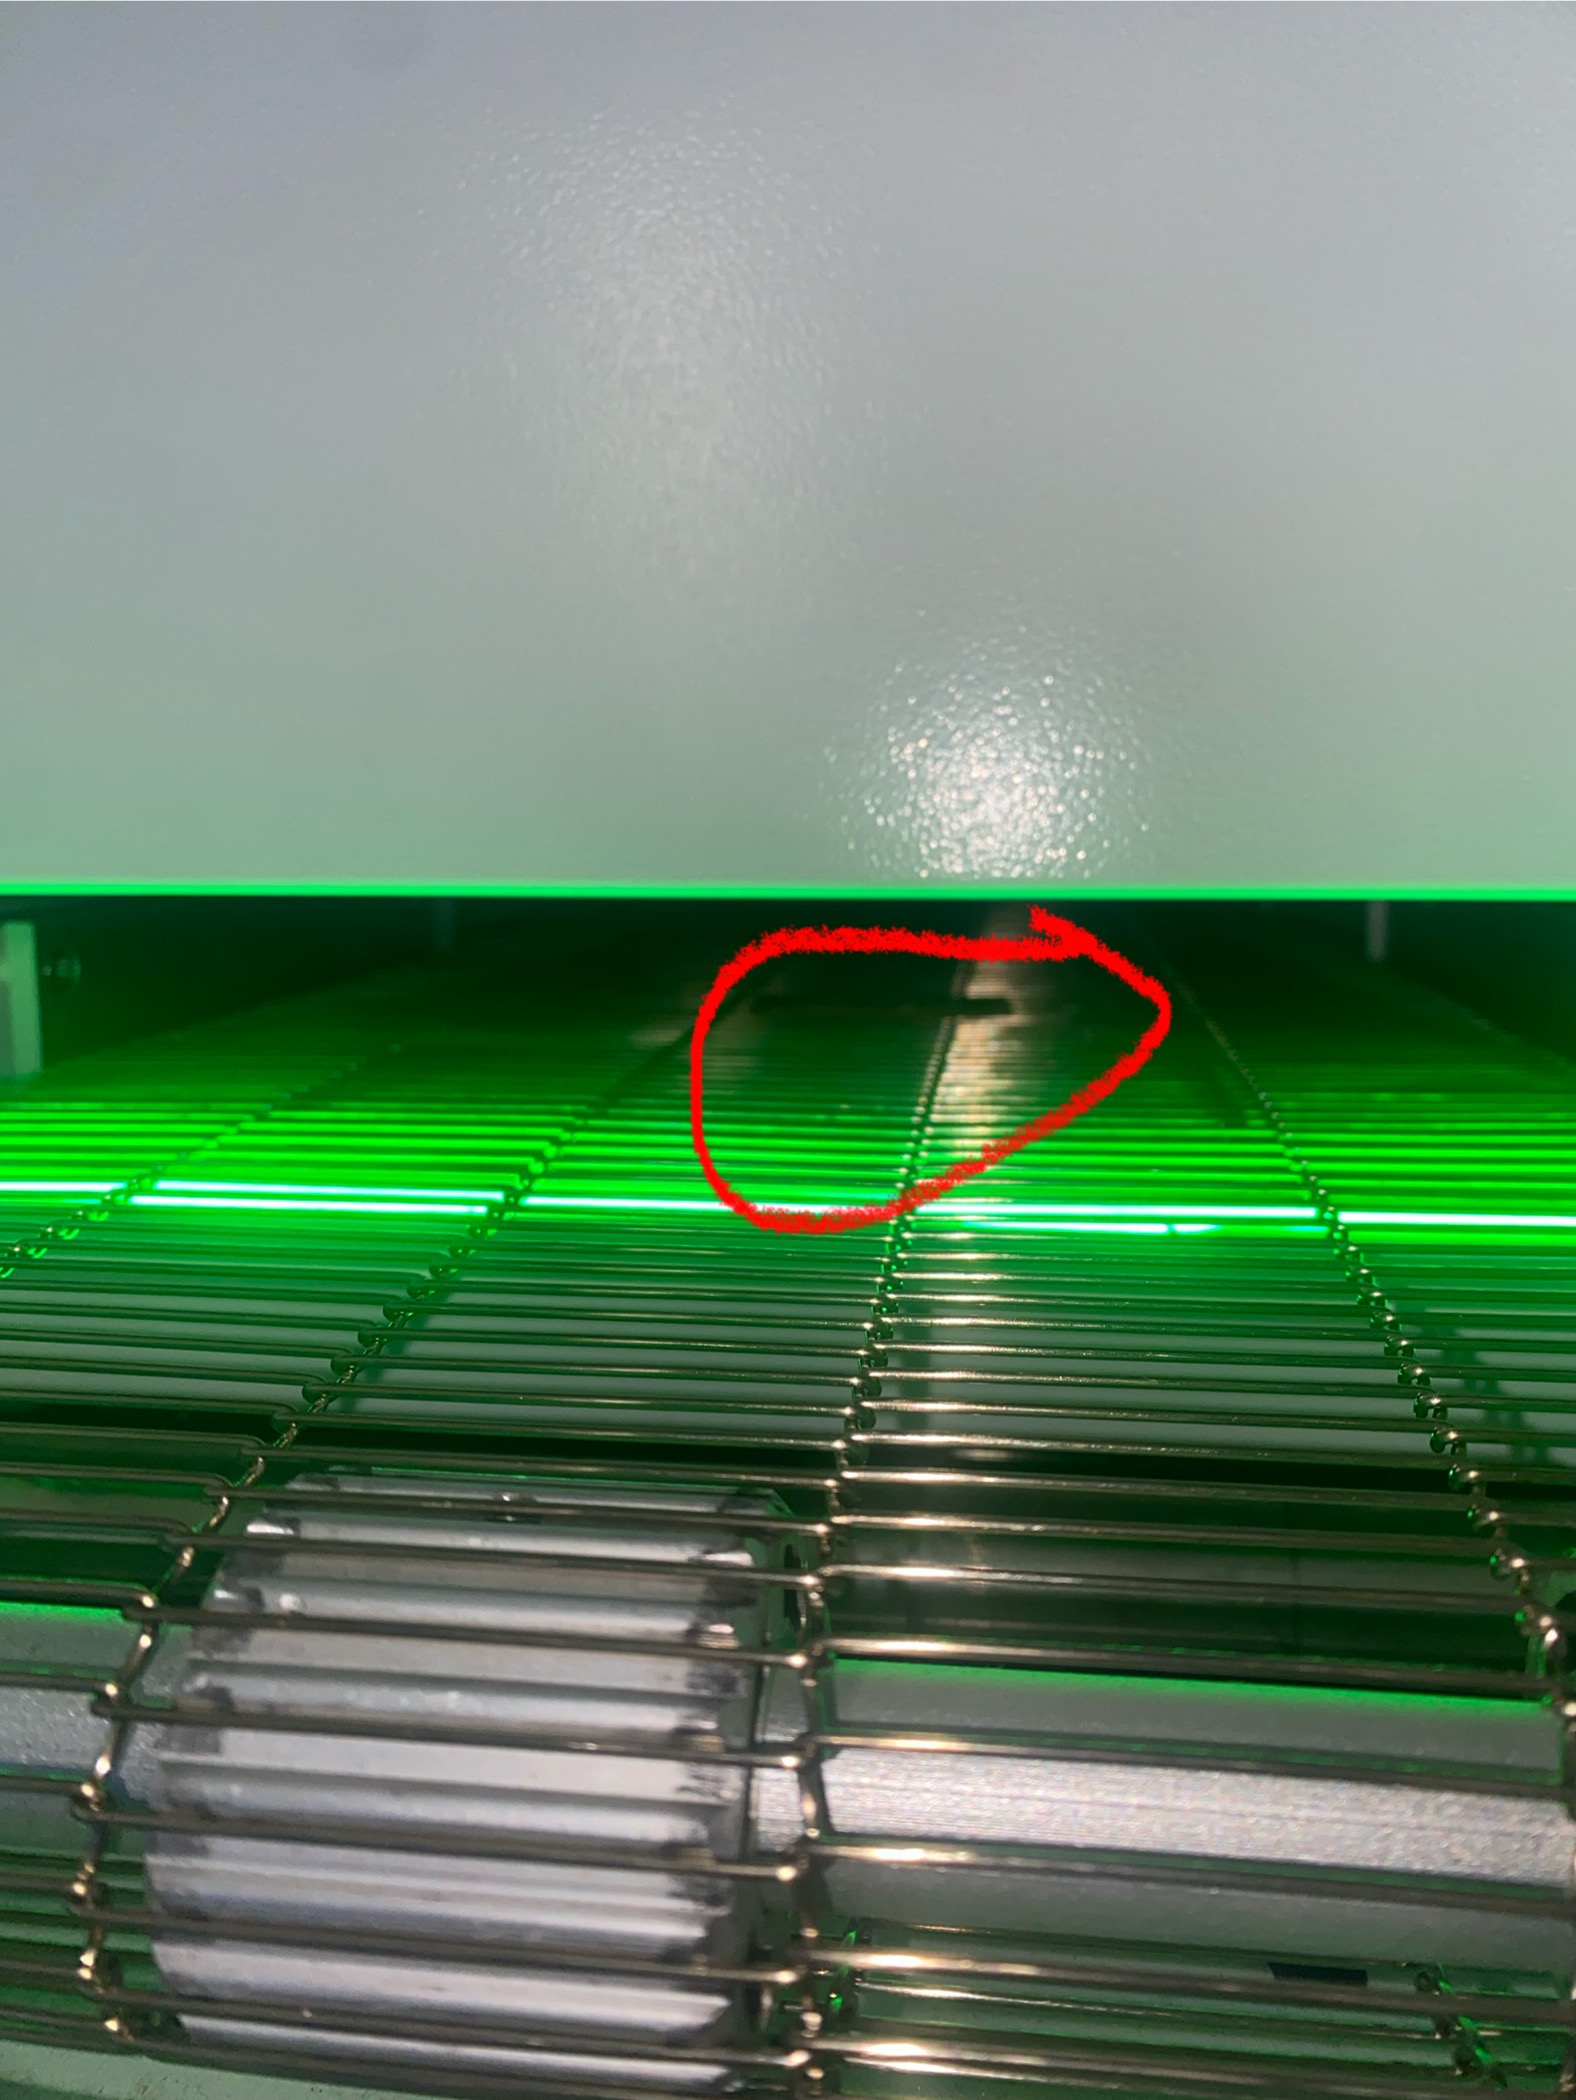
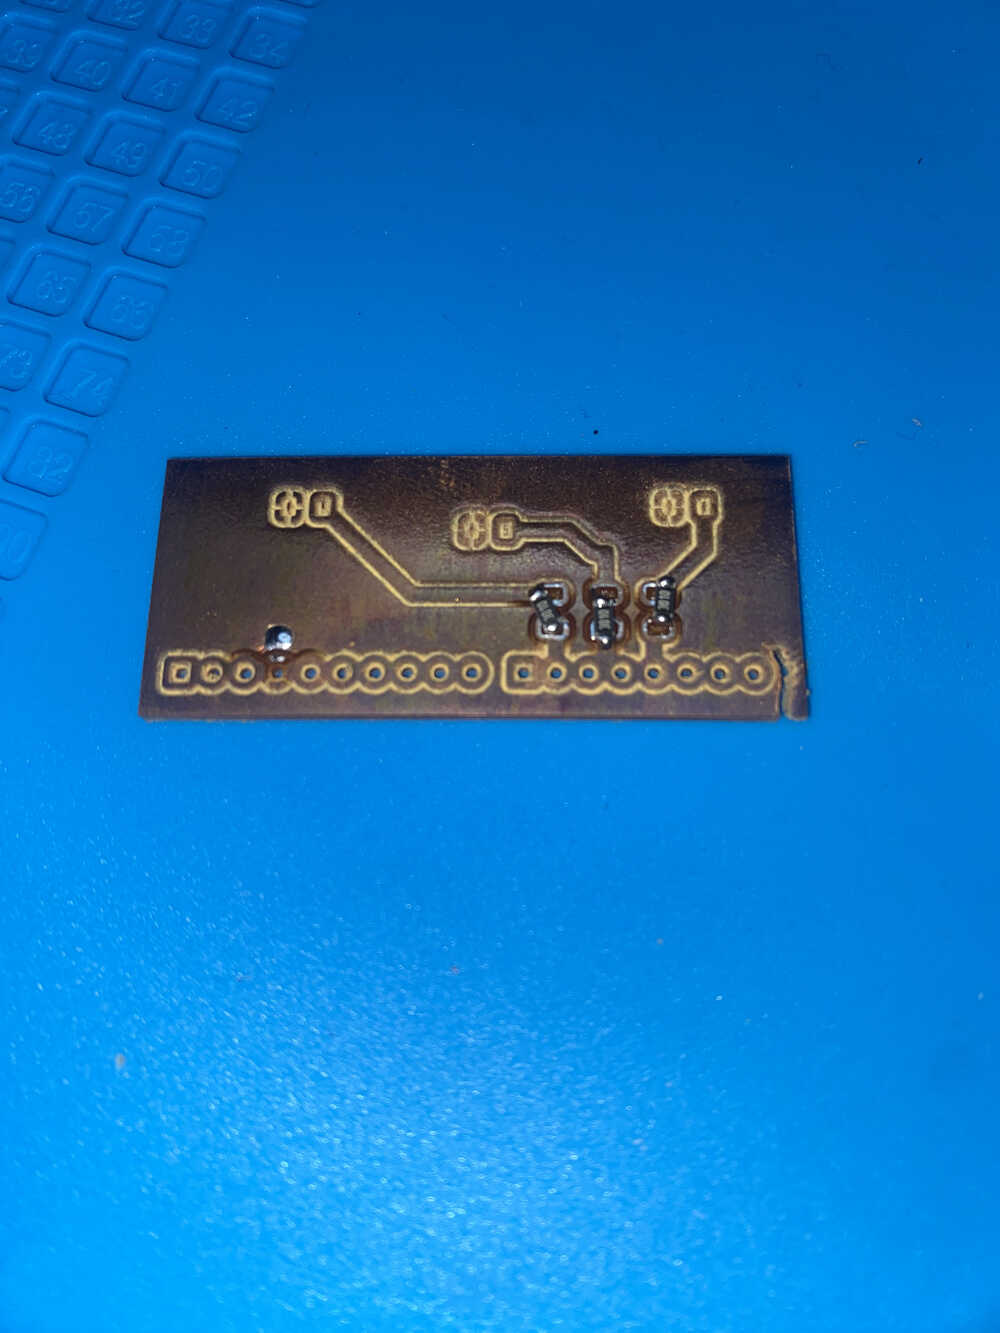
I finished the second PCB with some success. As you can see...
- I was rushing and didn't put tape under the copper
- This caused the corn bit to pull up the PCB board, causing the messed up line on the bottom right.
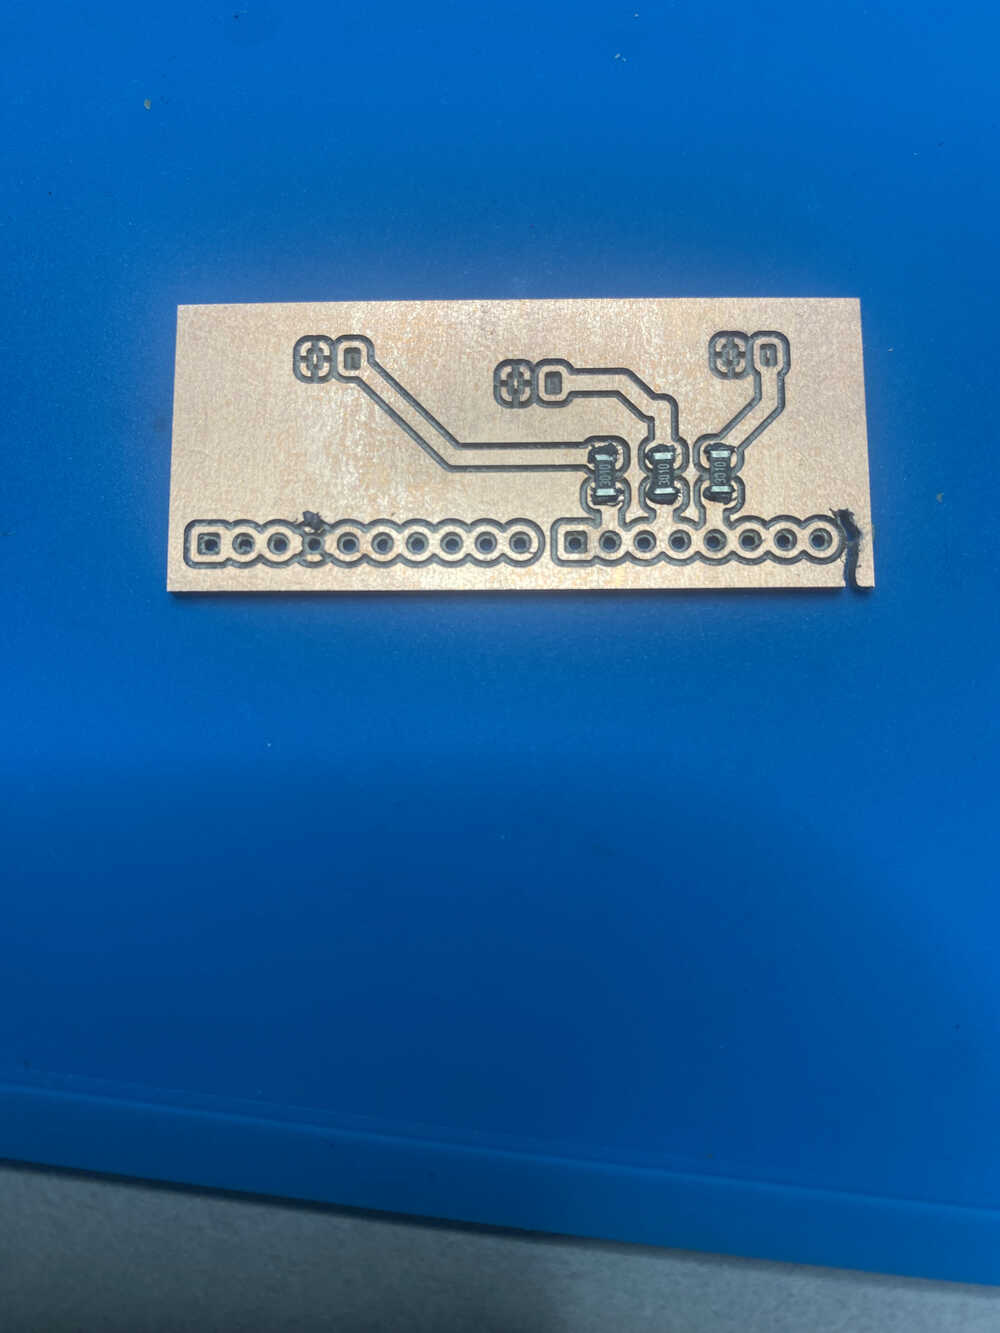
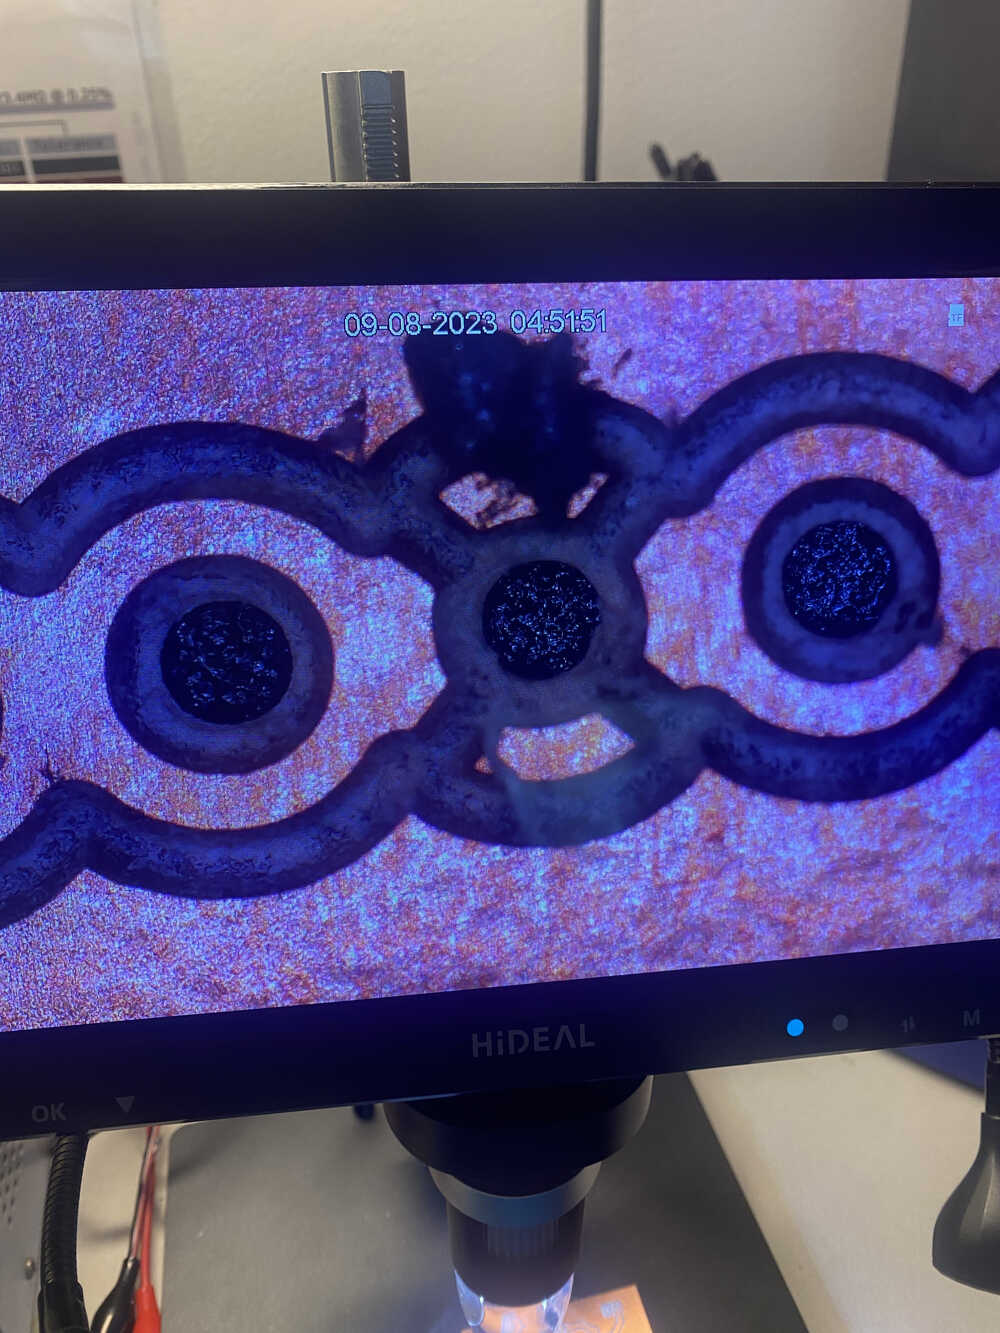
I continued to put on resistors with the paste despite the fact that the holes weren't totally sepperated.
- This meant that I would have to make each set of holes entirely ground or entirely power.
This is a image with the paste on before the oven
Thats my PCB inside the oven.
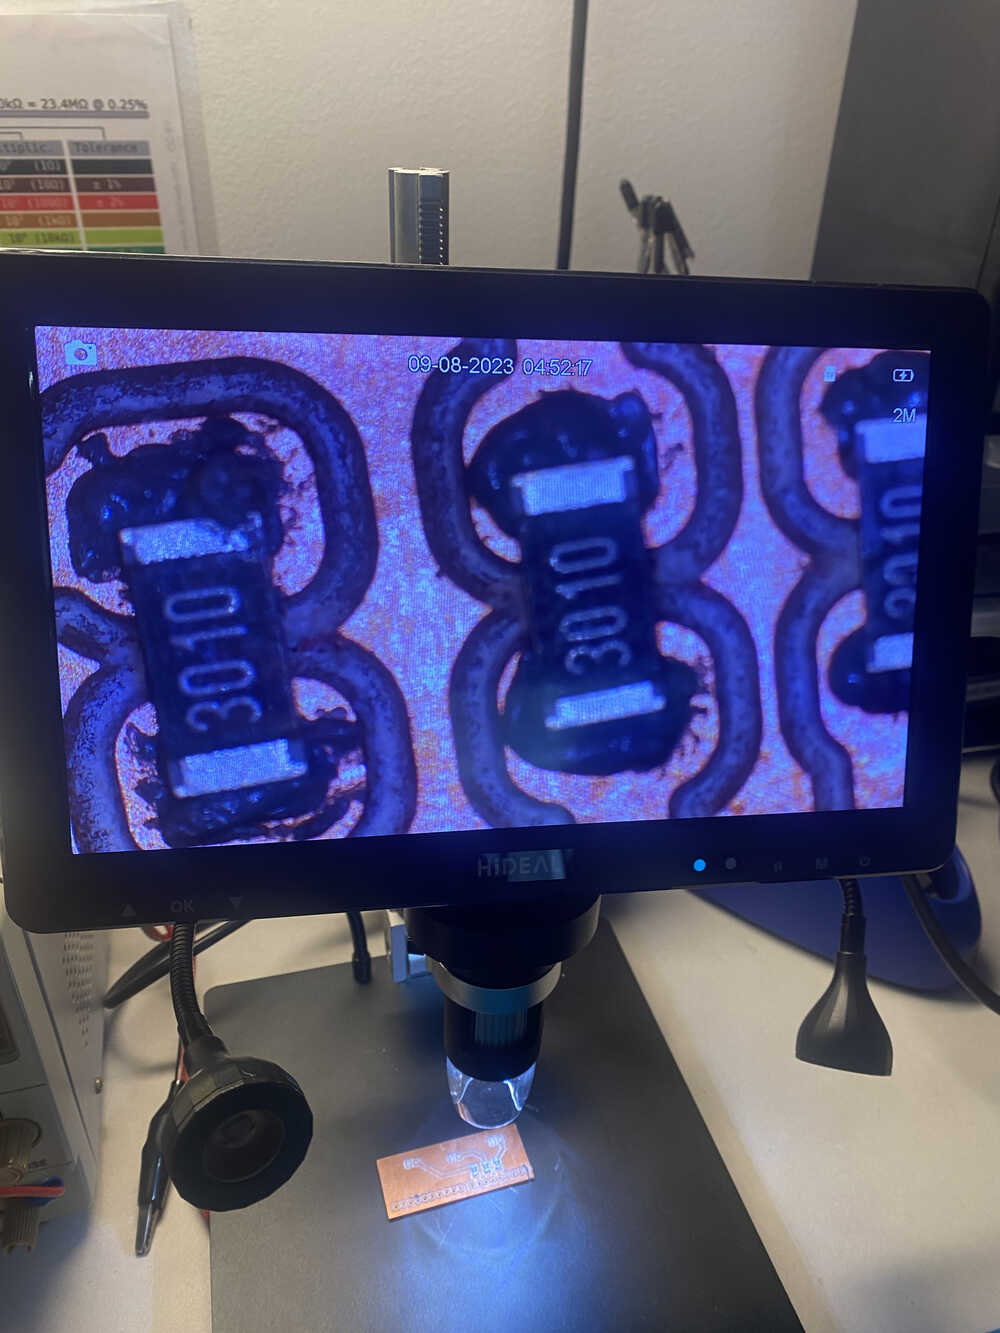
These are the images after the oven.
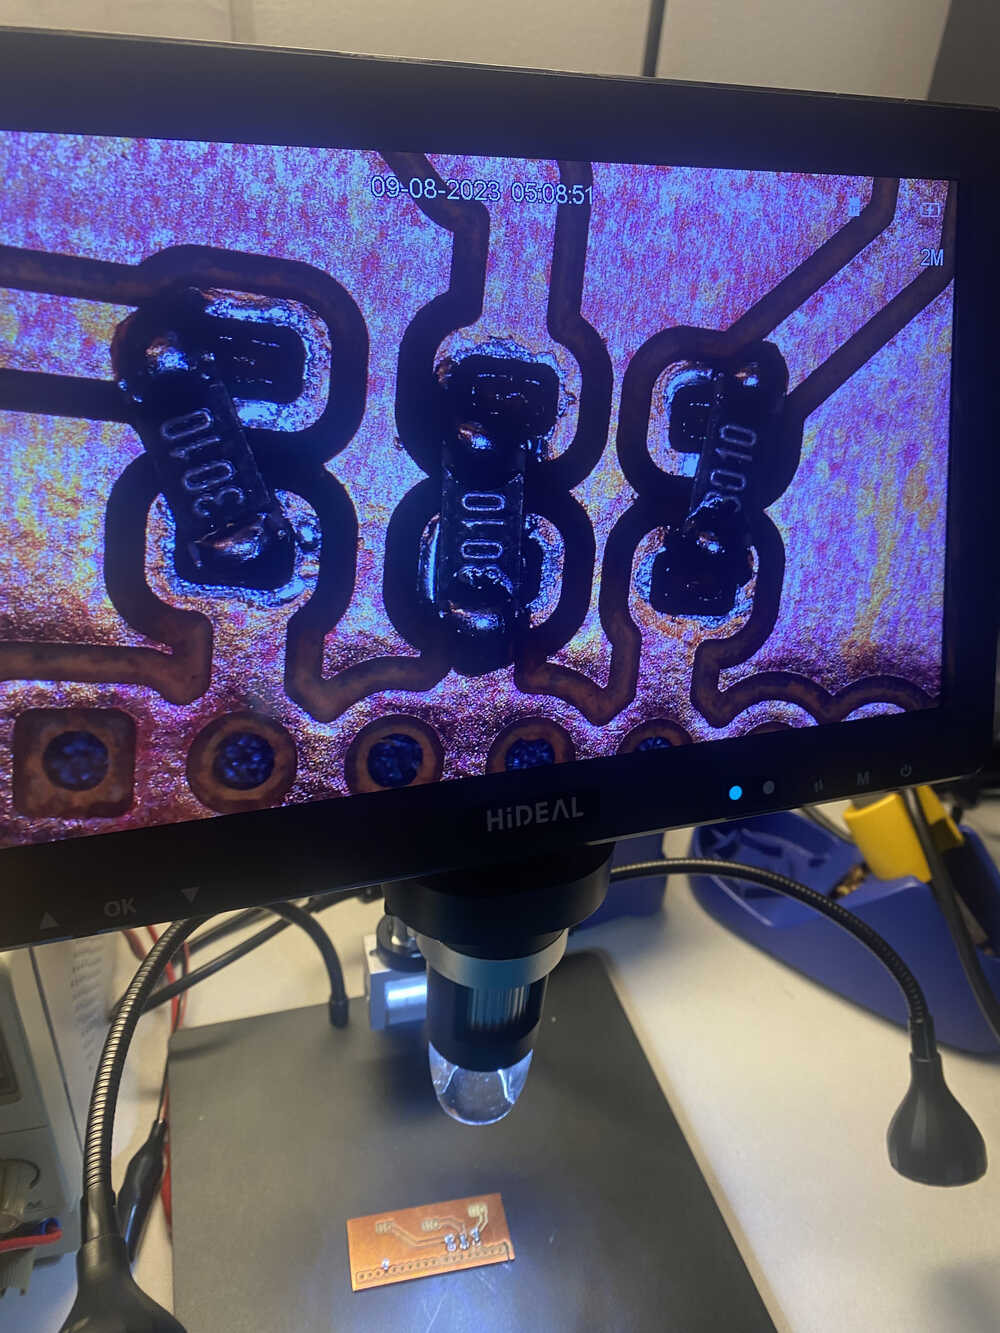
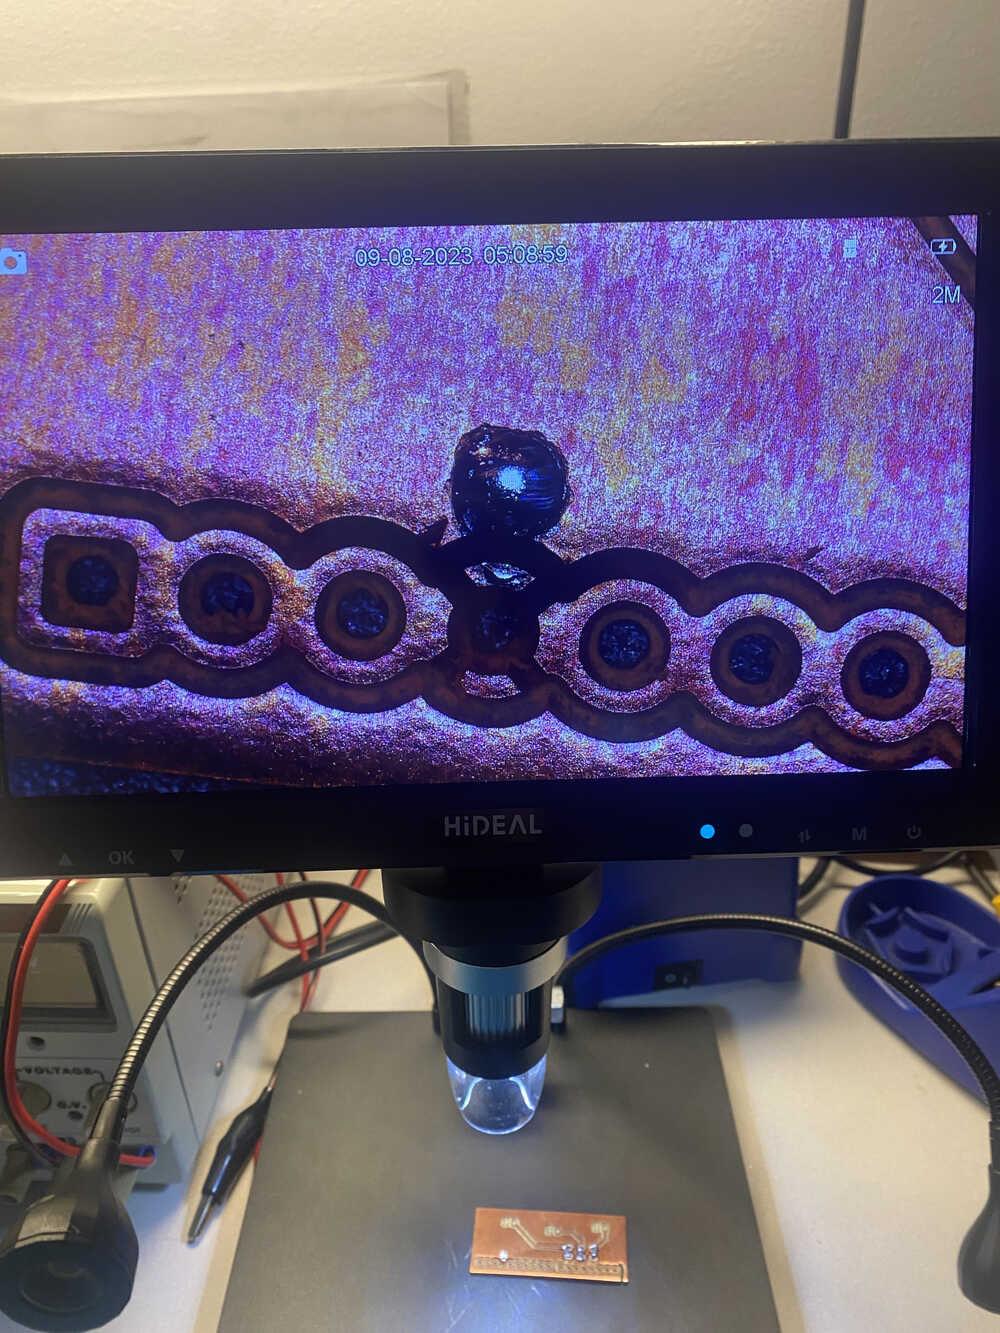
In the end, I made a non-working PCB board. Very sad :(. But at least I learned something.