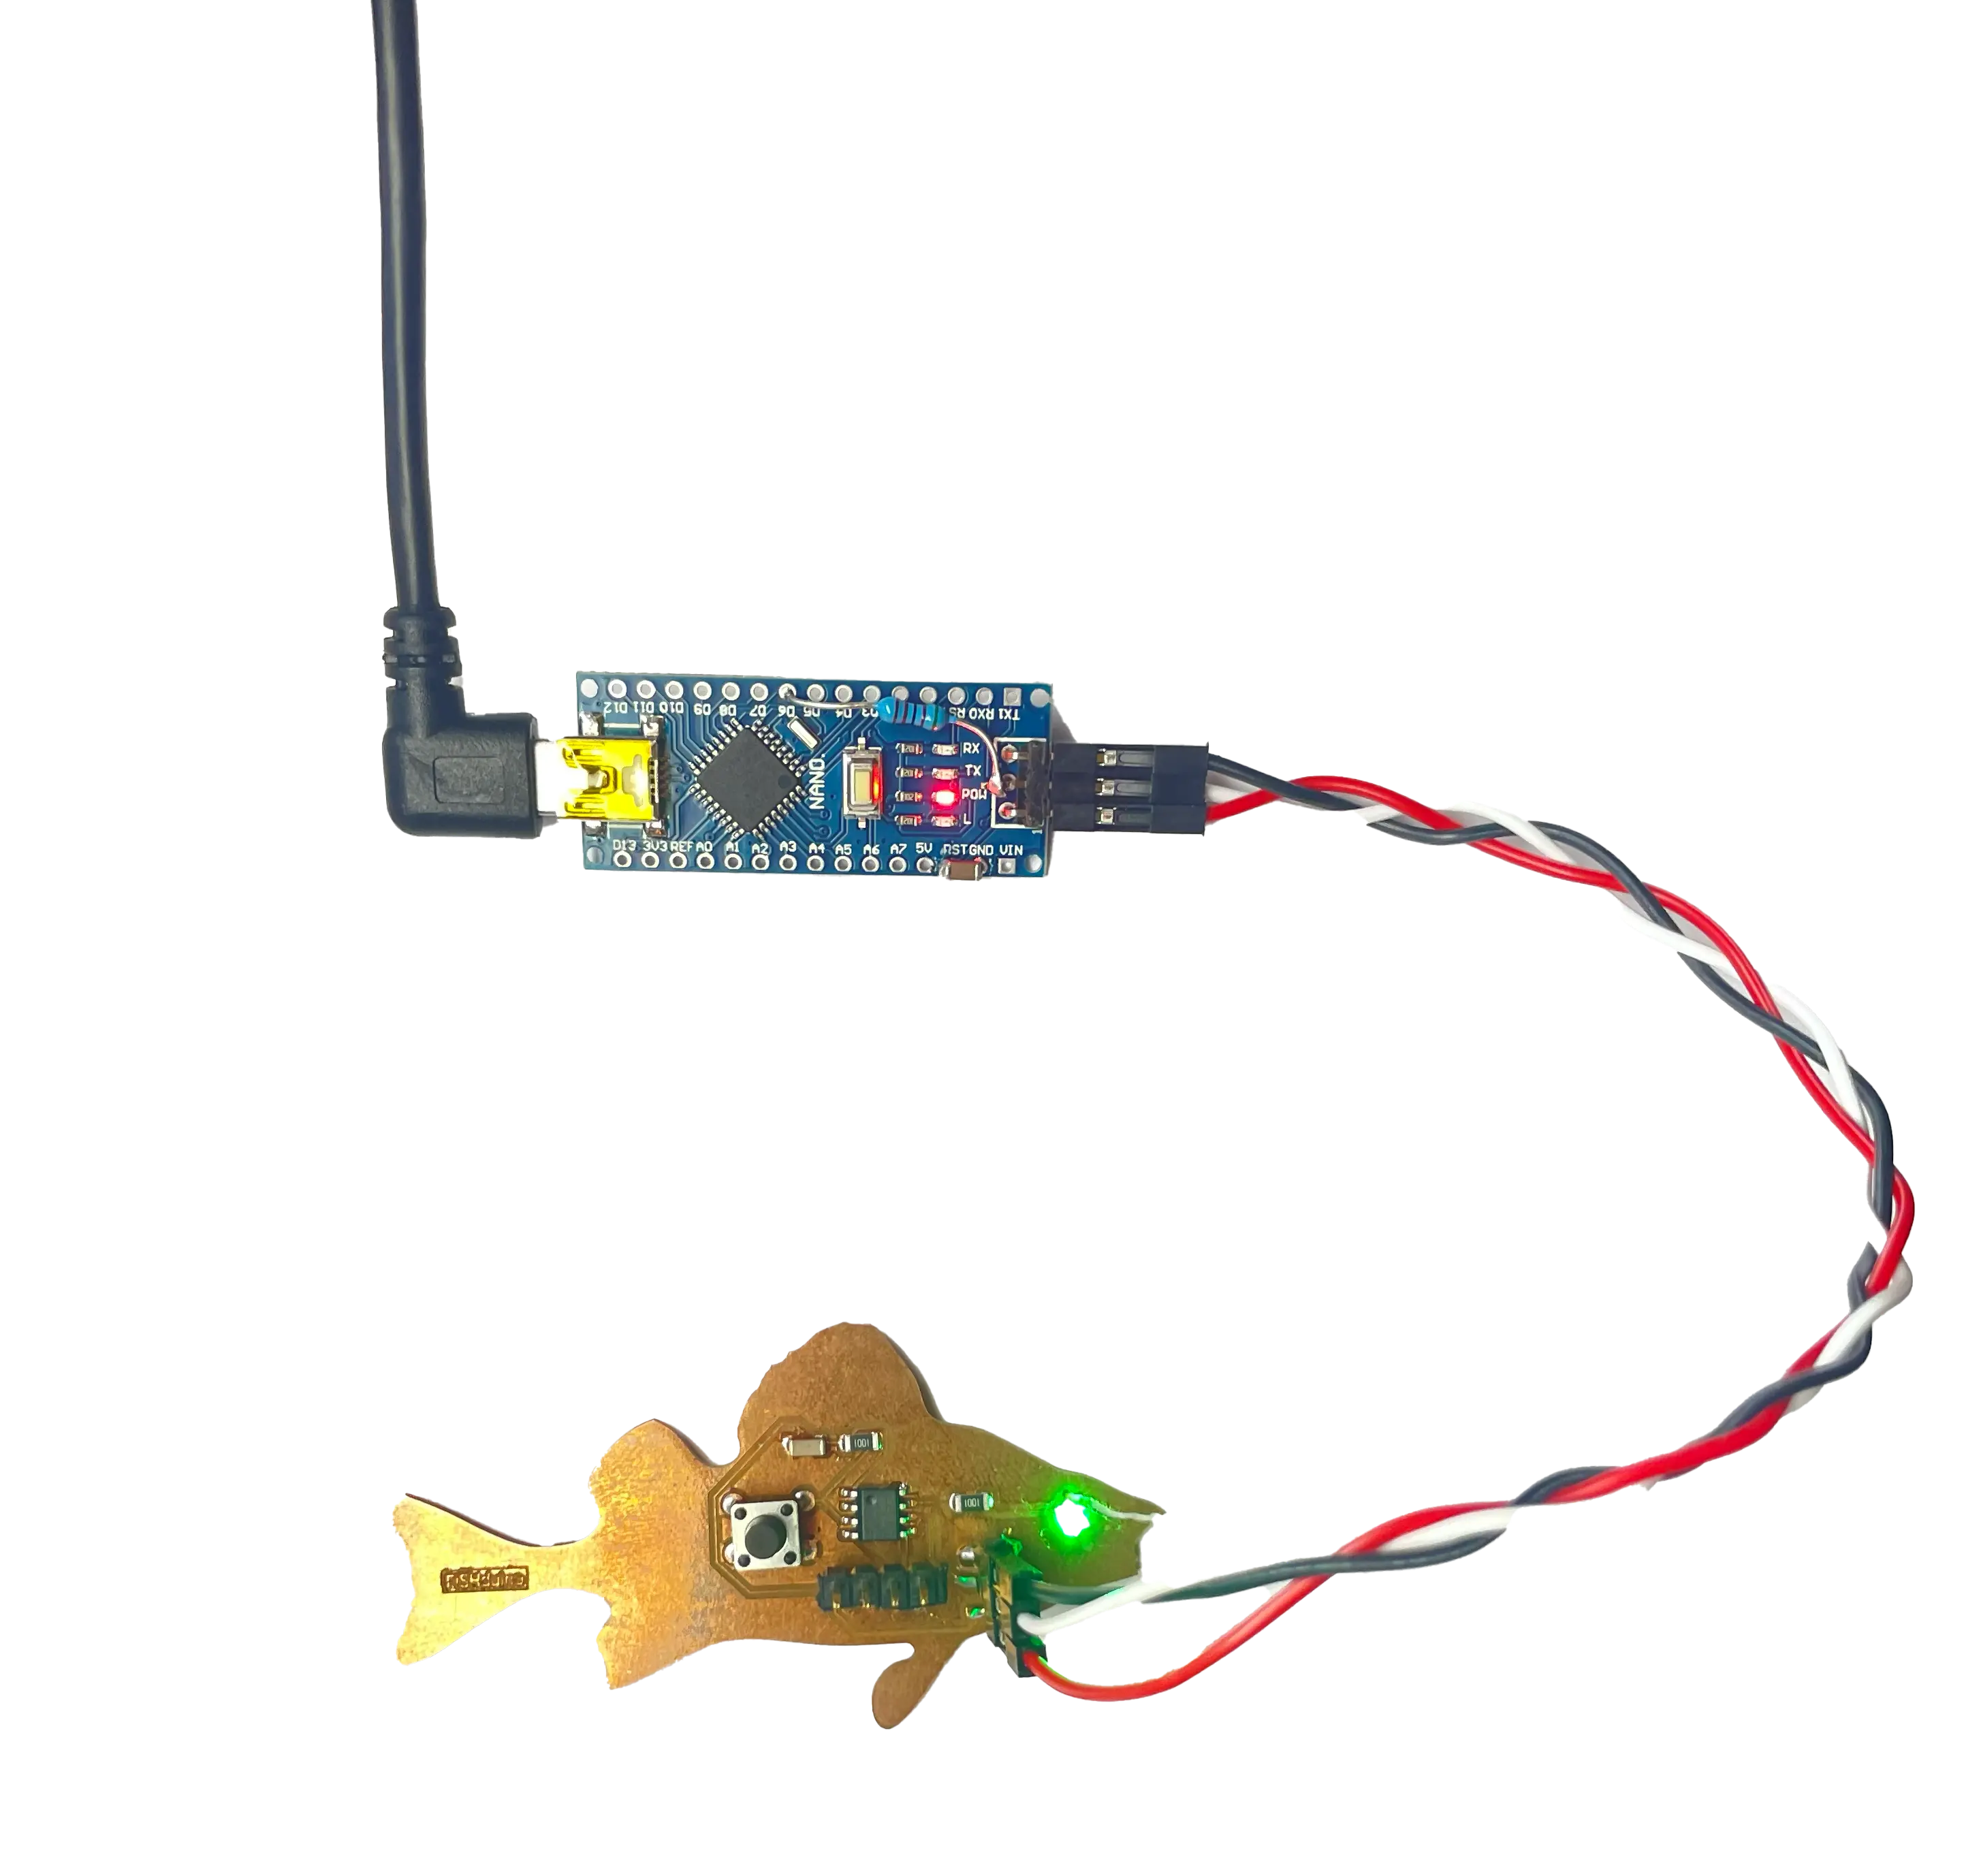
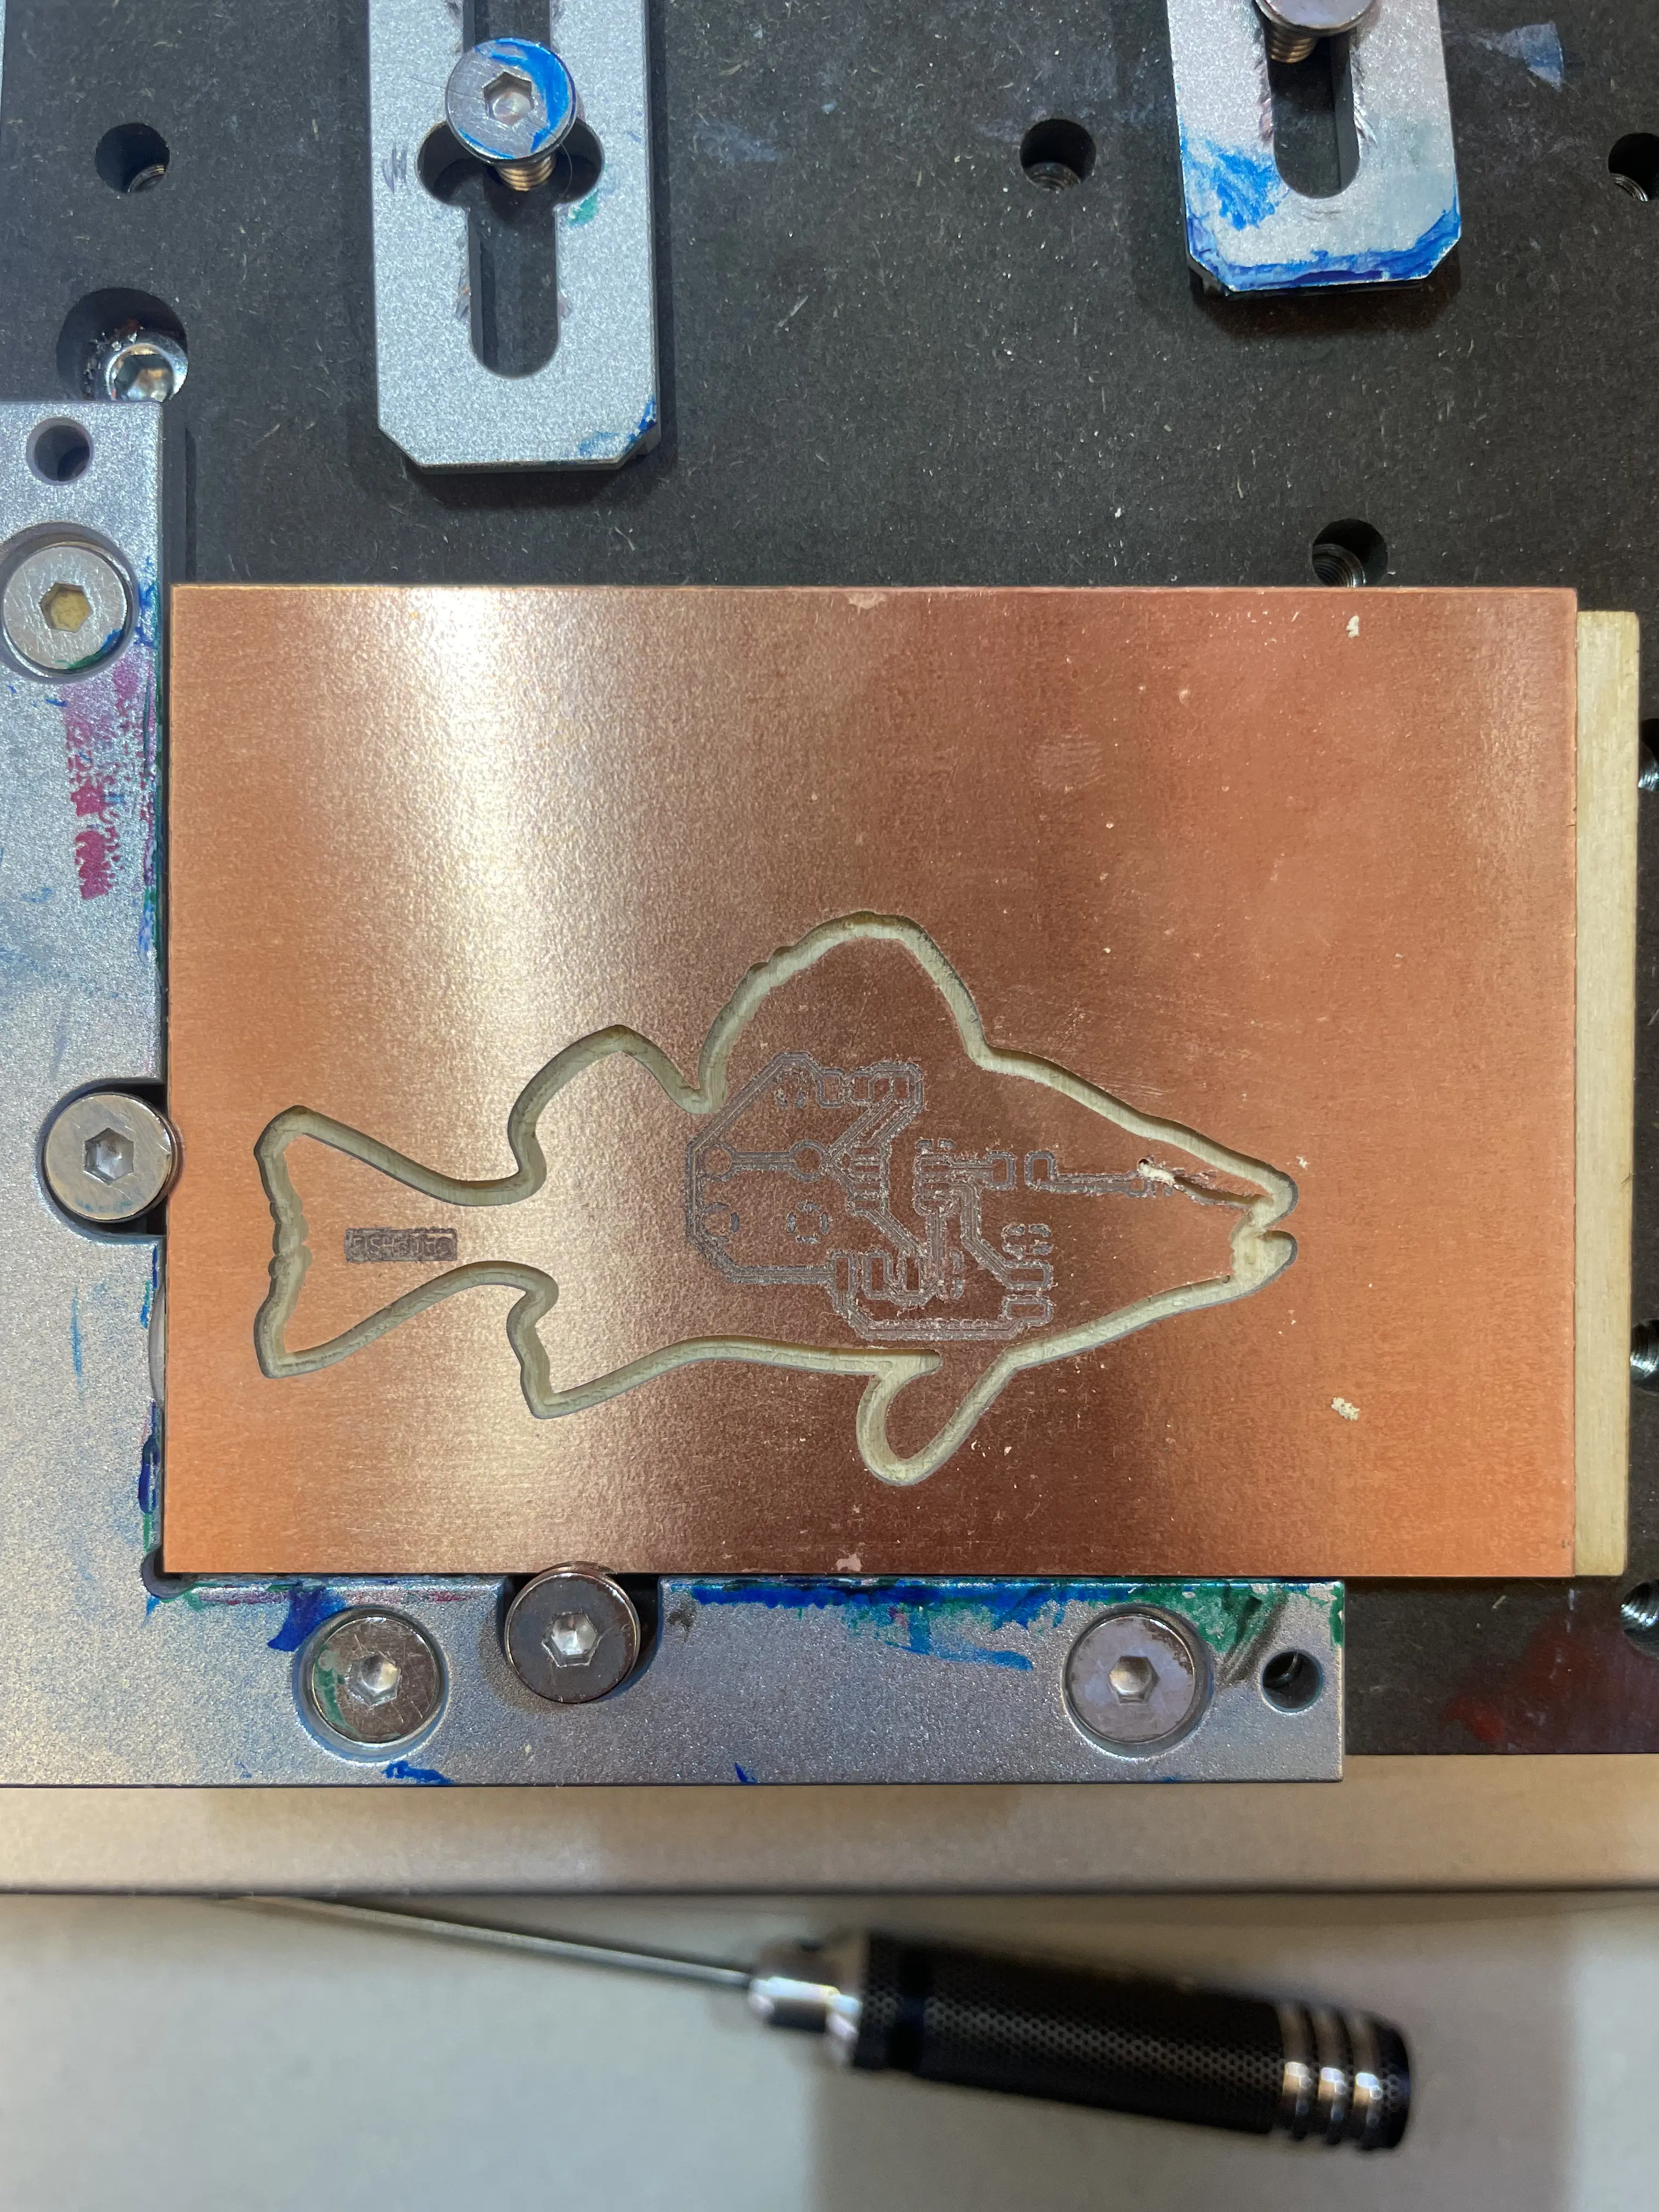
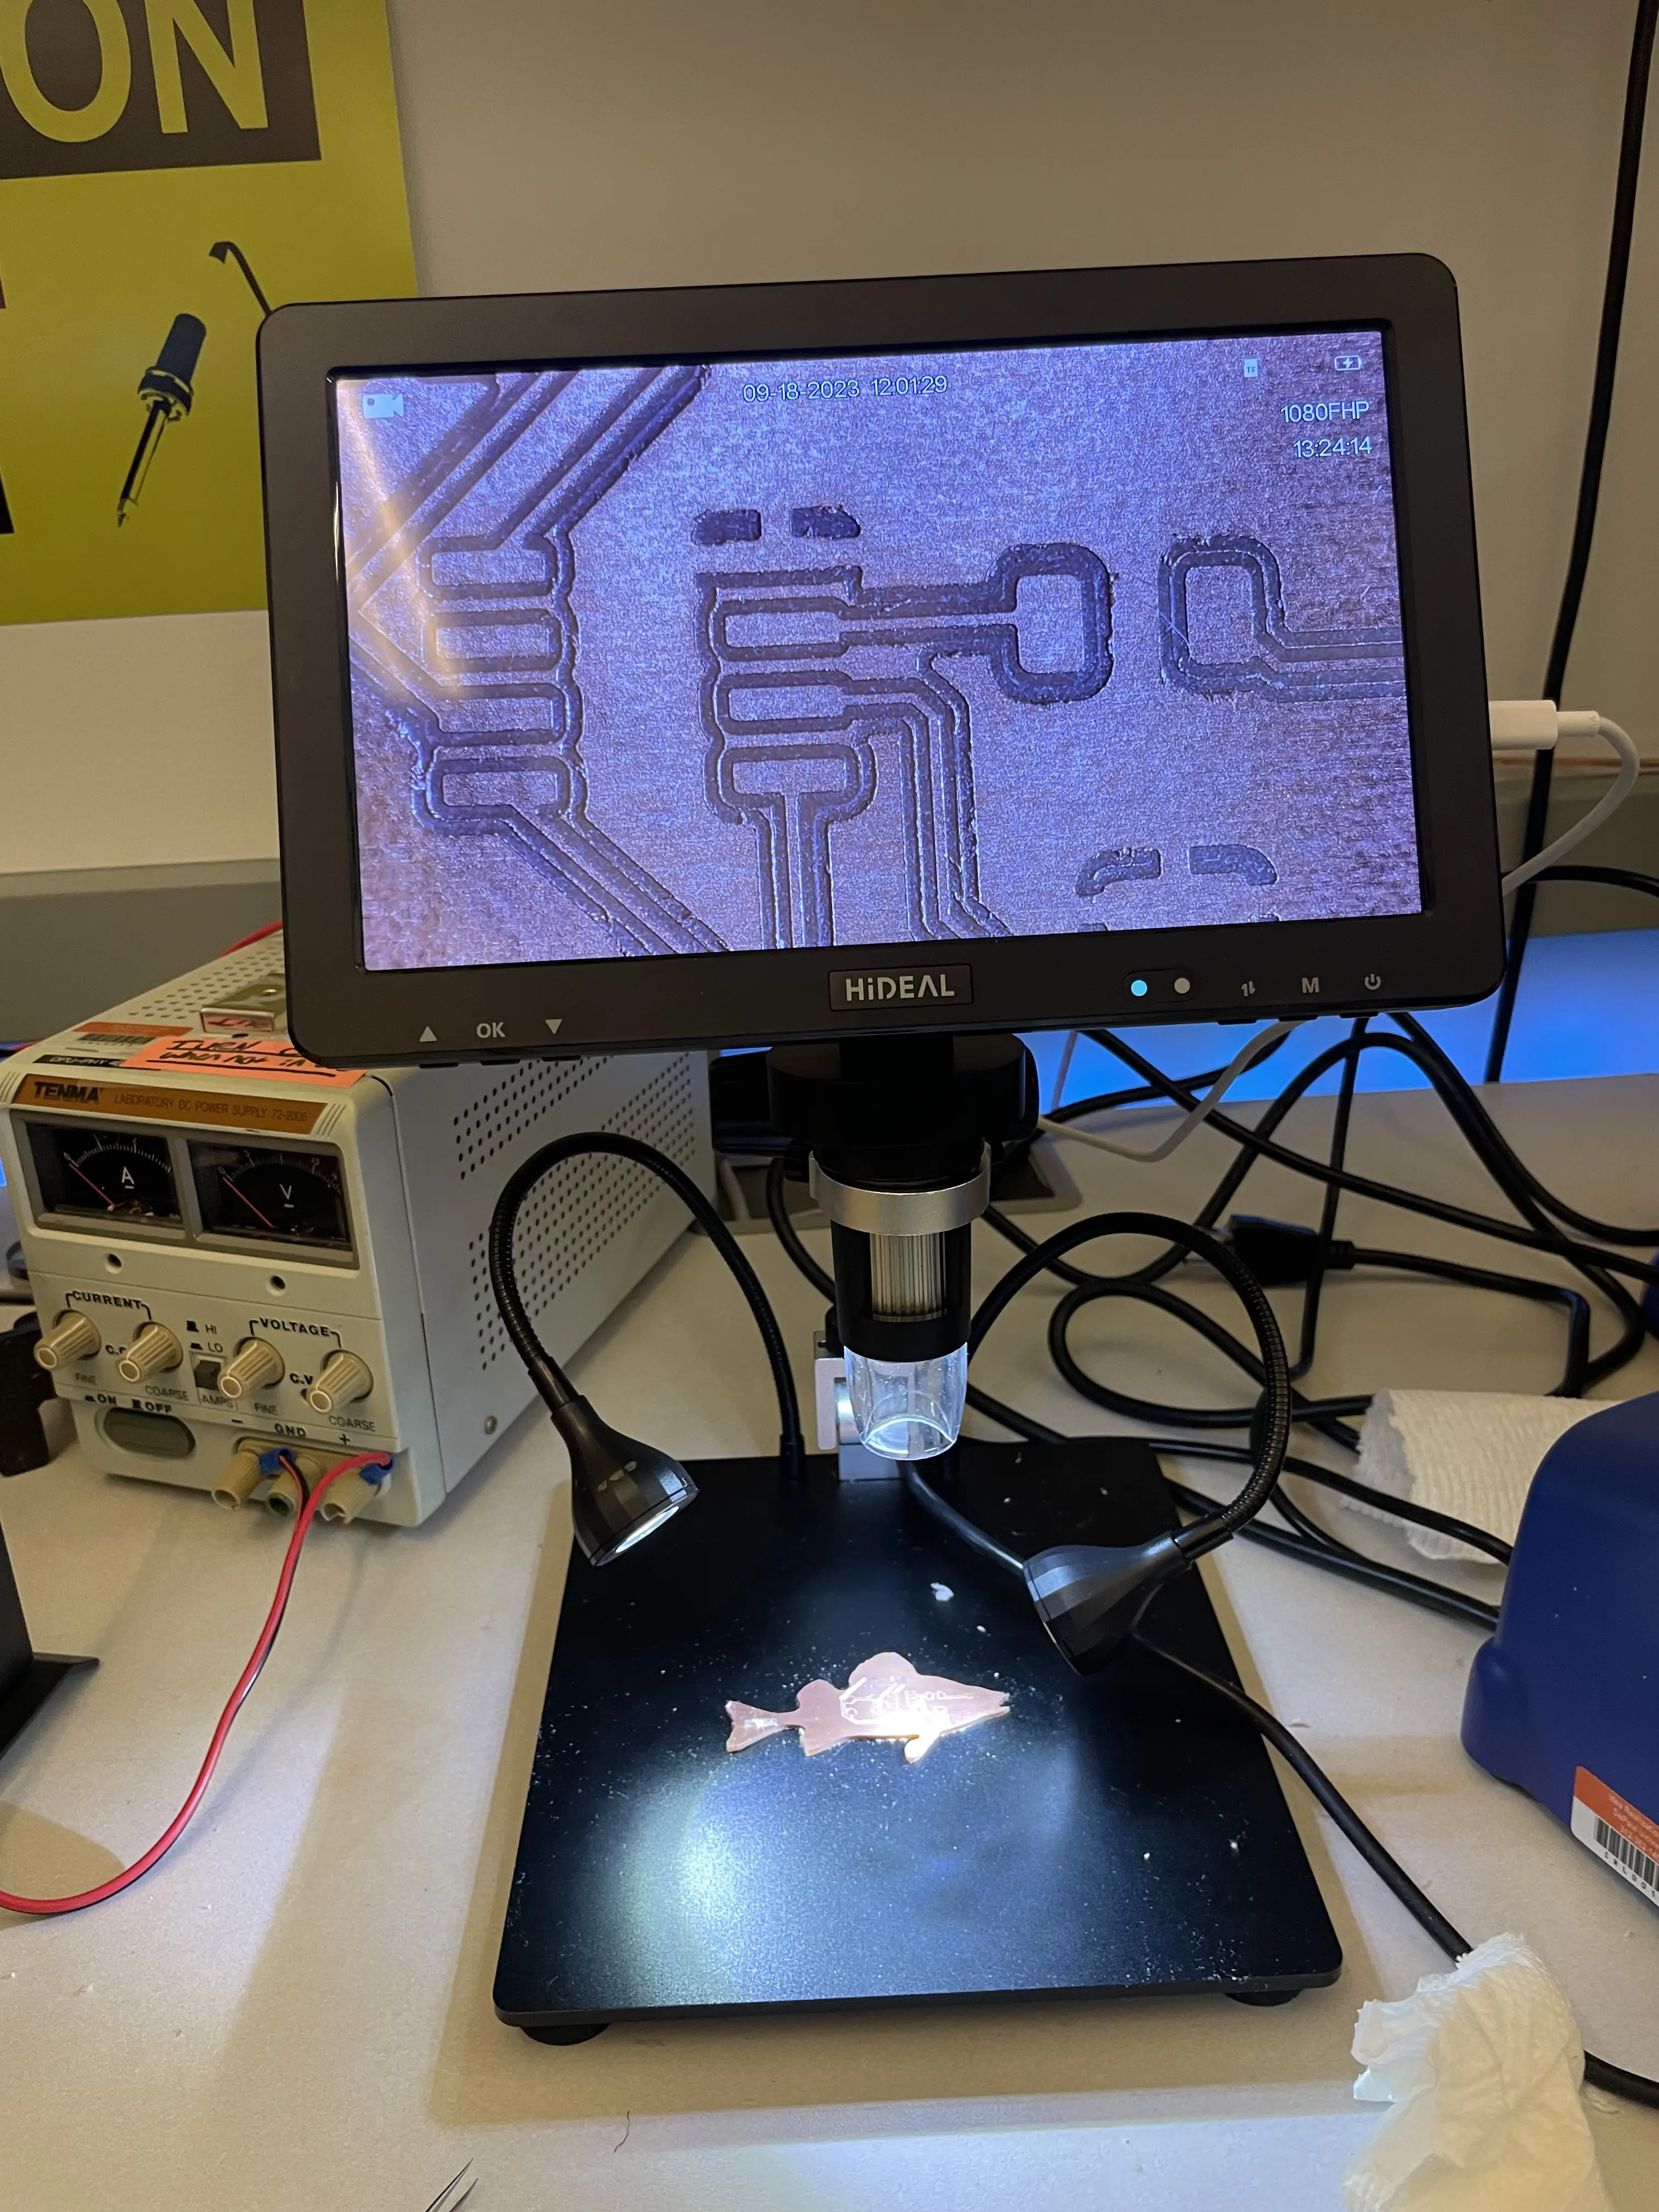
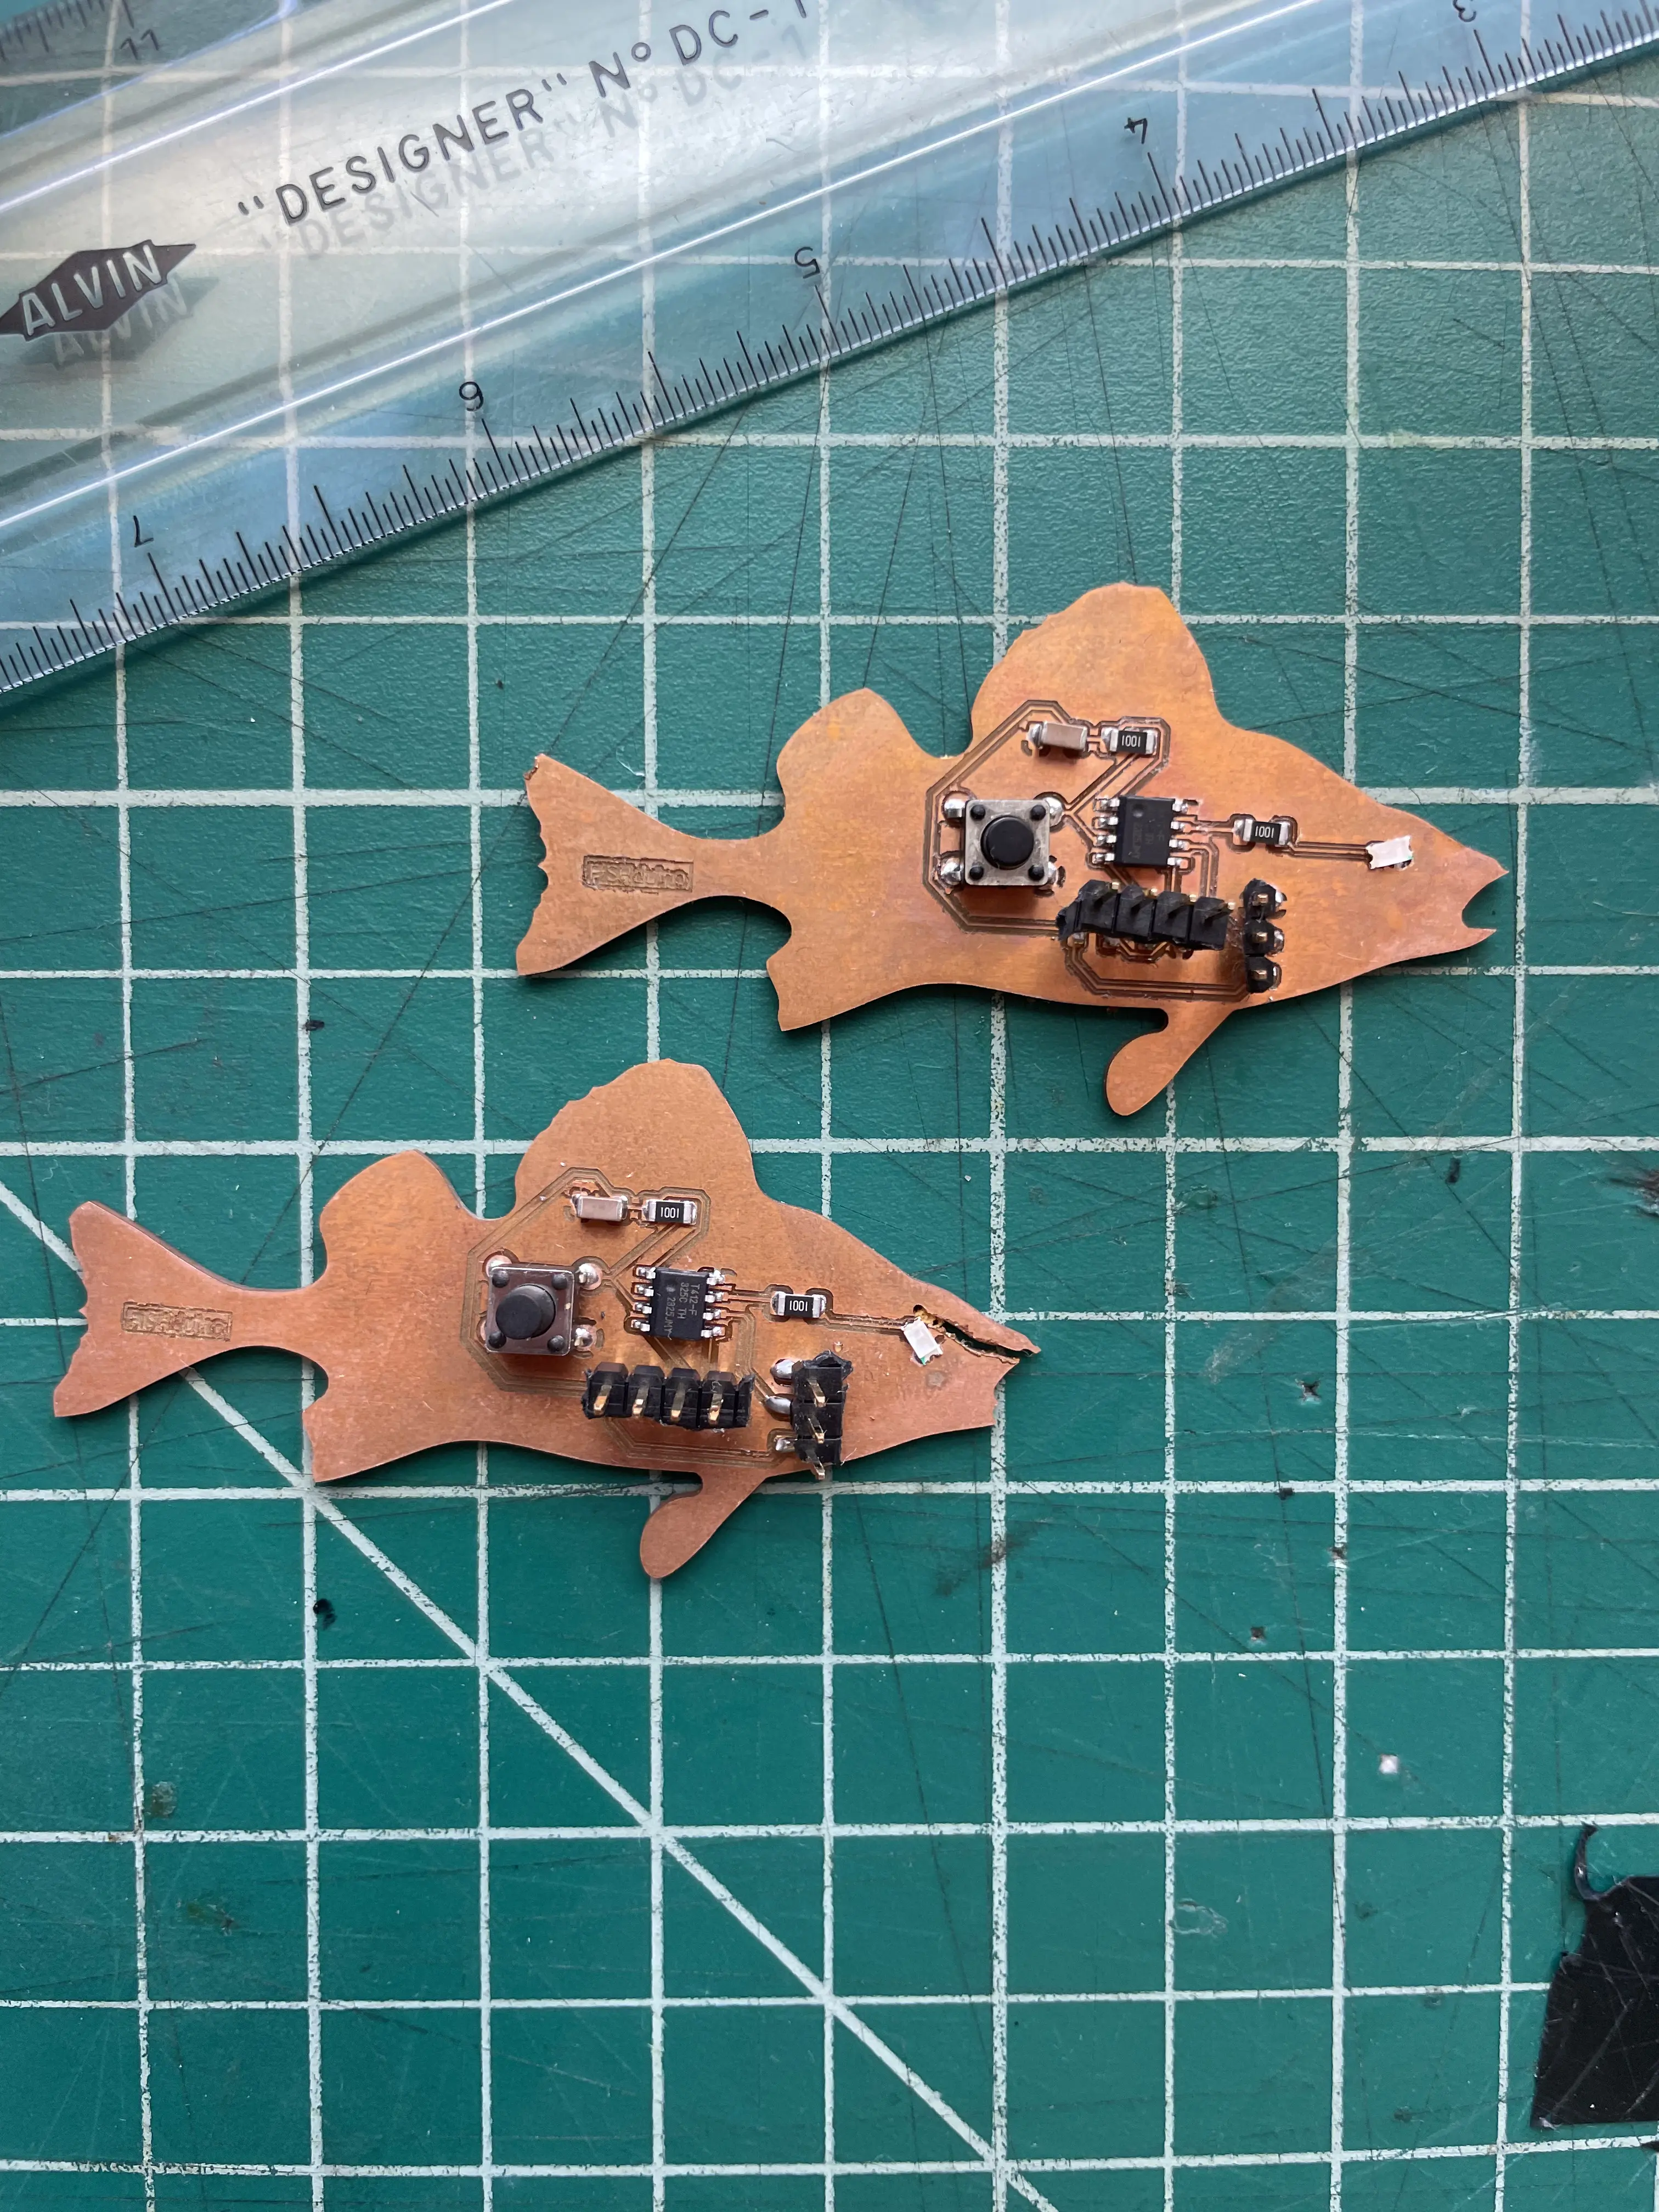
Week 6 involved creating a PCB with an ATtiny 412, and a DIY programmer built from an Arduino Nano. I encountered many hurdles with this project. After designing my PCB in KiCad, I found I was unable to download the Carvera controller. There are steps to take to be able to download on a mac, but for the sake of time I used someone else’s computer again. My board is in the shape of a fish, and when the bit encountered my fish’s mouth, the tape failed and the fish was lifted and spun by the corn bit. I pressed the e-stop before too much damage occurred. The ground pad for my LED was cut through, but all other traces were intact. I was still able to mount everything. I decided to mill another board anyway. Both boards were full of copper hairs. I spent a while with a blade before trying the paper towel method, which worked very well. Both fish (one slightly deformed) were baked with all components, tested for continuity, and examined under the microscope. Hand soldering the headers was sloppy, and did fail on one board, but the deformed fish received the code via my programmer and successfully blinked his eye.
ATtiny45

-8 bit processor
-4 kb memory
-256 Bytes SRAM
-No Wifi
-No Bluetooth
-SPI and I2C with USI
-10 bit ADC, 4 channels
-1.8–5.5V operating voltage

Overall, the ATtiny chips are suitable for super small, battery powered projects.

ESP32-C3

-32 bit processor
-4 mb memory (sometimes)
-400 kb SRAM
-2.4 ghz Wifi
-BLE 5.0 Bluetooth
-UART, SPI, I2C, I2S, PWM, CAN
-12 bit SAR ADC, 6 channels
-3.0–3.6V operating voltage

The ESP32 chips are much better suited for anything requiring processing power, or any project needing wifi or bluetooth connectivity.