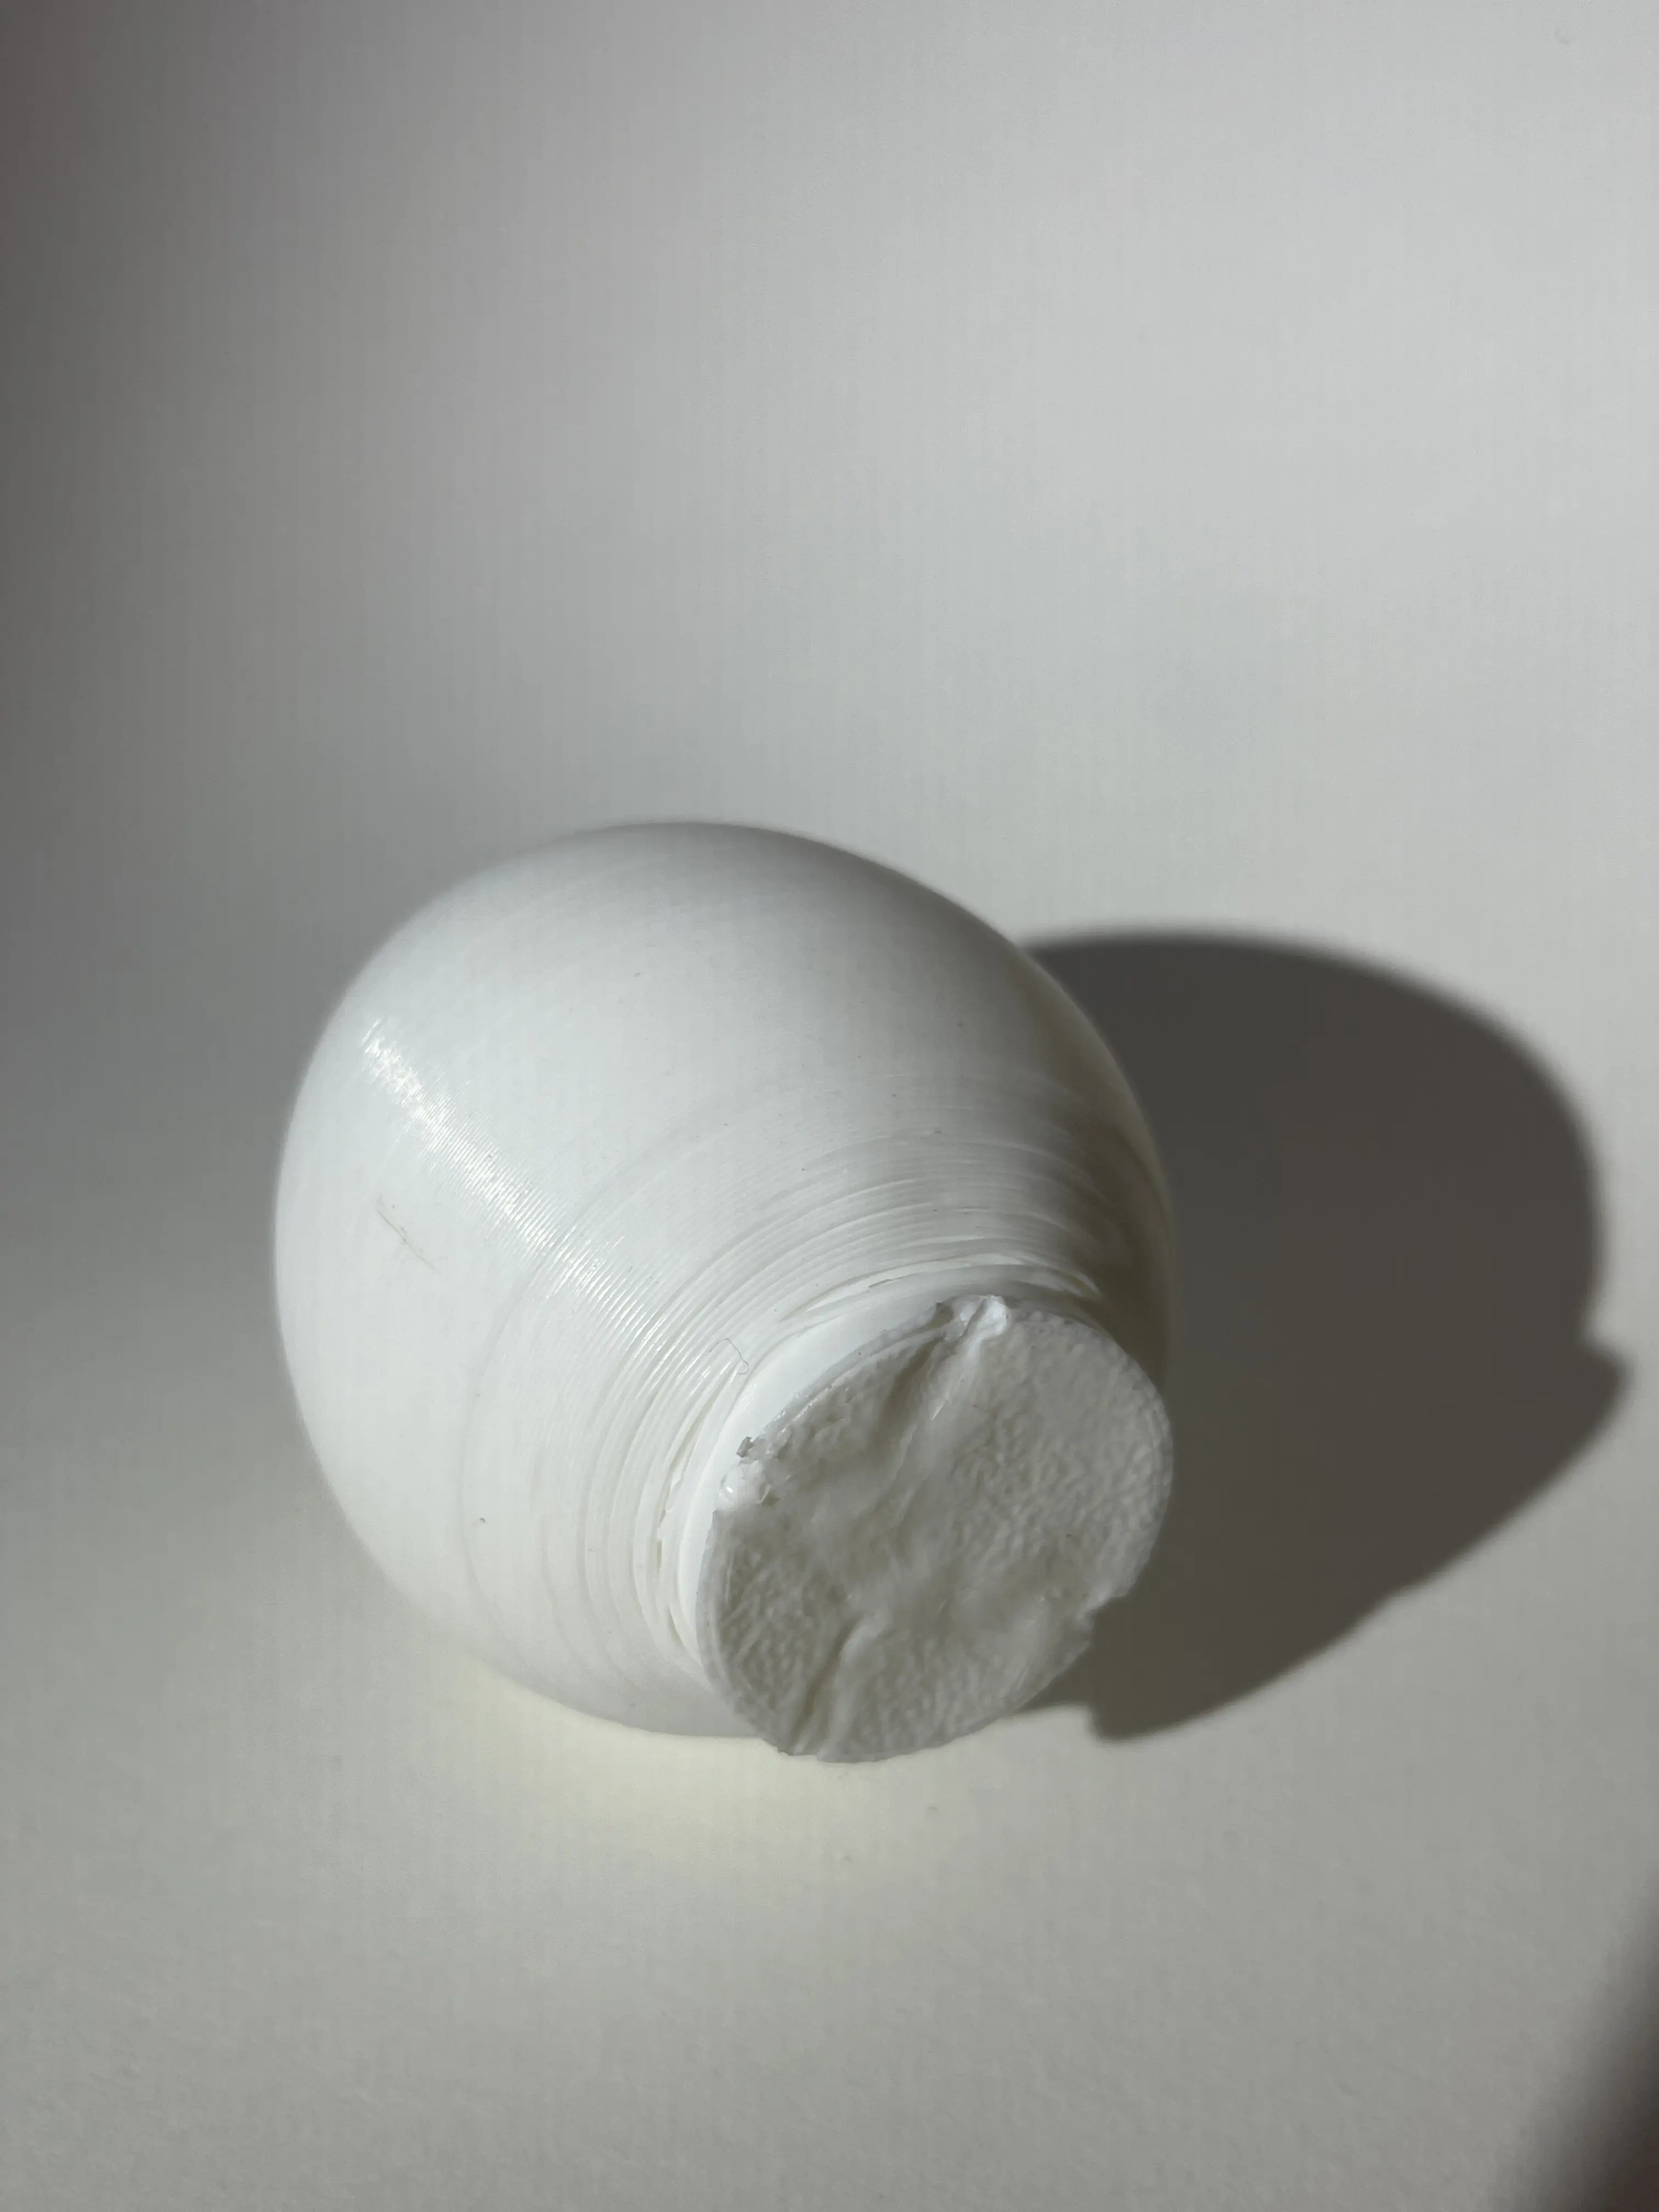
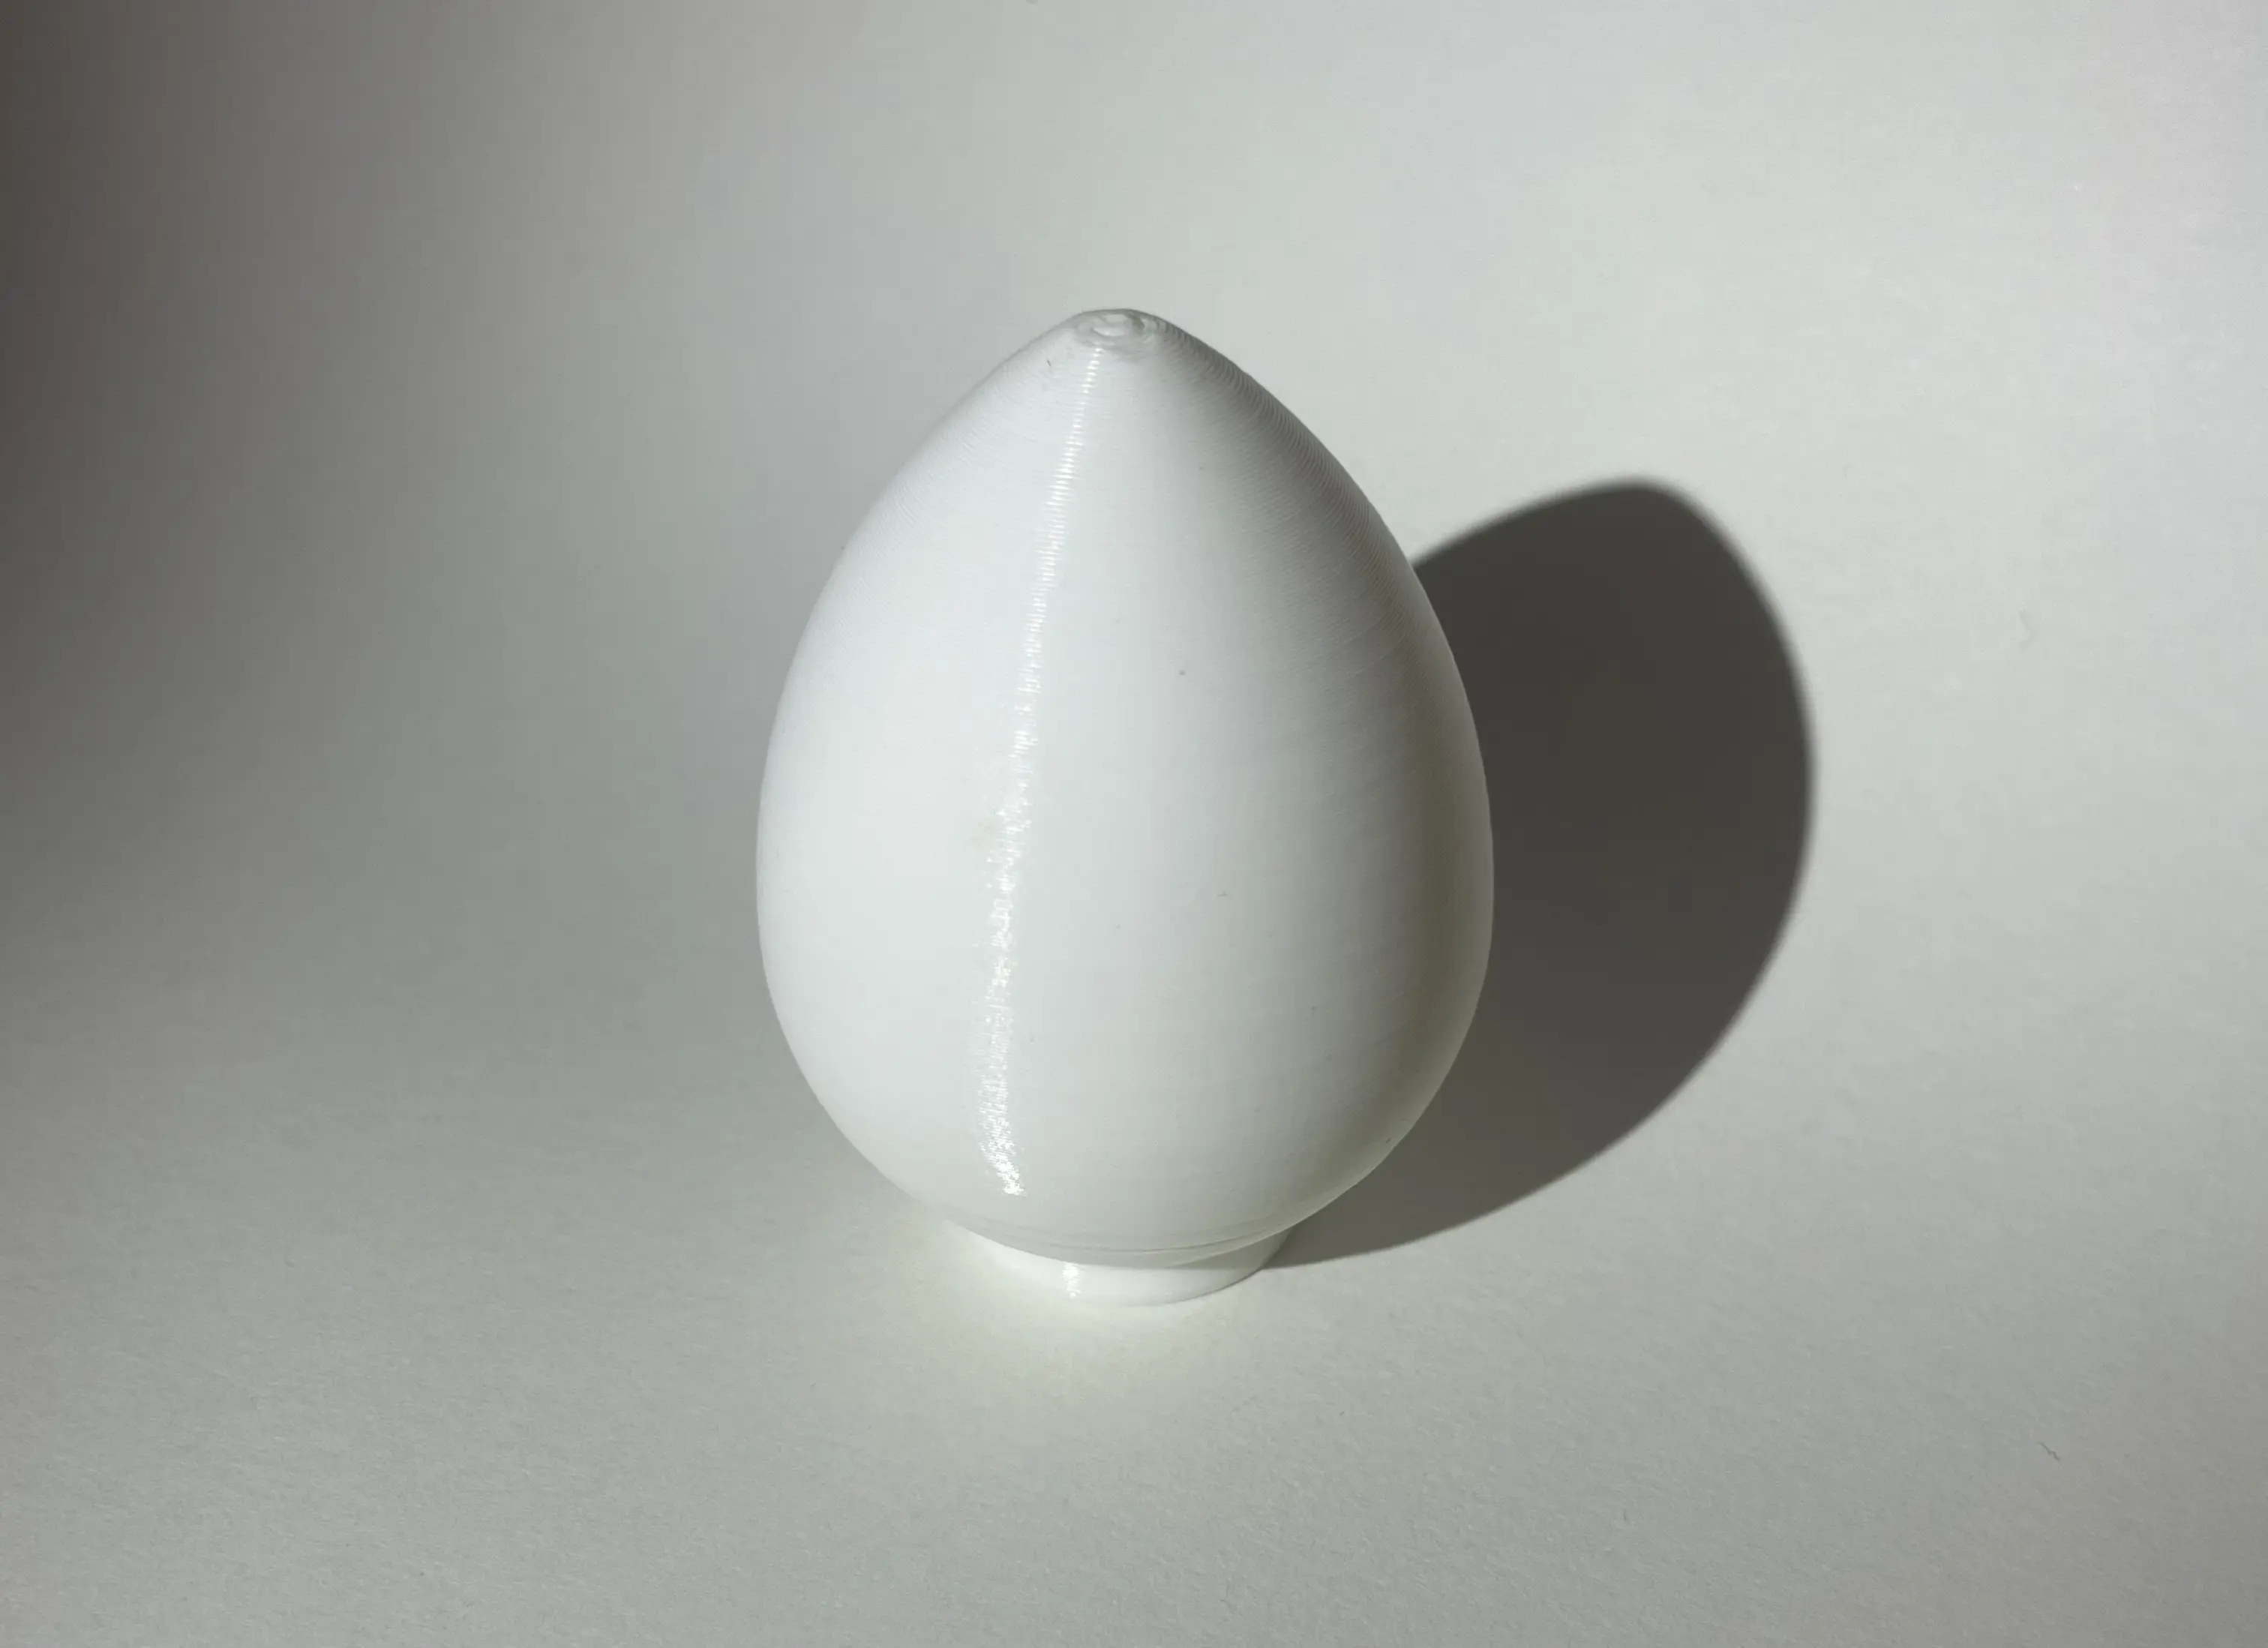
The focus of this assignment was to create an object only able to be created with additive manufacturing. Technically, every FDM 3D printed object with < 100% infill fulfills this objective. This inspired my design of an enclosed object. I decided to make an egg with the icon of a duck inside. To preserve the icon, this shape must be able to be printed supportless, which was my largest hurdle. I carefully adjusted shell thickness and created a small base, meaning there is never more than a 45 degree overhang.
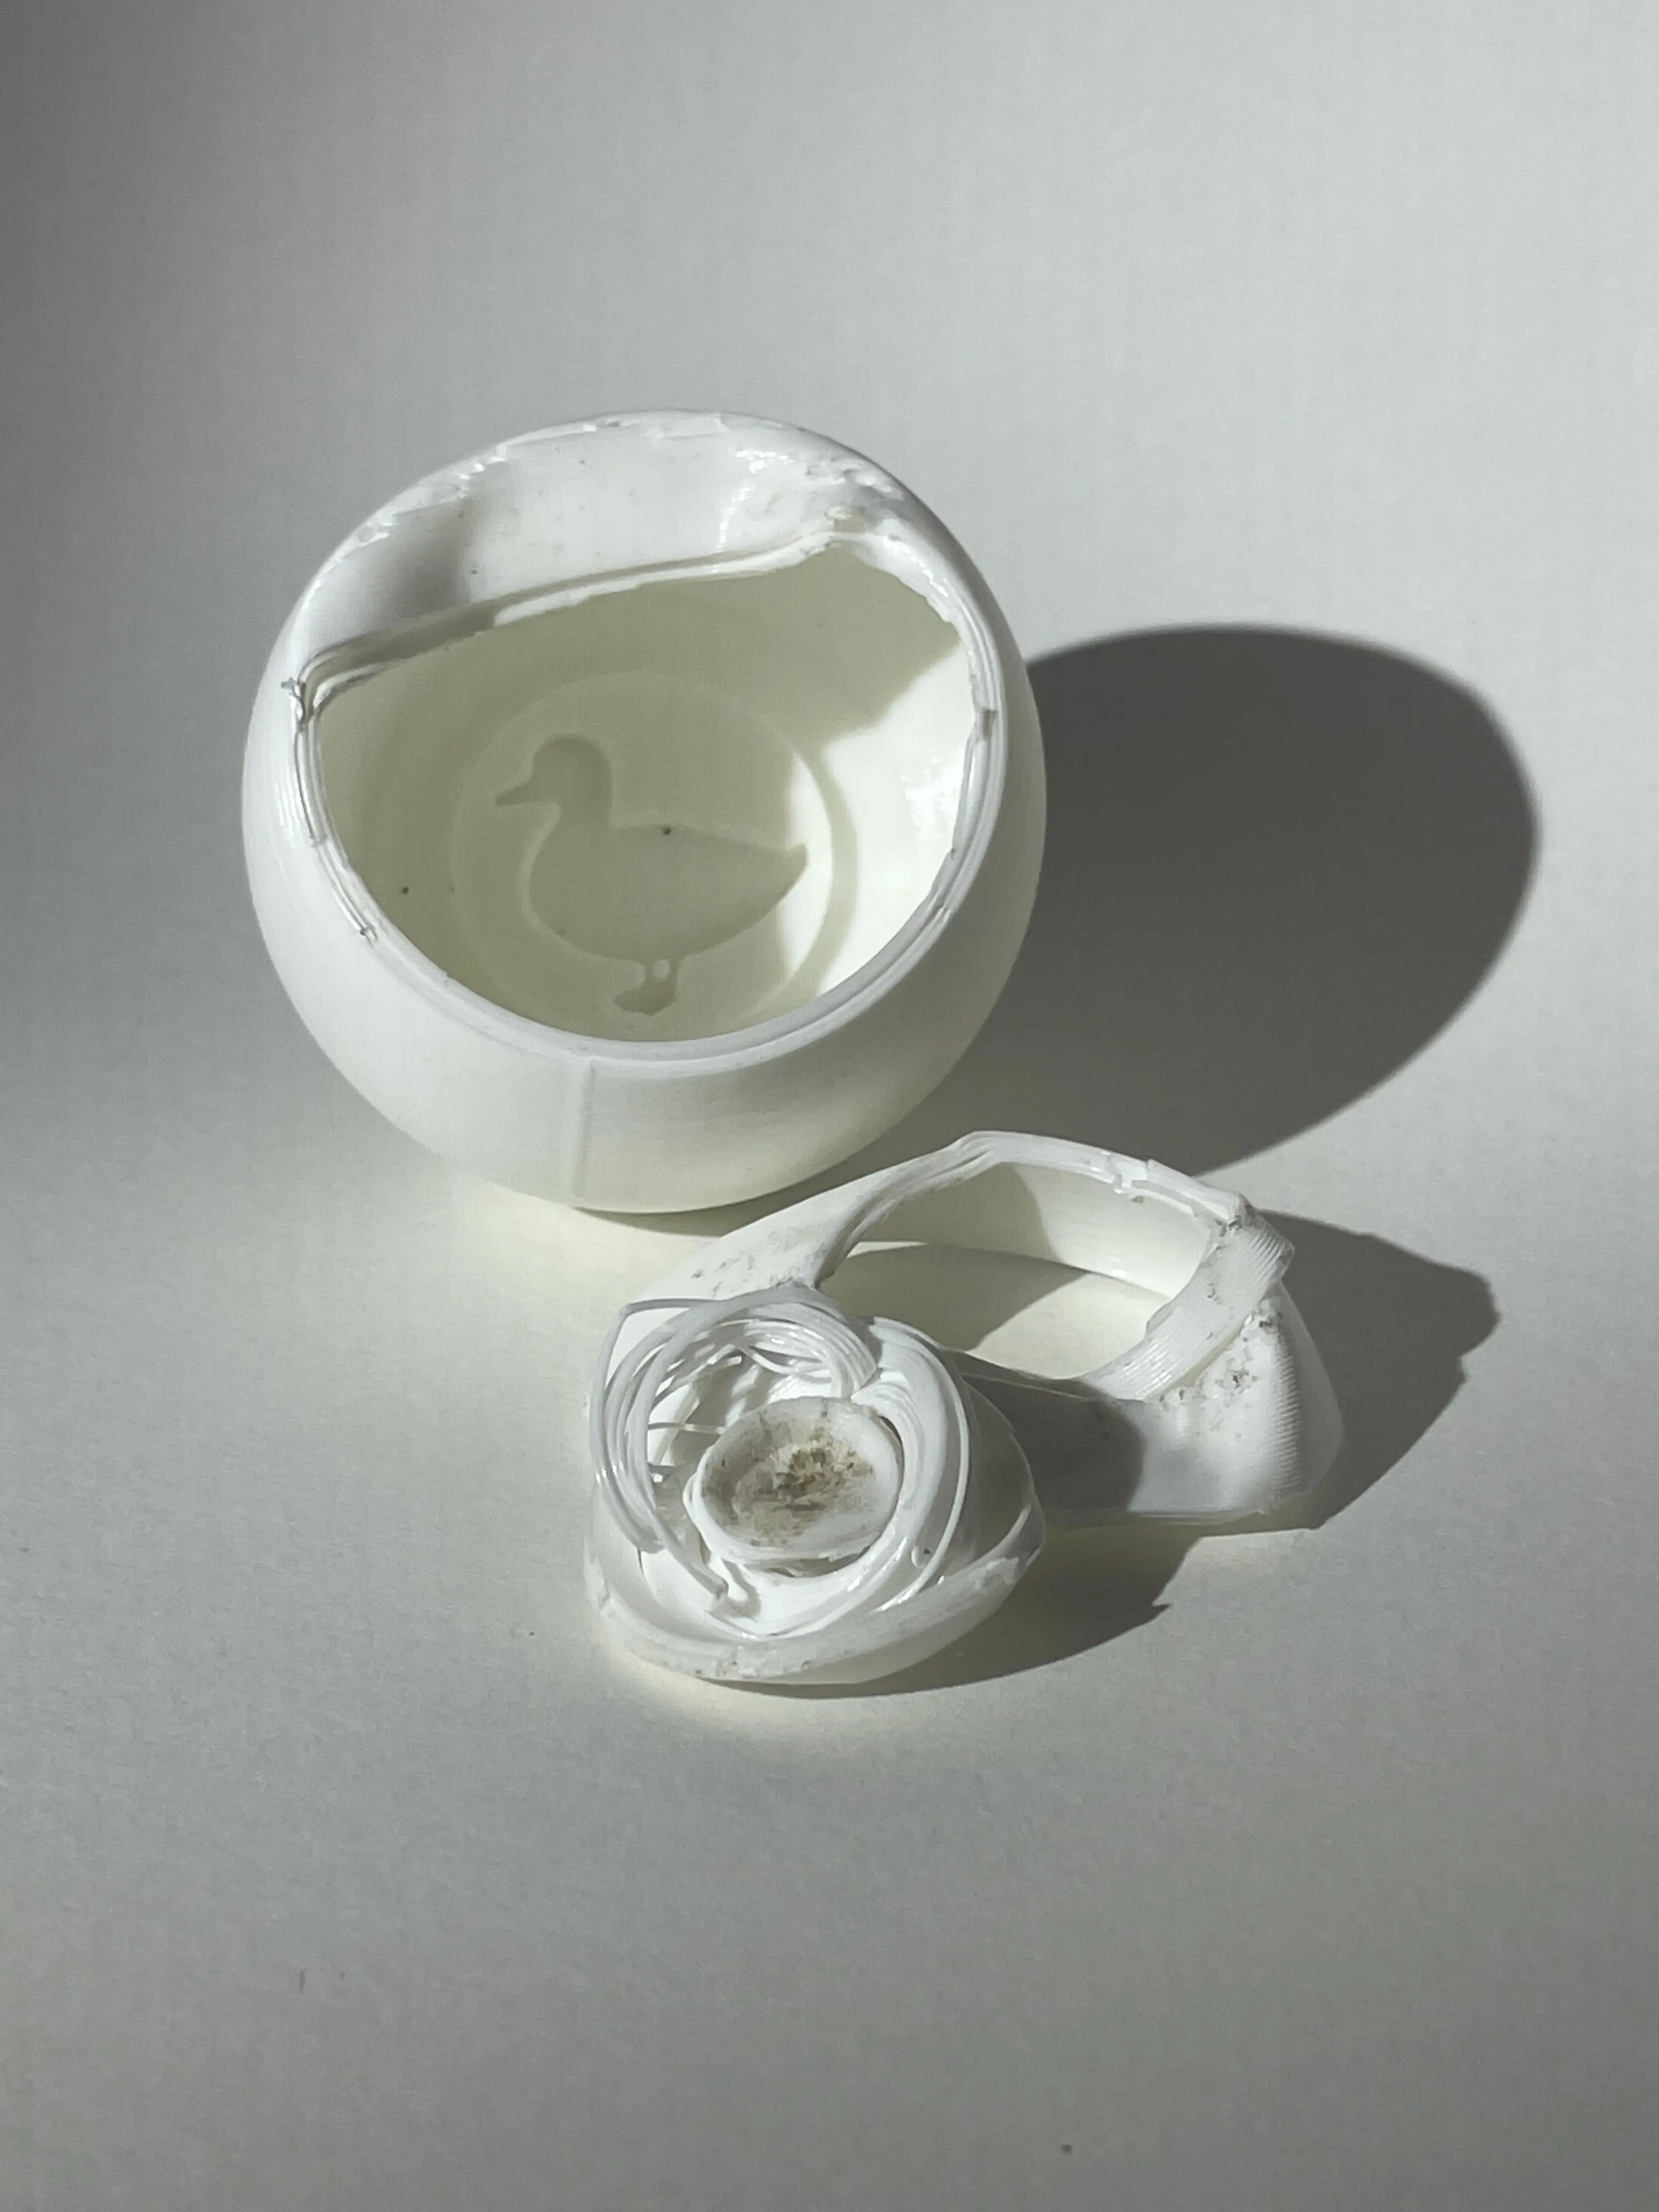
After successfully printing 3 eggs, I used two of them for experiments. One, I simply cracked open with a hammer to make sure the duck icon was intact. The other, I attempted to chemically smooth. I had ethyl acetate lying around, and made a simple vapor chamber out of wire and a jar. I hung the egg near the top of the jar, put the ethyl acetate at the bottom, and put the whole jar in a large bowl of boiling water. As can be seen, the result was undesirable. I had the egg in the chamber for a total of 30 minutes: far longer than recommended. This was because I wasn’t noticing any change. When finally removing the egg, I found the vapor successfully melted some of the base, made imprints from the wire on the egg, and separated some of the lower layers from each other. Smoothing was negligible. I believe my main failure was the vents at the top of my jar were too big. In the future, I need some way to contain the gas in the chamber to a higher concentration while still allowing blowoff to prevent the chamber from exploding.