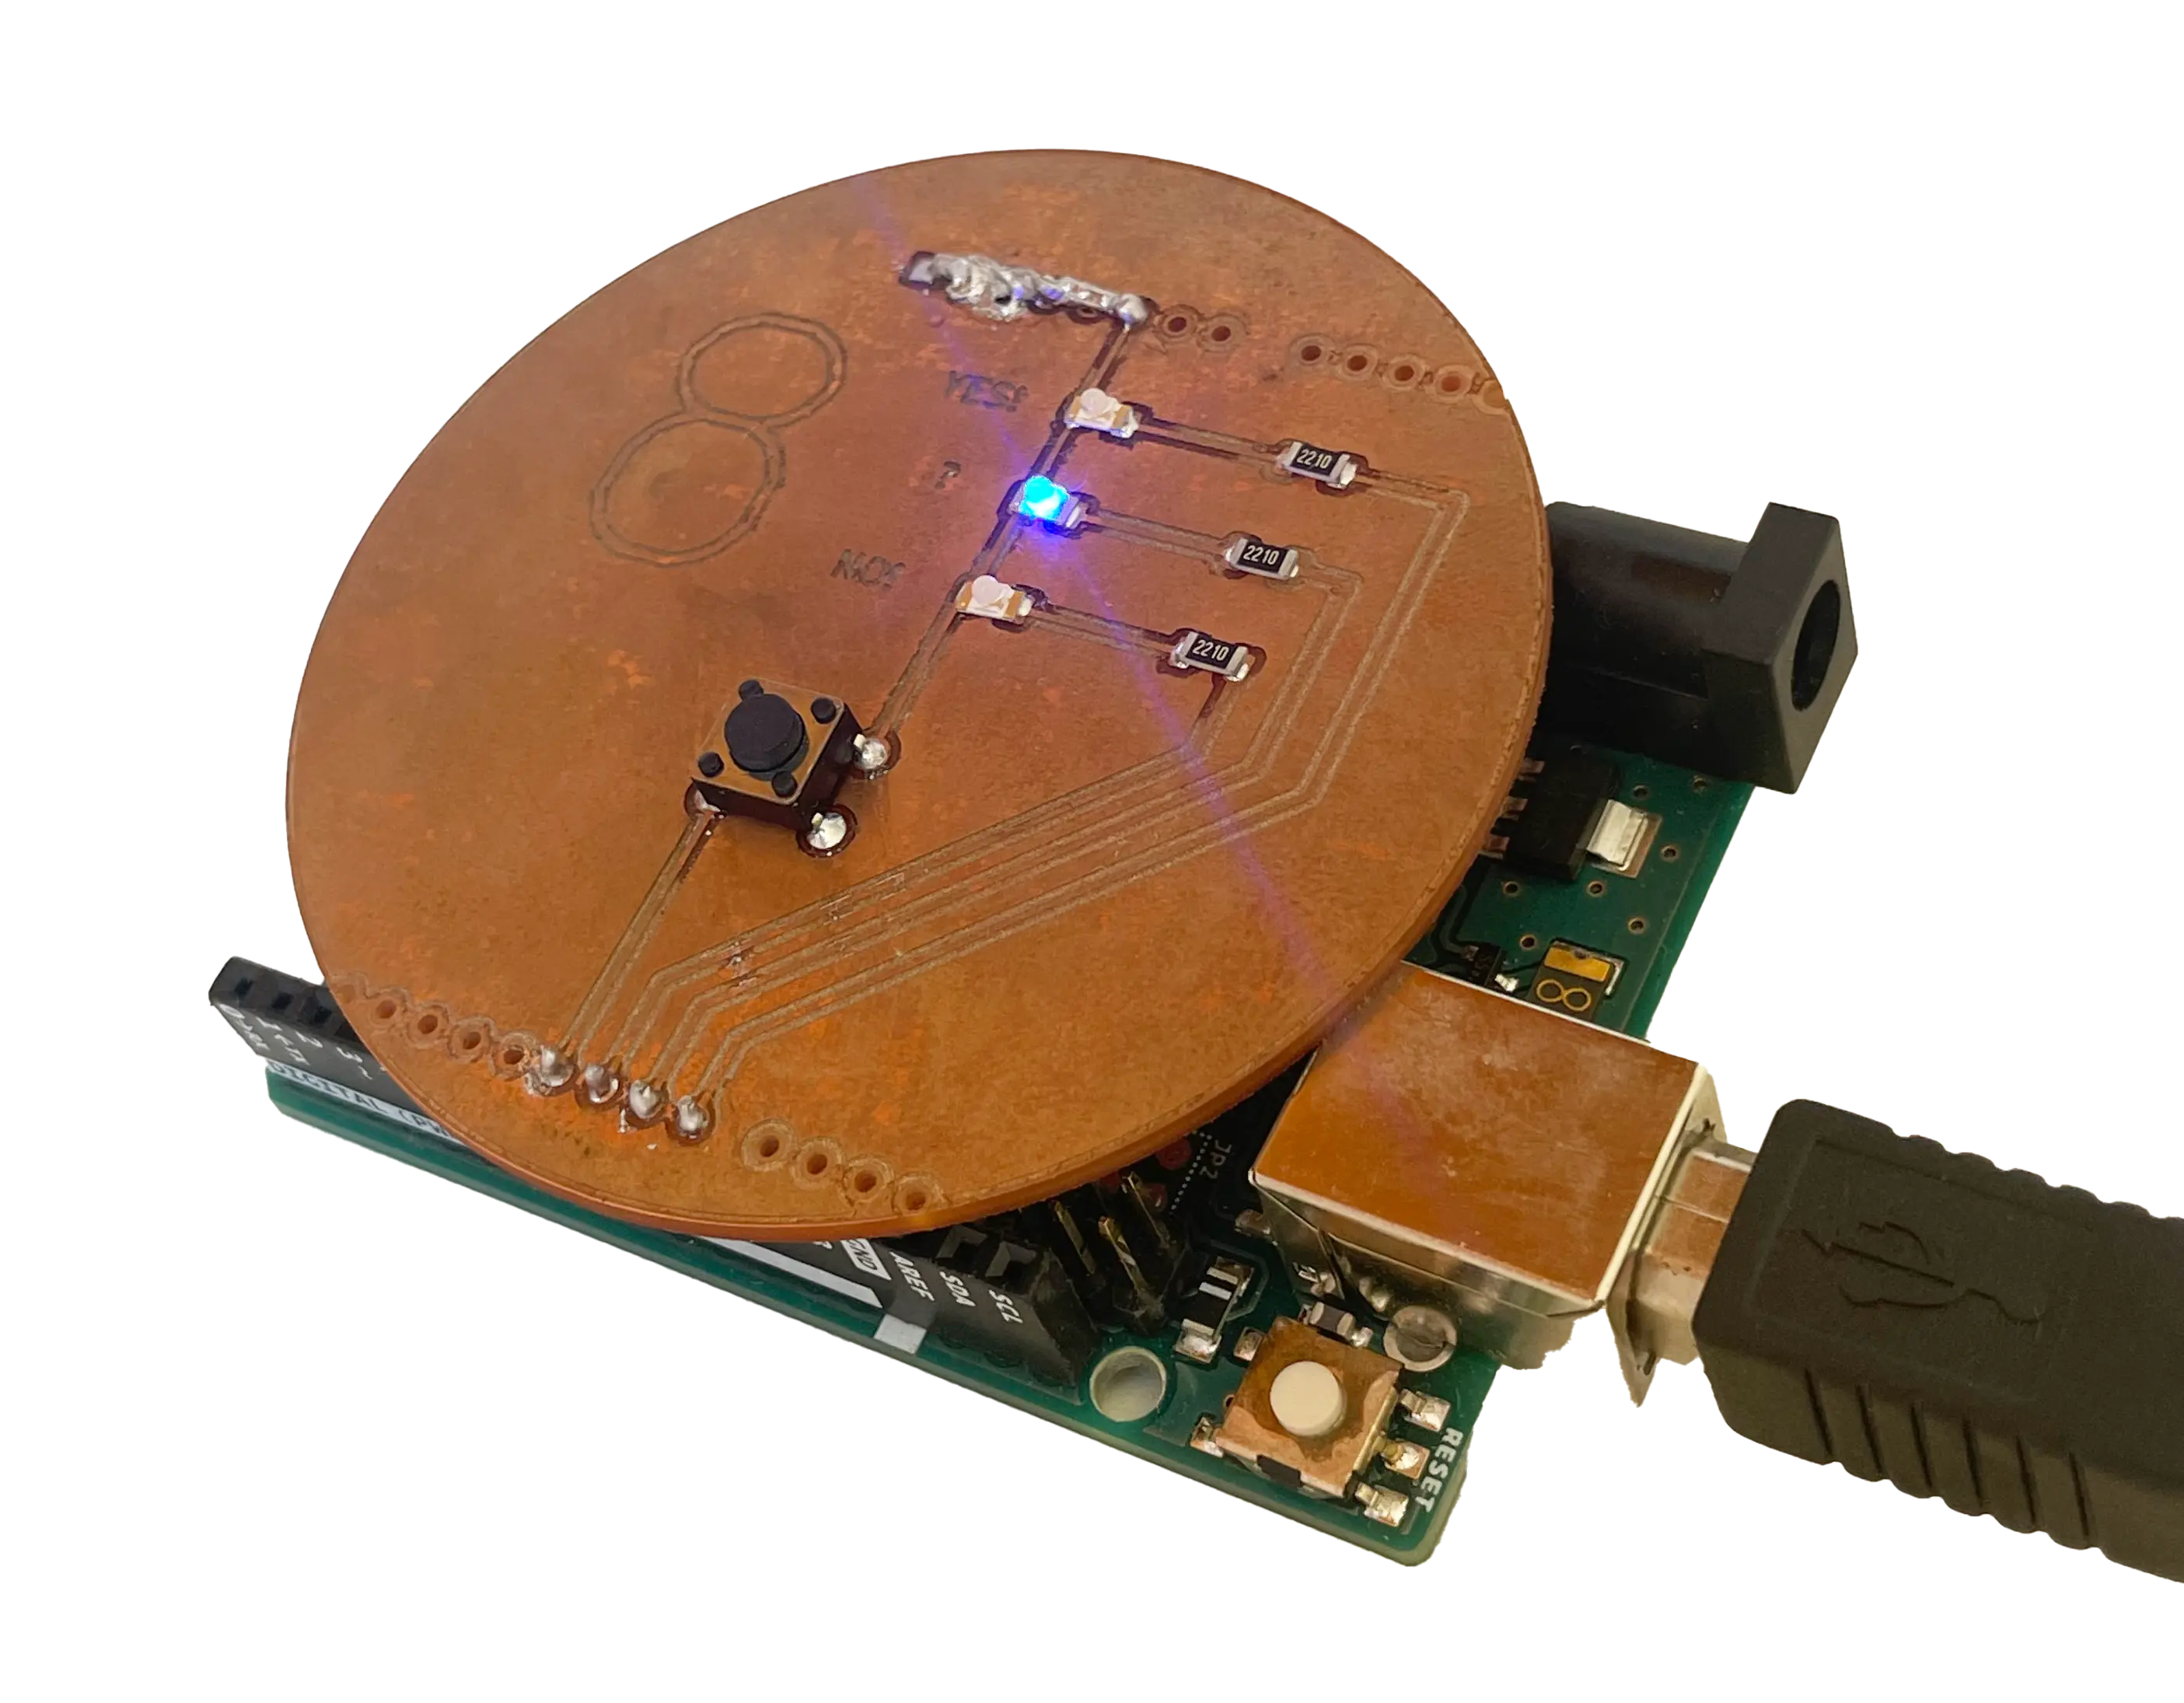
This Arduino sheild emulates a magic 8 ball. Simply press the button and fate will decide which of the 3 LED to illuminate: "Yes!", "?", and "No!".

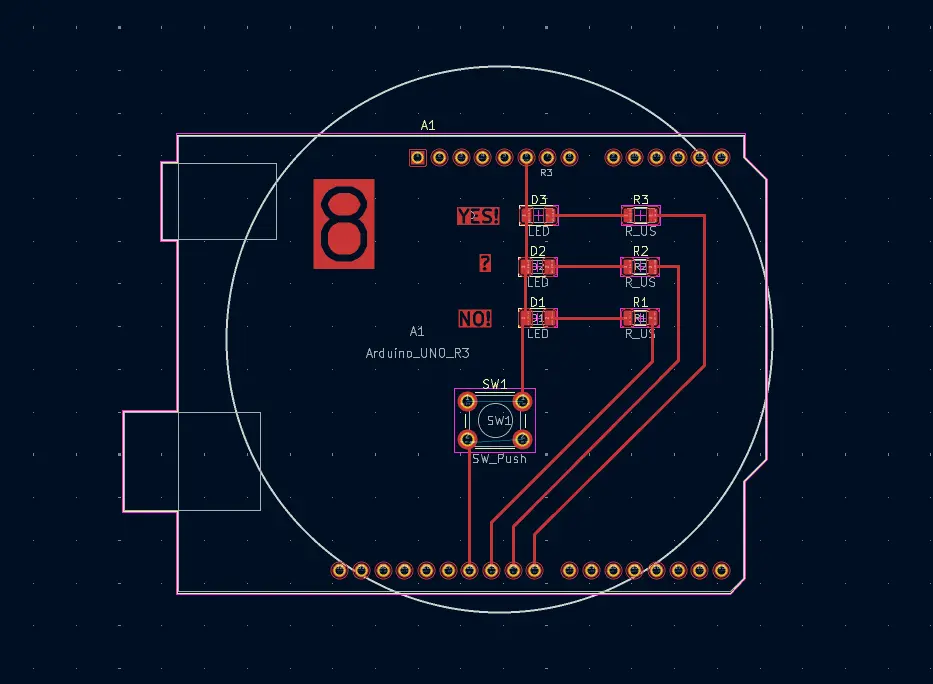
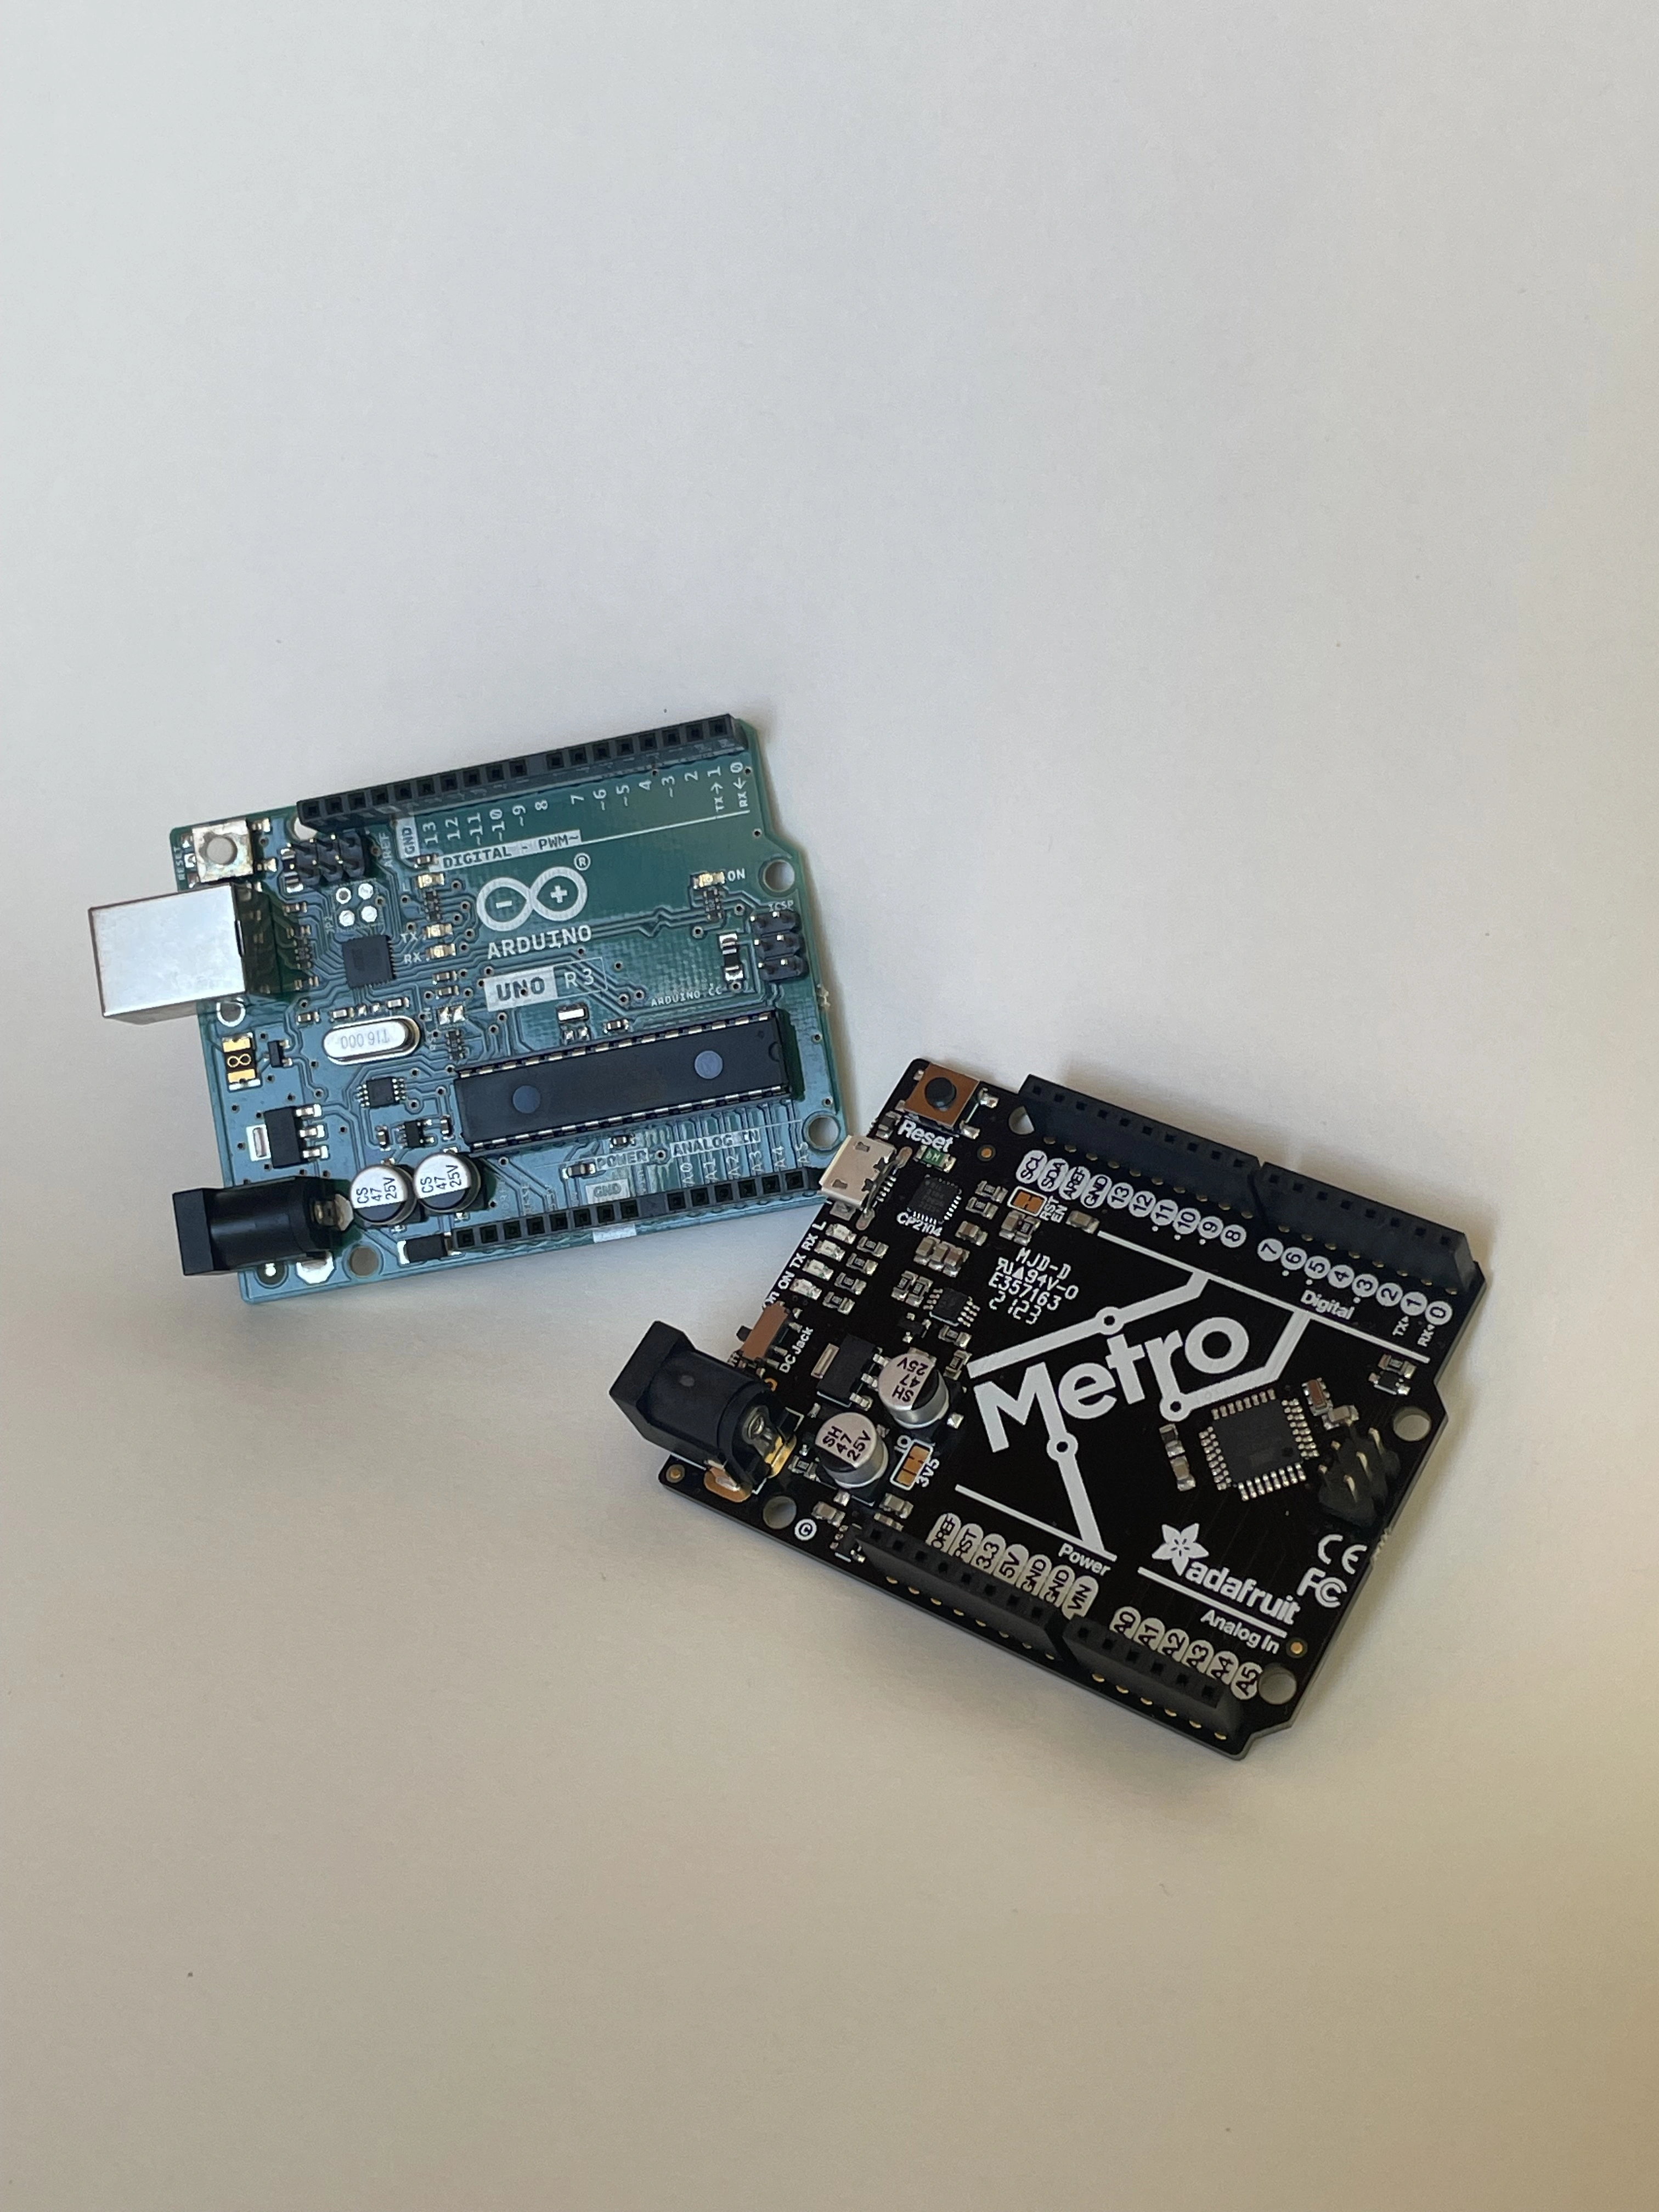
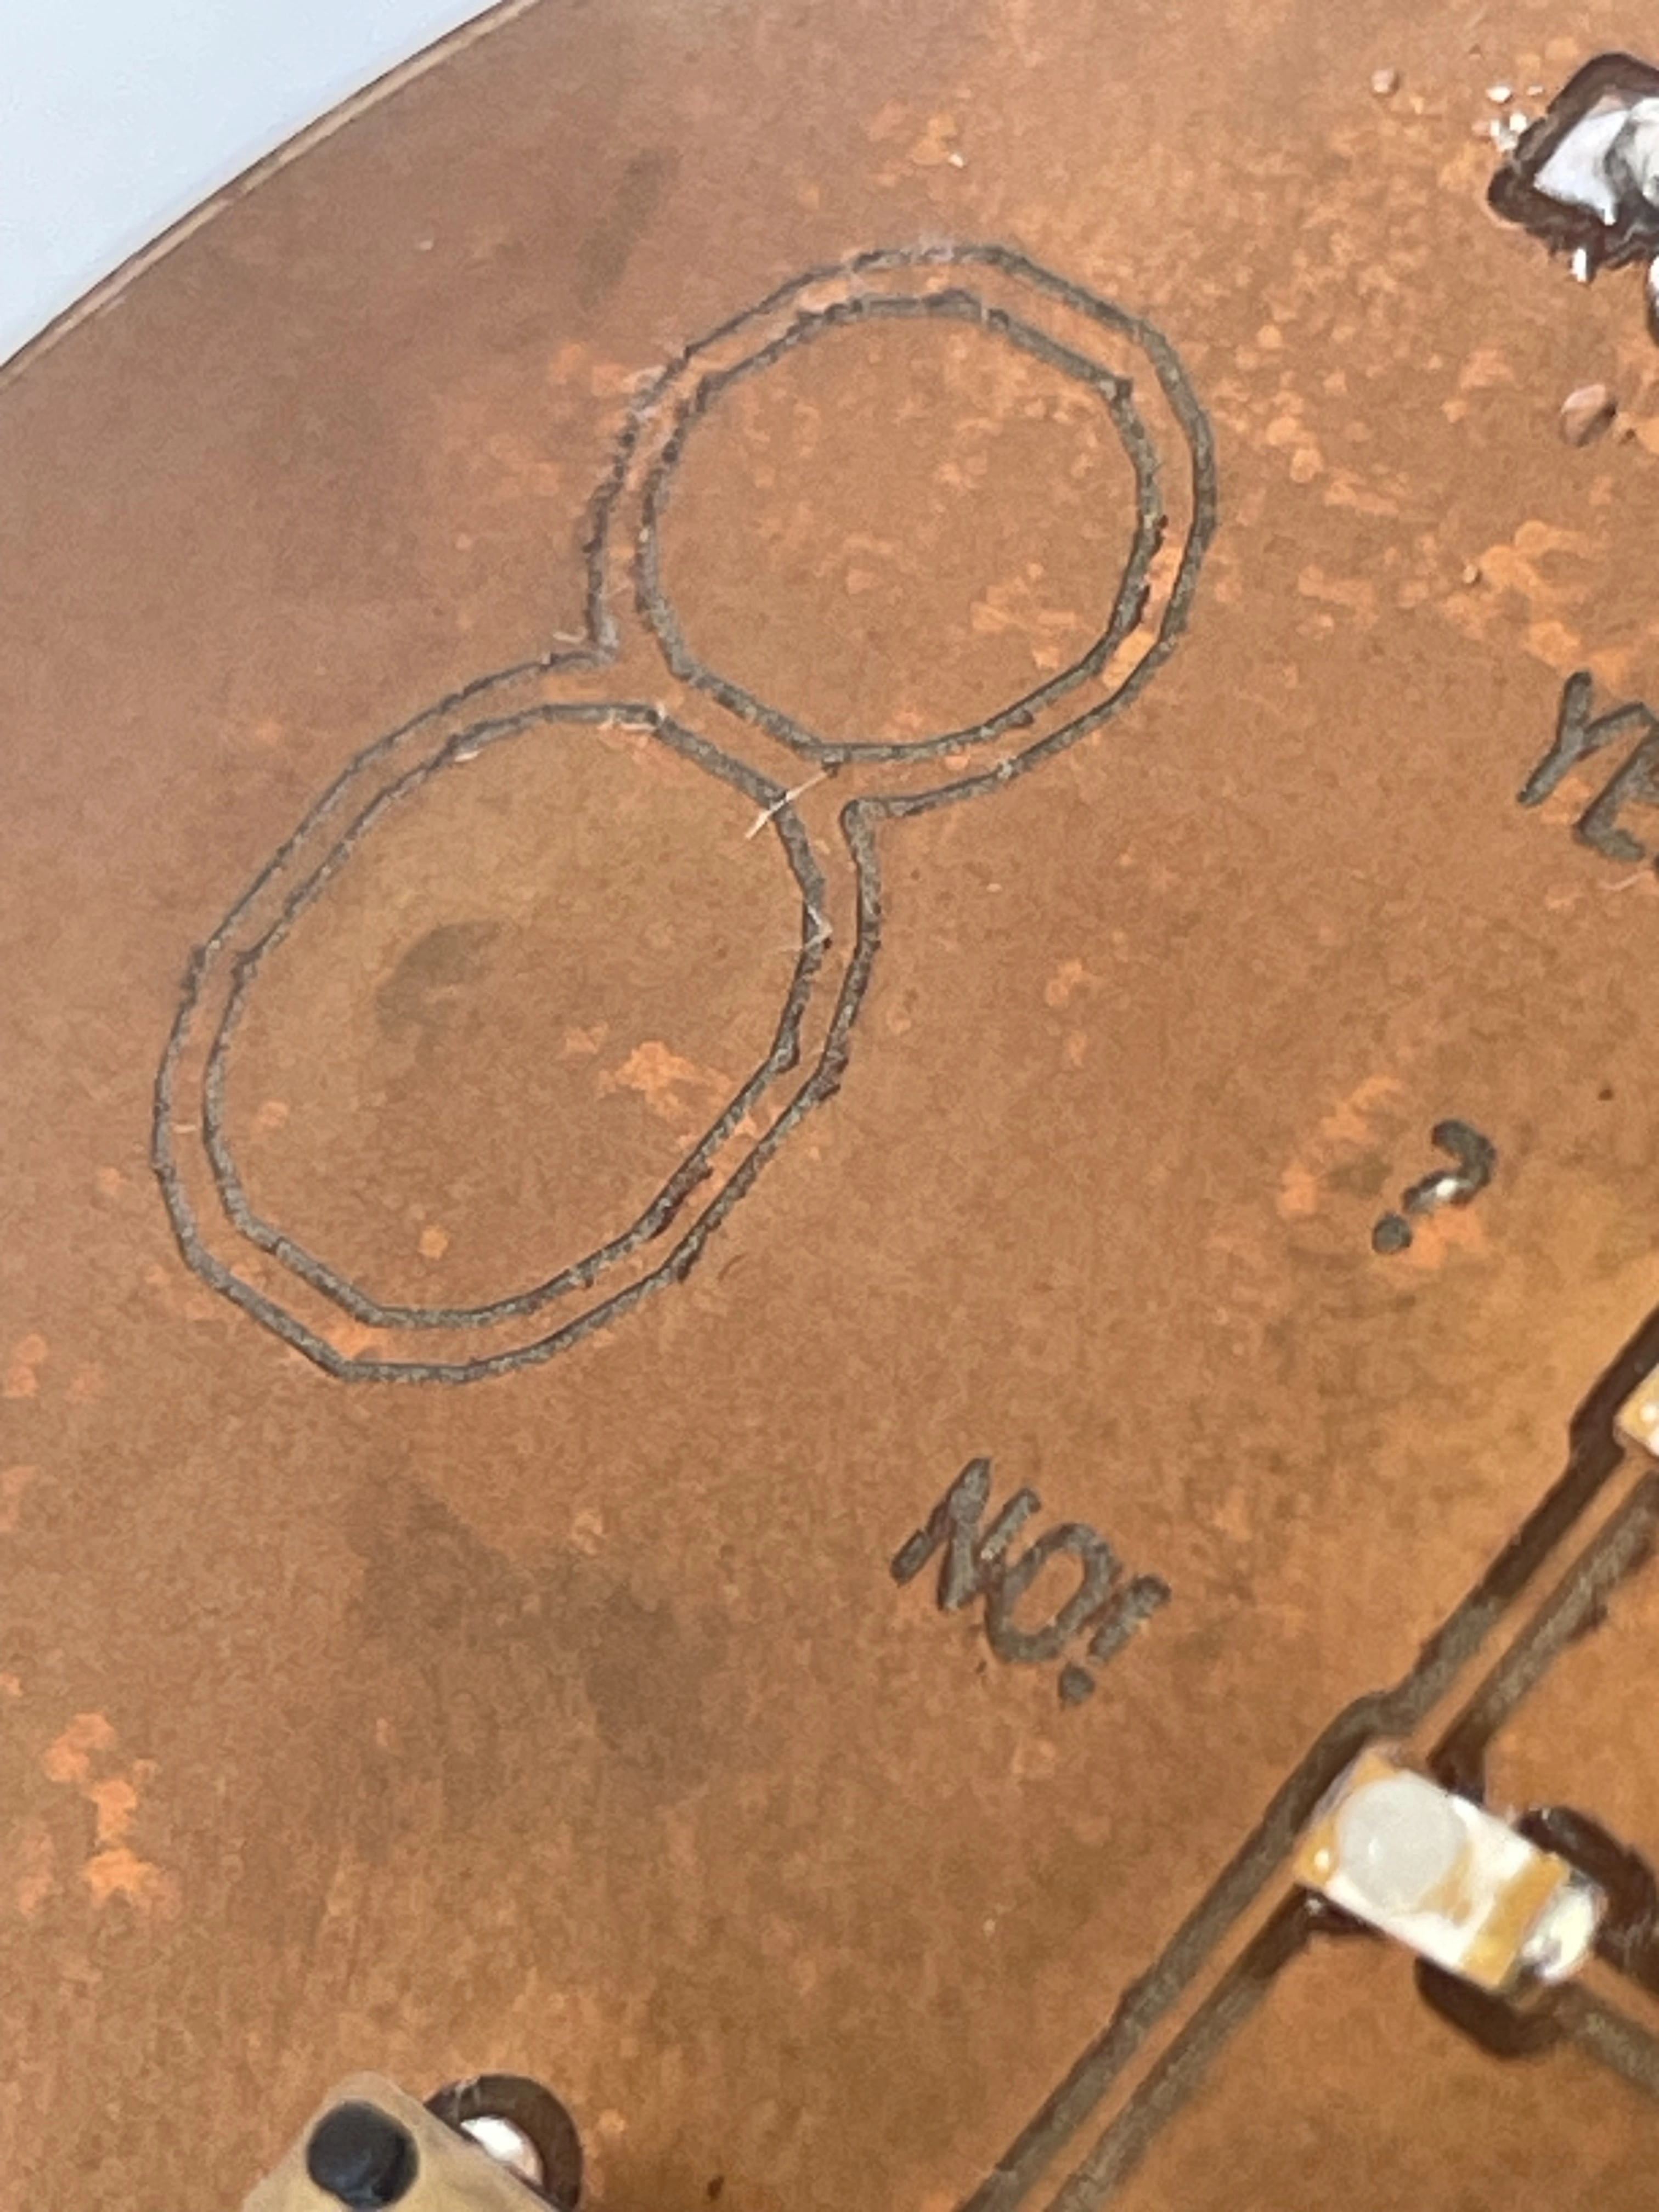
The process of creating this shield was filled with roadblocks and issues. My first step was to come up with an idea, which I did in Tinkercad Circuits. I played around with the digital arduino until coming up with the idea for a fortune teller or magic 8 ball. I designed the simple circuit and copied the schematic into KiCad. There, I was able to layout my components into a perfect circle with a large 8, denoting the function. This is where I encountered the first roadblock: I could not successfully import Gerber files from Kicad into MakeraCAM without my vector paths getting messed up. Thankfully, Mathew let me use his computer with an older version of MakeraCAM which did work. My second roadblock was locating components. My design requires 3 SMD LEDs, which were left by the Carveras. I searched for hours with no luck. It wasn't until the next day where I spent a while digging through every component bin did I find some suitable LEDs. Finally able to get the shield assembled, I noticed the largest mistake. I must have accidentally mirrored the header footprint on KiCad because if the 4 signal pins are lined up, the ground pins end up 4 slots off. Everything would line up if the shield was placed face down on the Arduino. I remedied this by laying down an incredibly sloppy line of solder, connecting the entire top header to ground. After all this, the shield works perfectly, and is able to adorn both the Arduino UNO R3, and the Adafruit Metro.